
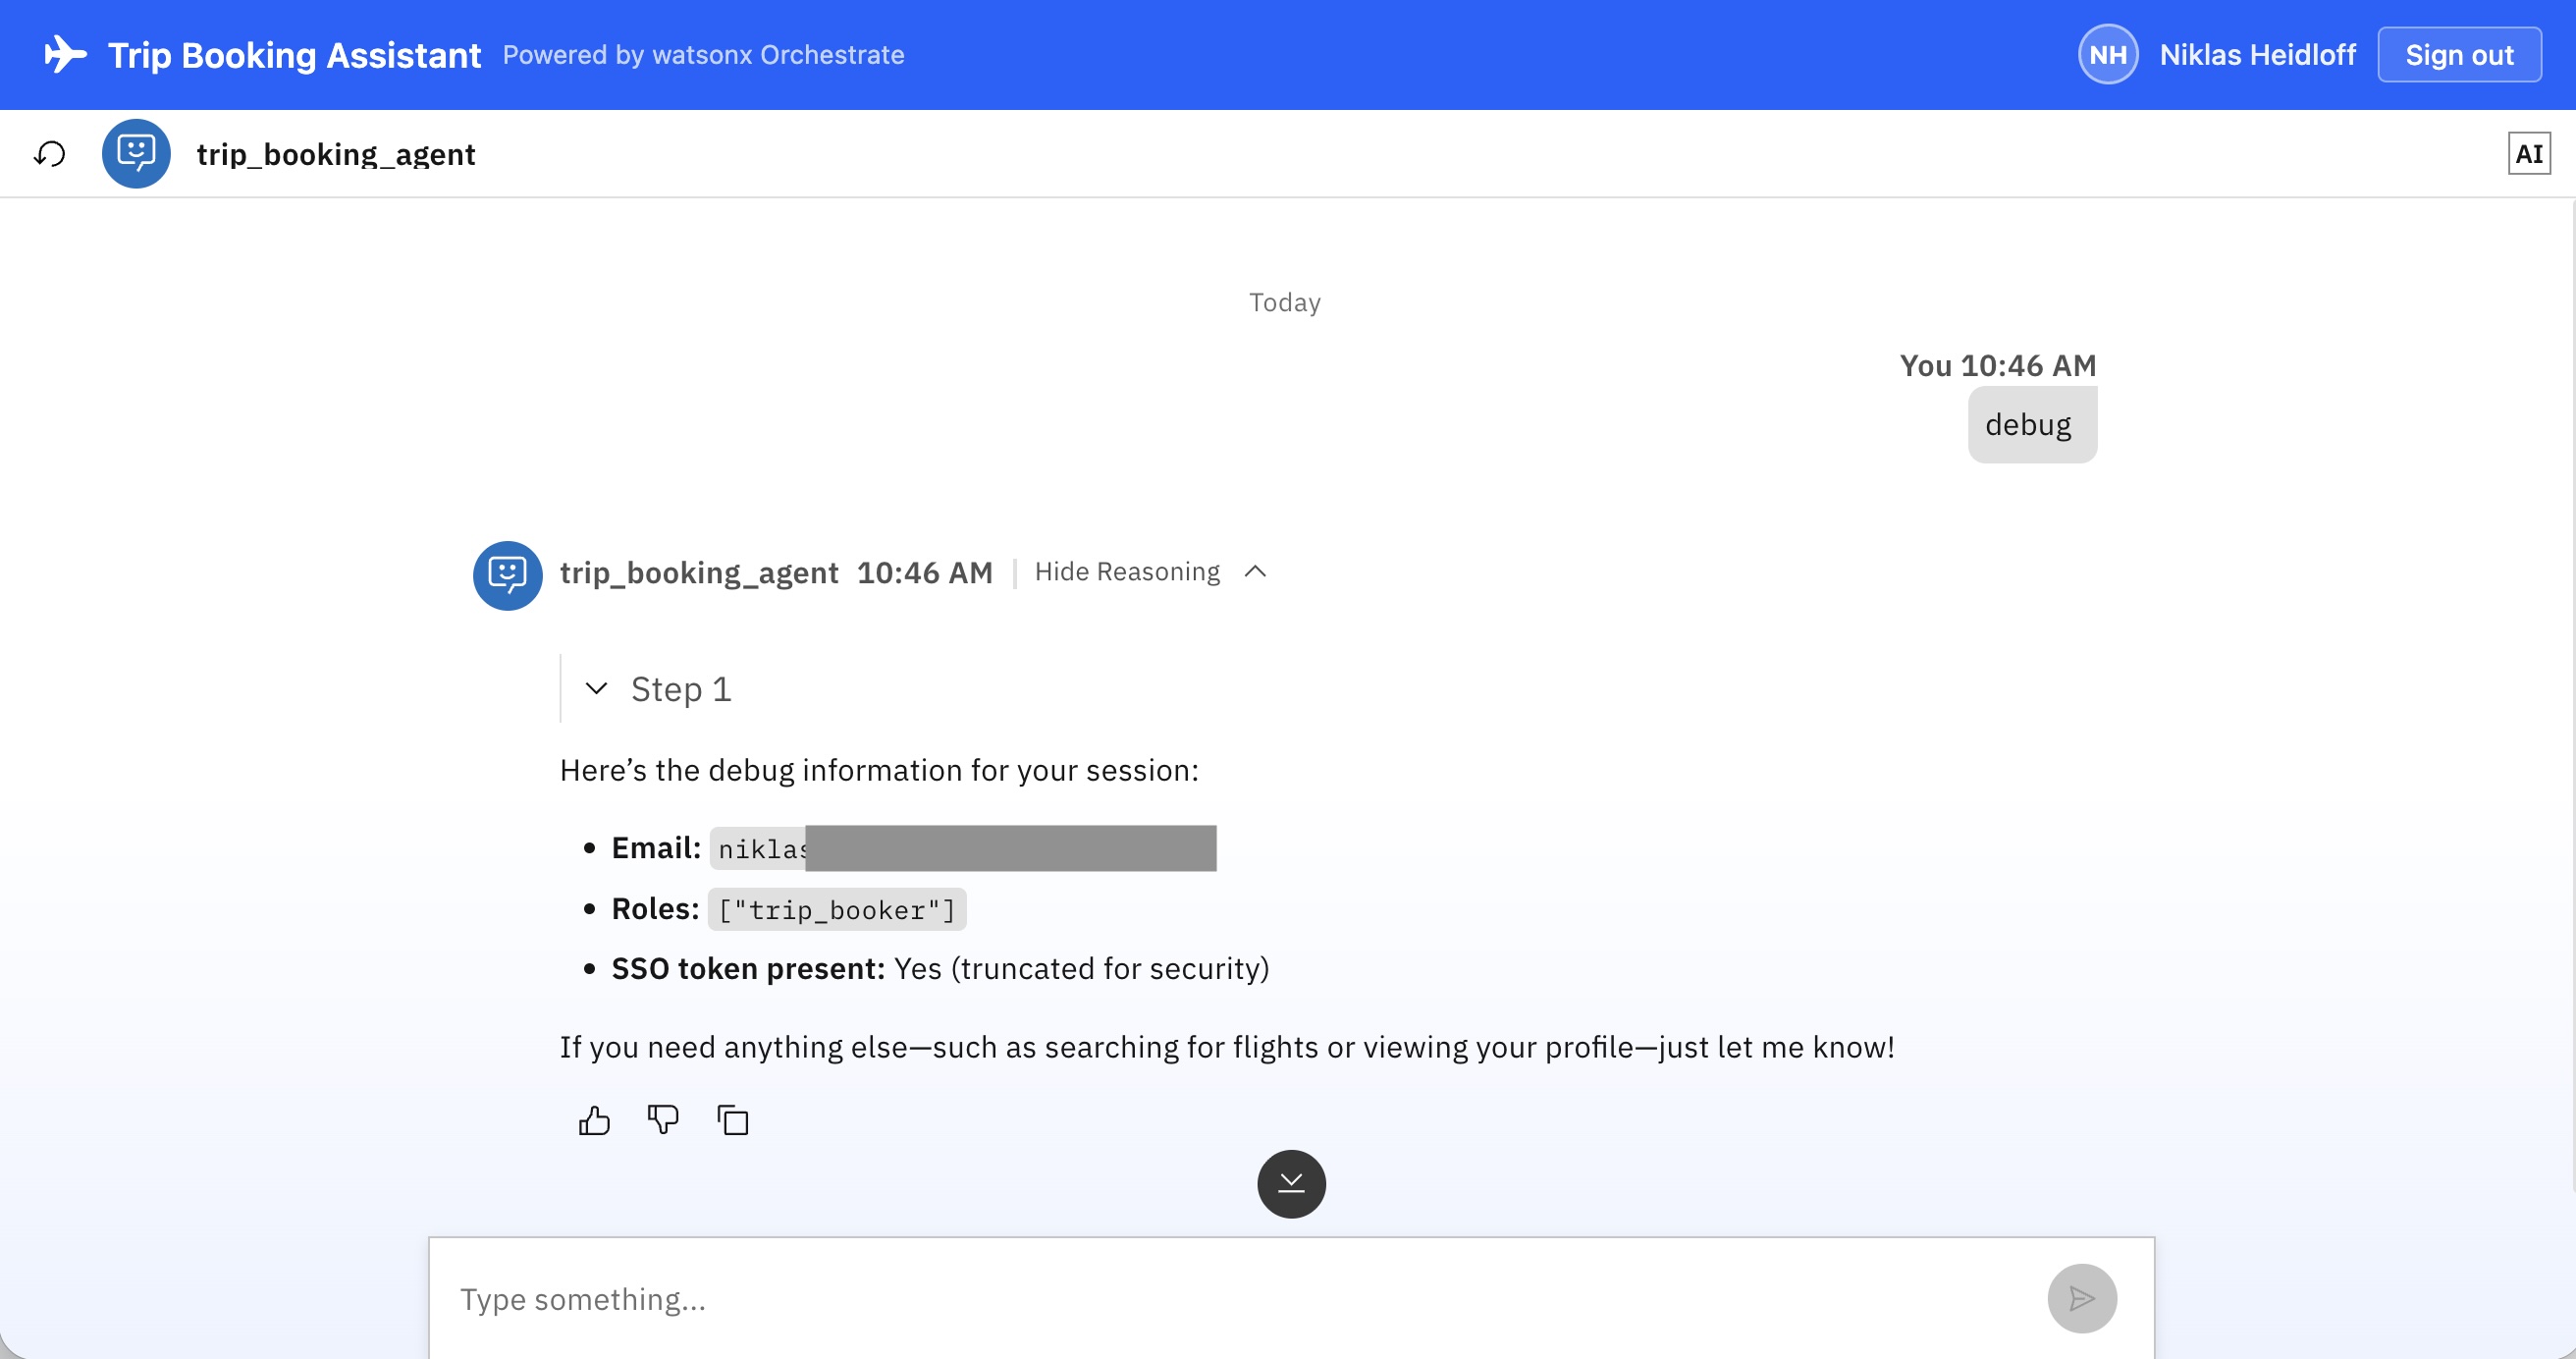
When deploying agents to AI enterprise platforms like IBM watsonx Orchestrate, user authentication is a primary requirement. Agents must be capable of operating on behalf of users to securely access external systems. This post outlines how to authenticate from Orchestrate agents with IBMid using IBM App ID.
Supported by IBM Bob, I have developed an open-source example application to demonstrate this implementation. IBMid and IBM App ID can easily be replaced with other OpenID Connect (OIDC) solutions.
Read the following resources for details:
Components
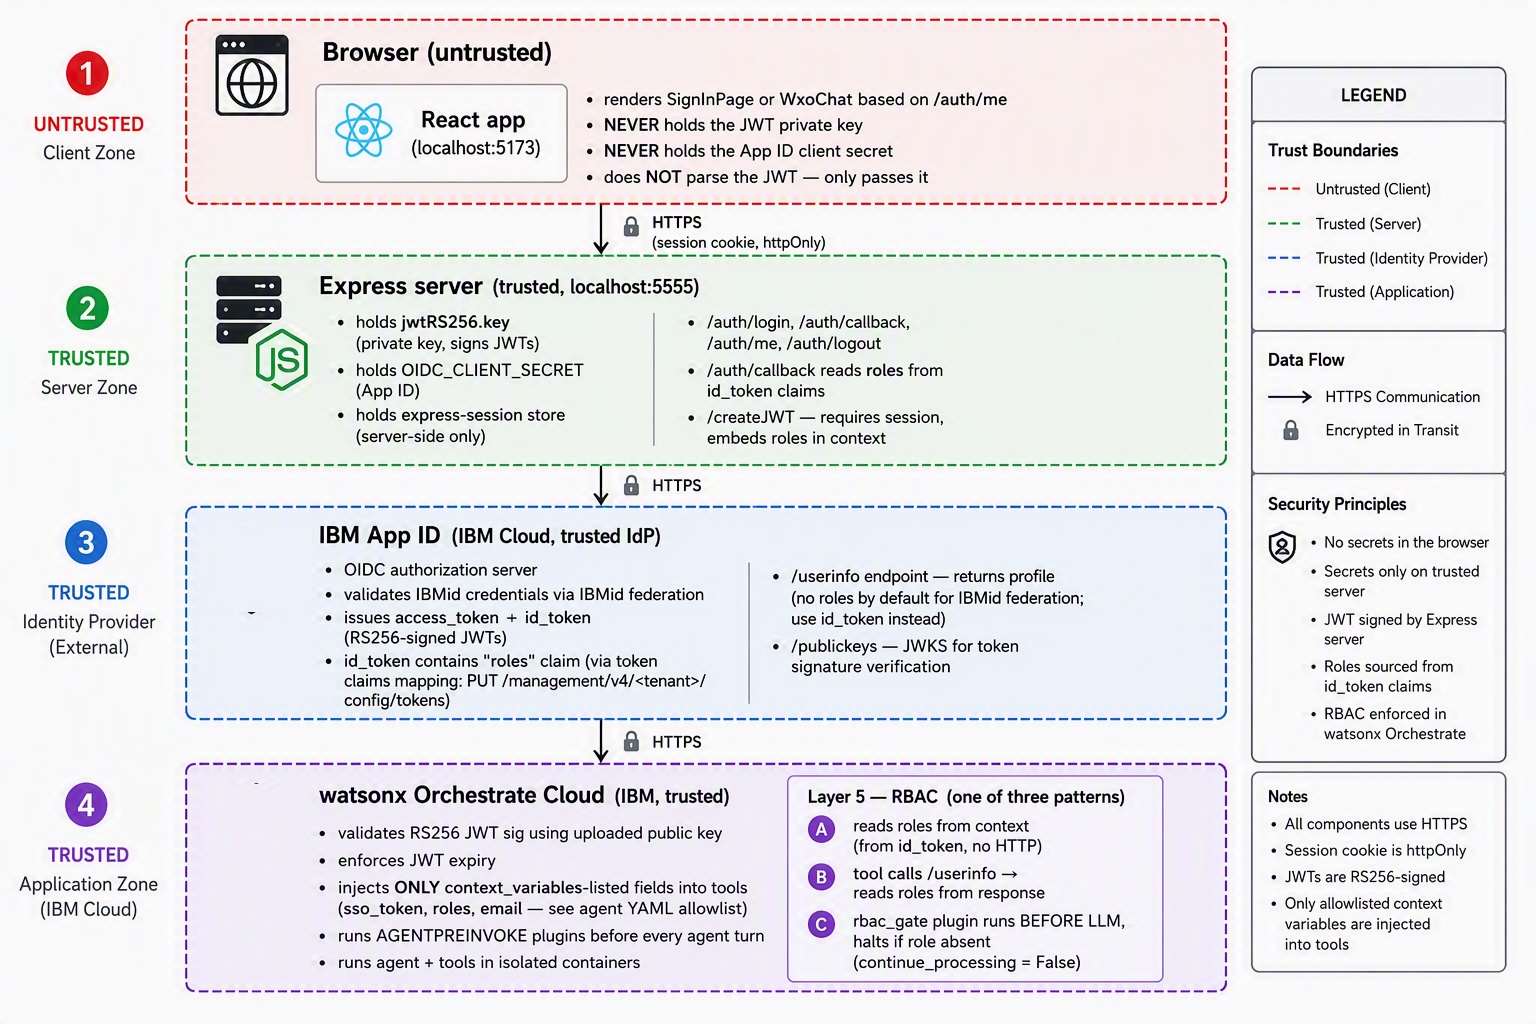
The reference architecture utilizes several key components:
- IBMid: The primary identity provider.
- IBM App ID: Manages authentication across various identity providers or a built-in directory.
- IBM watsonx Orchestrate: The enterprise agentic platform.
- React Web Frontend: Integrated with the Orchestrate embedded chat widget.
- Node.js Backend: Handles server-side authentication processes.
Flow
The diagram below illustrates the authentication and request flow among the integrated components.
Tools
Tools can verify user authentication status through two primary methods:
- Validating that the user possesses a valid JSON Web Token (JWT) signed with the Orchestrate private key.
- Invoking the App ID /userinfo endpoint to verify user identity and retrieve assigned roles.
The following code snippet demonstrates how tools can check for authentication:
1
2
3
4
5
6
7
from ibm_watsonx_orchestrate.run.context import AgentRun
@tool()
def get_user_profile(context: AgentRun) -> UserProfile:
    token = context.request_context.get("sso_token", "")

    if not token:
        raise ValueError("No sso_token in context. Please log in via the web app first.")
The repository includes a debug utility designed to inspect the runtime context and data passed to tools:
1
2
3
4
5
6
7
8
9
10
11
12
13
14
15
16
17
18
19
20
21
22
23
24
25
26
27
28
29
30
31
32
33
34
35
36
37
38
39
40
41
42
43
44
45
46
47
48
49
50
51
52
53
54
55
56
57
58
59
60
61
62
63
64
65
66
67
68
69
70
71
72
73
74
75
76
77
78
79
80
"""
DEBUG ONLY — dumps everything the wxO runtime passes to a tool.

Reports:
  • The full context.request_context dict (shows sso_token, roles, email, etc.)
  • /userinfo HTTP status + raw response (shows what App ID returns)
"""

import json
import requests
from pydantic import BaseModel
from ibm_watsonx_orchestrate.agent_builder.tools import tool
from ibm_watsonx_orchestrate.run.context import AgentRun

APP_ID_USERINFO_URL = (
    "https://eu-de.appid.cloud.ibm.com/oauth/v4/"
    "xxxx/userinfo"
)

class DebugResult(BaseModel):
    # --- what wxO injected into the tool ---
    context_keys: str       # all keys present in request_context
    context_roles: str      # value of context["roles"]  (our main question)
    context_email: str      # value of context["email"]
    has_sso_token: bool     # True if sso_token is present and non-empty
    sso_token_prefix: str   # first 40 chars of sso_token (safe to log)

    # --- what /userinfo returns ---
    userinfo_status: int
    userinfo_roles: str     # value of userinfo["roles"] — or "__KEY_MISSING__"
    userinfo_sub: str

@tool()
def debug_userinfo(context: AgentRun) -> DebugResult:
    """
    DEBUG ONLY: dump the full wxO tool context and the raw App ID /userinfo
    response so we can see exactly what reaches the tool at runtime.

    Args:
        context (AgentRun): Injected agent-run context.

    Returns:
        DebugResult: Full context dump and /userinfo response.
    """
    rc = context.request_context  # the dict wxO injects

    sso_token = rc.get("sso_token", "")
    roles      = rc.get("roles", "__KEY_MISSING__")

    # Safely log a prefix of the token (never log the full token)
    token_prefix = sso_token[:40] + "..." if sso_token else "(empty)"

    # Call /userinfo with the sso_token
    userinfo_status = 0
    userinfo_data: dict = {}
    if sso_token:
        try:
            resp = requests.get(
                APP_ID_USERINFO_URL,
                headers={"Authorization": f"Bearer {sso_token}", "Accept": "application/json"},
                timeout=10,
            )
            userinfo_status = resp.status_code
            userinfo_data = resp.json() if resp.ok else {"error": resp.text[:200]}
        except Exception as e:
            userinfo_data = {"error": str(e)}

    return DebugResult(
        # --- context ---
        context_keys    = json.dumps(sorted(rc.keys())),
        context_roles   = json.dumps(roles),
        context_email   = rc.get("email", "(missing)"),
        has_sso_token   = bool(sso_token),
        sso_token_prefix= token_prefix,

        # --- /userinfo ---
        userinfo_status = userinfo_status,
        userinfo_roles  = json.dumps(userinfo_data.get("roles", "__KEY_MISSING__")),
        userinfo_sub    = userinfo_data.get("sub", "(missing)"),
    )
Example out of the debug tool:
1
2
3
4
5
6
7
8
9
10
{
  "context_email": "xxx@ibm.com",
  "context_keys": "[\"email\", \"roles\", \"sso_token\"]",
  "context_roles": "[\"trip_booker\"]",
  "has_sso_token": true,
  "sso_token_prefix": "eyJhb...",
  "userinfo_roles": "\"__KEY_MISSING__\"",
  "userinfo_status": 200,
  "userinfo_sub": "xxxc"
}
The snippet generates the token in the Node.js backend.
1
2
3
4
5
6
7
8
9
10
11
12
13
14
15
16
function createJWTString(sessionUser, accessToken, roles) {
  // Always authenticated at this point — the route handler already rejected
  // unauthenticated requests with 401 before calling this function.
  const jwtContent = {
    sub: sessionUser.sub,
    user_payload: encryptUserPayload({
      name:           sessionUser.name,
      custom_user_id: sessionUser.sub,
    }),
    context: {
      clientID:  'trip-booking-app',
      email:     sessionUser.email,
      sso_token: accessToken,   // App ID access token — read by get_user_profile via AgentRun
      roles:     roles,         // flat string array e.g. ["trip_booker"] — read by check_booking_permission
    },
  };
Setup
Refer to the documentation for setup instructions.
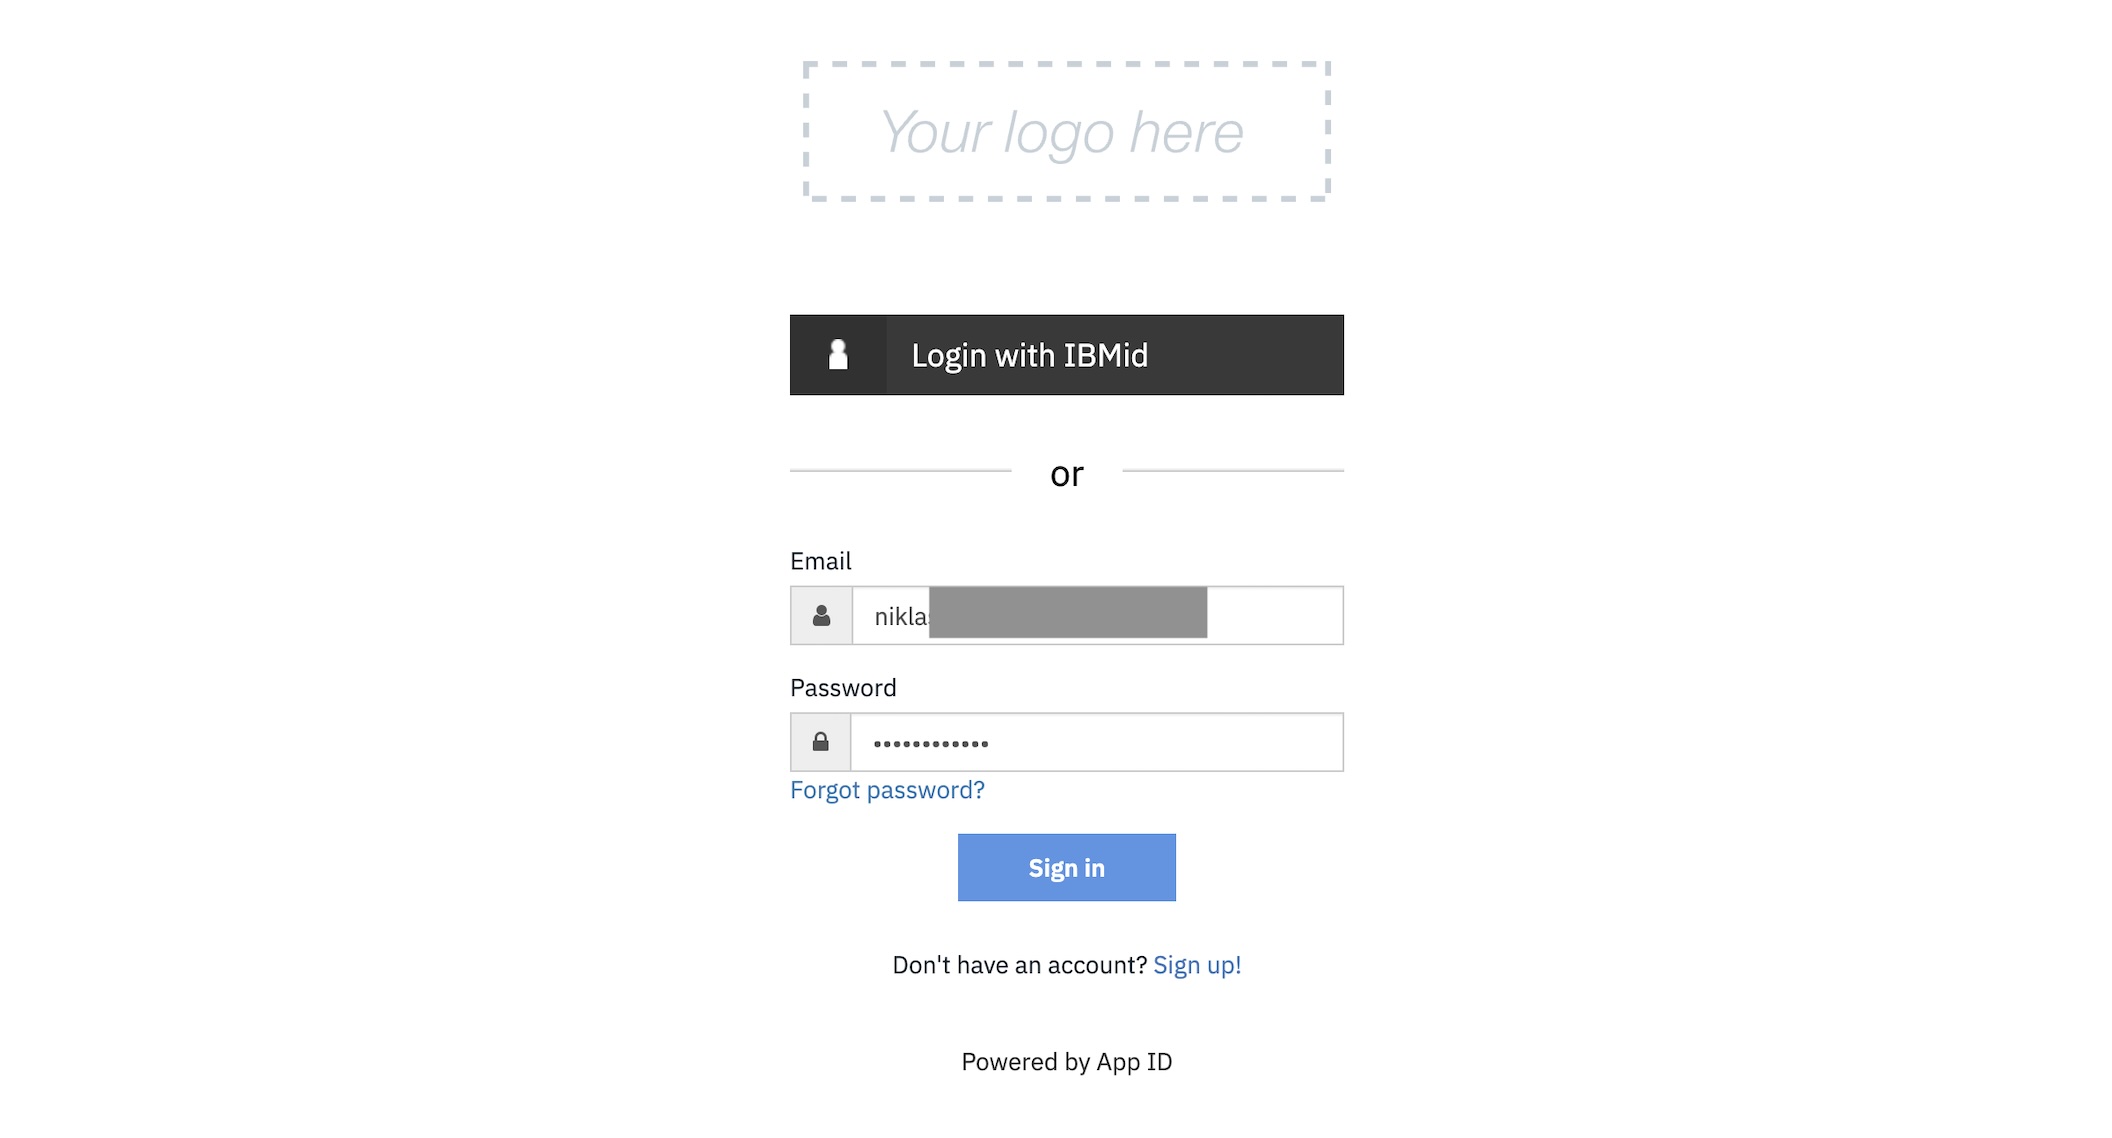
In this implementation, App ID is configured with two distinct identity providers:
- IBMid, where the primary user possesses the required operational role.
- A test user in the built-in cloud directory who lacks the necessary permissions, serving as a negative test case.
Next Steps
To find out more, check out the following resources:
- Role based Access Control in watsonx Orchestrate
- MCP Tools acting On‑Behalf‑Of Users in Orchestrate Agents
- Running agentic Tools on behalf of Users in watsonx
- Tutorial: IBM watsonx Orchestrate and HashiCorp Vault
- Context Variables
- Watsonx Orchestrate
- Watsonx Orchestrate Developer
- Watsonx Orchestration Documentation