IBM Watson NLP (Natural Language Understanding) and Watson Speech containers can be run locally, on-premises or Kubernetes and OpenShift clusters. Via REST and gRCP APIs AI can easily be embedded in applications. This post describes how to run Watson NLP locally in Minikube.
To set some context, check out the landing page IBM Watson NLP Library for Embed. The Watson NLP containers can be run on different container platforms, they provide REST and gRCP interfaces, they can be extended with custom models and they can easily be embedded in solutions.
To try it, a trial is available. The container images are stored in an IBM container registry that is accessed via an IBM Entitlement Key.
How to run NLP locally in Minikube
My post Running IBM Watson NLP locally in Containers explained how to run Watson NLP locally in Docker. The instructions below describe how to deploy Watson NLP locally to Minikube via the Watson NLP Helm chart.
First you need to install Minikube, for example via brew on MacOS. Next Minikube needs to be started with more memory and disk size than the Minikube defaults. I’ve used the settings below which is more than required, but I wanted to leave space for other applications. Note that you also need to give your container runtime more resources. For example if you use Docker Desktop, go to Preferences-Resources and define your settings.
1
2
$ brew install minikube
$ minikube start --cpus 12 --memory 16000 --disk-size 50g
For some reason in my setup the watson-nlp-runtime image couldn’t be pulled by the Deployment resource/operator. I guess it’s related to the big size of the image. I’ve found this workaround:
1
2
3
$ eval $(minikube docker-env)
$ docker login cp.icr.io --username cp --password <entitlement_key>
$ docker pull cp.icr.io/cp/ai/watson-nlp-runtime:1.0.18
Next the namespace and secret need to be created.
1
2
3
4
5
6
7
8
$ kubectl create namespace watson-demo
$ kubectl config set-context --current --namespace=watson-demo
$ kubectl create secret docker-registry \
--docker-server=cp.icr.io \
--docker-username=cp \
--docker-password=<your IBM Entitlement Key> \
-n watson-demo \
ibm-entitlement-key
After this a repo with the Helm chart and another repo with a sample values.yaml file are cloned and the license needs to be accepted.
1
2
3
4
$ git clone https://github.com/cloud-native-toolkit/terraform-gitops-watson-nlp
$ git clone https://github.com/IBM/watson-automation.git
$ code watson-automation/helm-nlp/values.yaml #change acceptLicense to true
$ cp watson-automation/helm-nlp/values.yaml terraform-gitops-watson-nlp/chart/watson-nlp/values.yaml
1
2
3
4
5
6
7
8
9
10
11
12
13
14
componentName: watson-nlp
acceptLicense: true
serviceType: ClusterIP
imagePullSecrets:
  - ibm-entitlement-key
registries:
  - name: watson
    url: cp.icr.io/cp/ai
runtime:
  registry: watson
  image: watson-nlp-runtime:1.0.18
models:
  - registry: watson
    image: watson-nlp_syntax_izumo_lang_en_stock:1.0.7
Finally the chart can be installed.
1
2
3
4
5
$ cd terraform-gitops-watson-nlp/chart/watson-nlp
$ helm install -f values.yaml watson-embedded .
$ kubectl get pods -n watson-demo --watch
$ kubectl get deployment/watson-embedded-watson-nlp -n watson-demo
$ kubectl get svc/watson-embedded-watson-nlp -n watson-demo
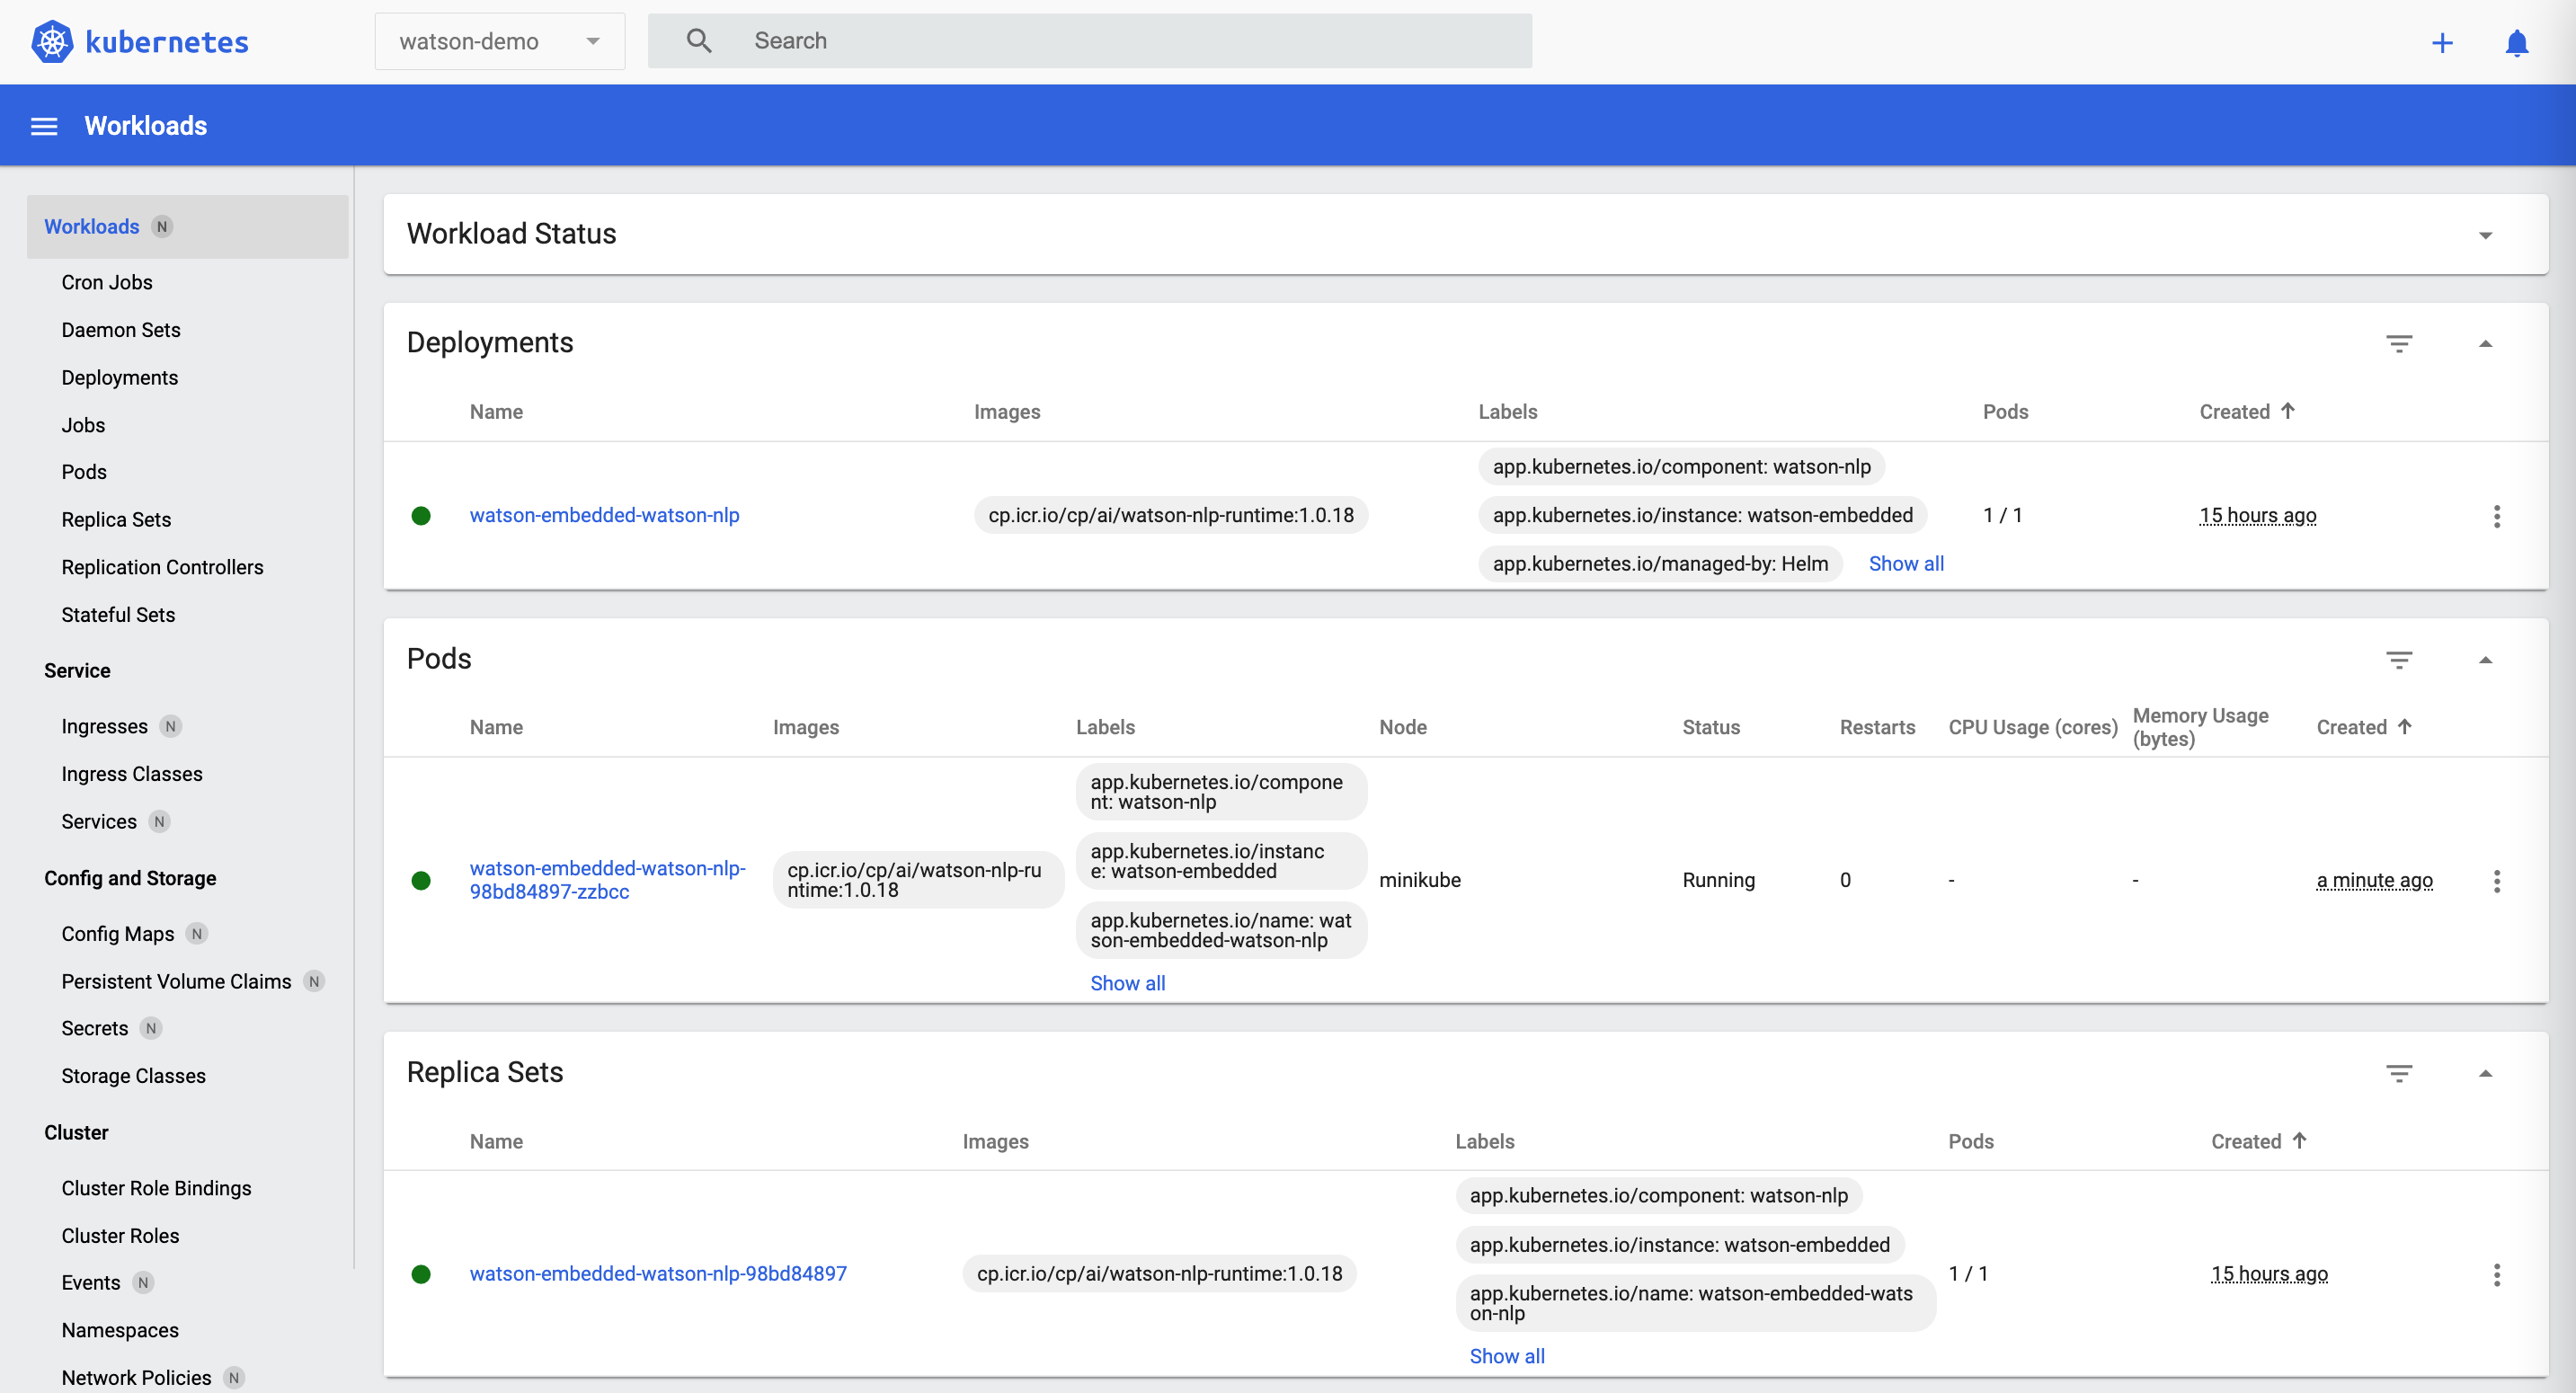
When you open the Kubernetes Dashboard (via ‘minikube dashboard’), you’ll see the deployed resources. The Watson NLP pod contains the watson-nlp-runtime container and a simple syntax model container.
To invoke Watson NLP via REST, you need to find out the IP address and port. Alternatively you could use port forwarding.
1
2
3
4
5
6
$ minikube service watson-embedded-watson-nlp -n watson-demo --url
$ curl -X POST "http://<ip-and-port>/v1/watson.runtime.nlp.v1/NlpService/SyntaxPredict" \
  -H "accept: application/json" \
  -H "grpc-metadata-mm-model-id: syntax_izumo_lang_en_stock" \
  -H "content-type: application/json" \
  -d " { \"rawDocument\": { \"text\": \"It is so easy to embed Watson NLP in applications. Very cool.\" }}"
The NLP containers also provides a gRCP interface.
To find out more about Watson NLP, check out these resources:


