In this article I describe how to authorize users in serverless web applications on the IBM Cloud.
I’ve open sourced a sample Angular application which authenticates users via OAuth and IBM App ID as described in my previous article ‘Authentication of Users in Serverless Applications‘. Once users are authenticated, the Angular application stores the access tokens of the users.
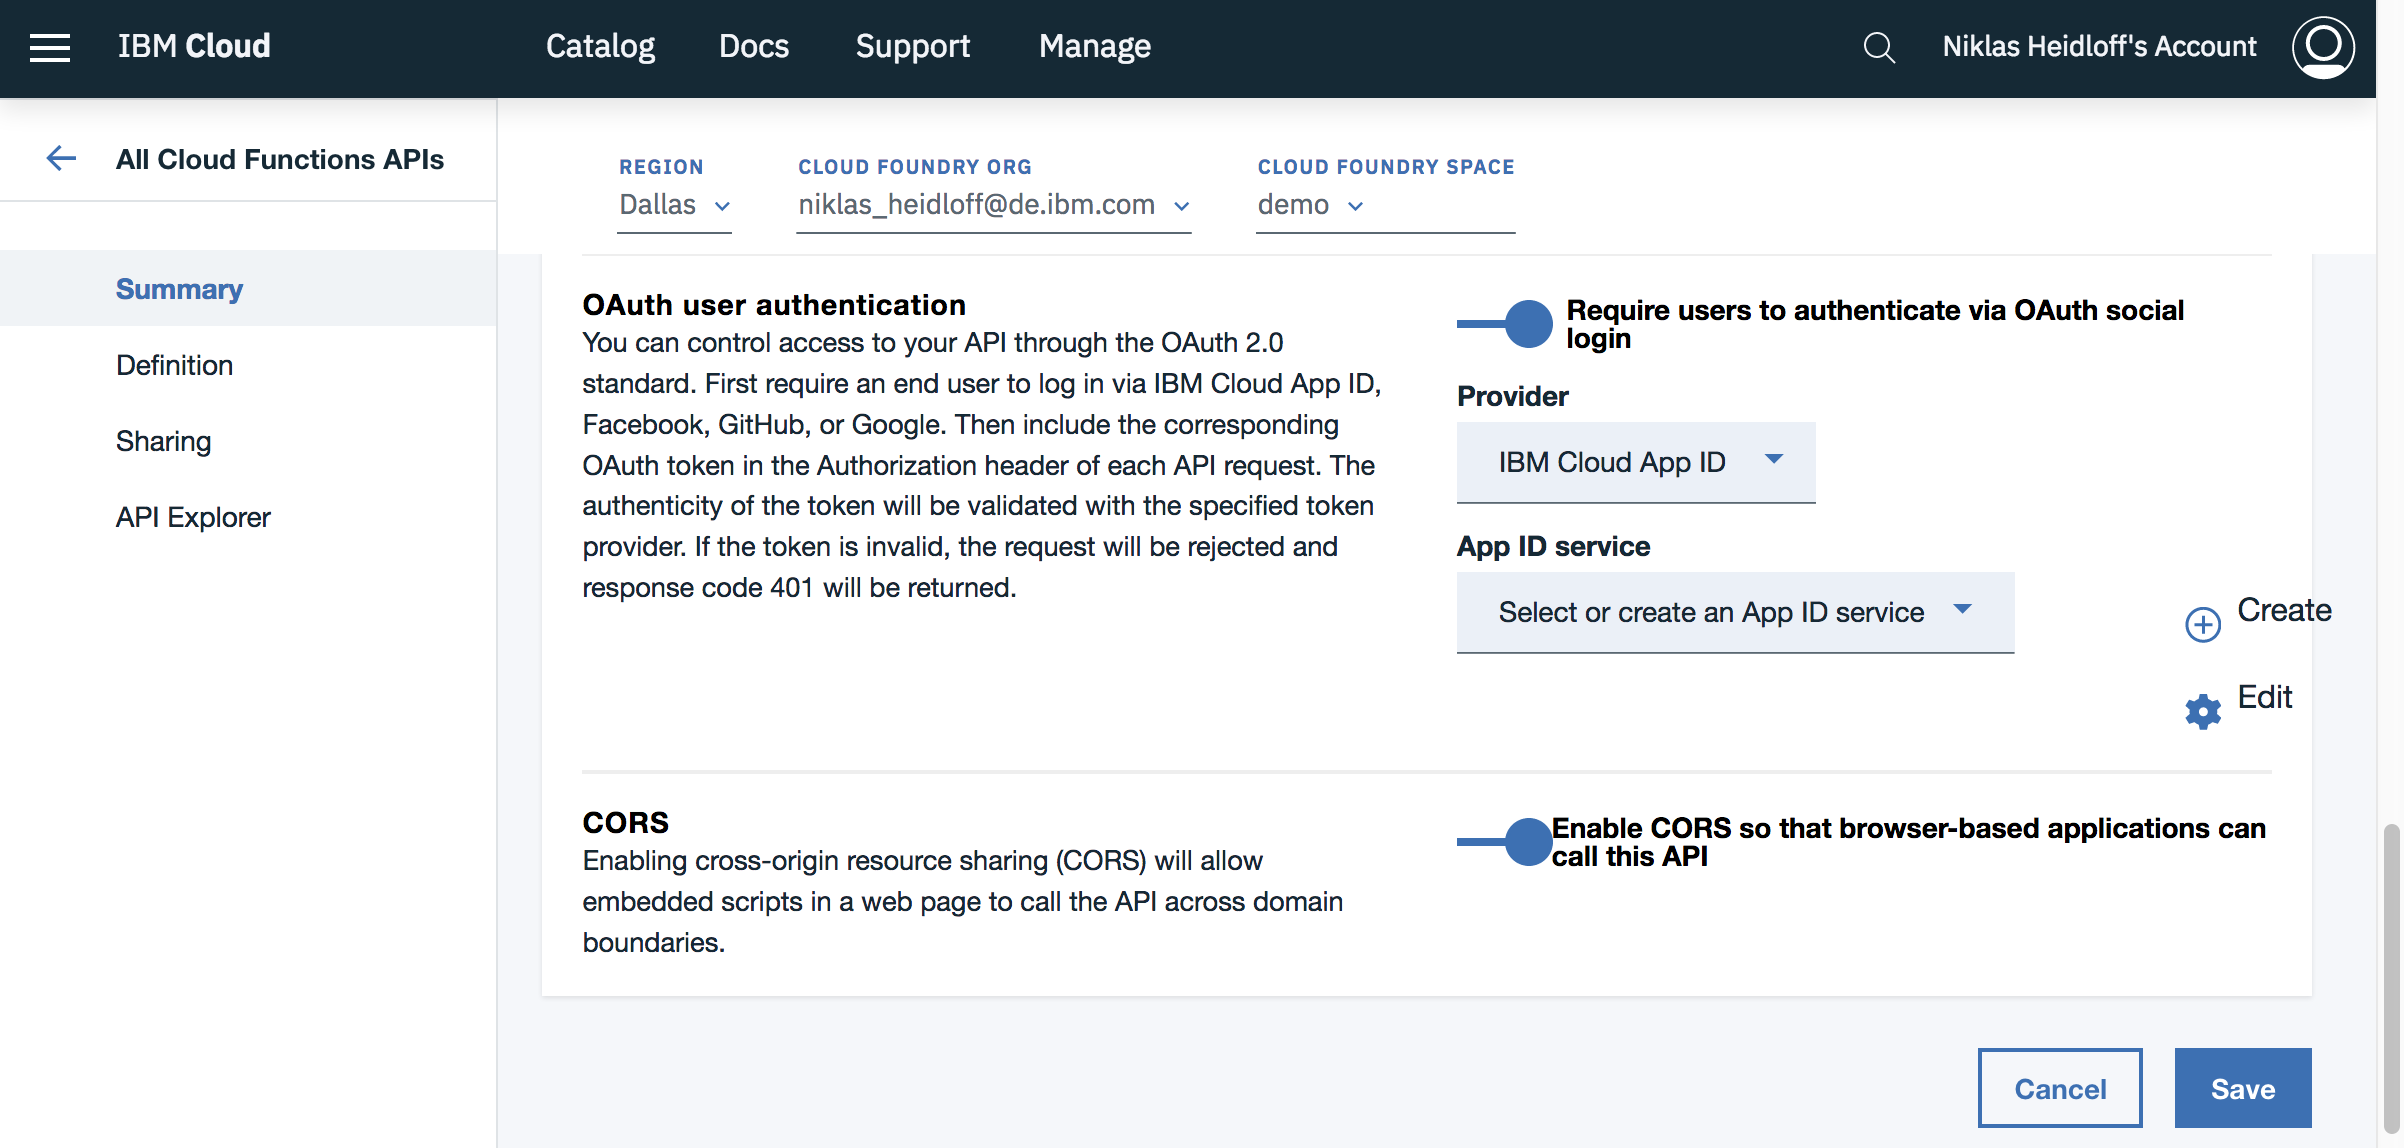
API Management can be used on the IBM Cloud to control access to OpenWhisk functions. These APIs can be protected, for example by ensuring that users are authenticated against App ID.
Note that this setting checks whether users have valid access tokens. It does not help you to get access tokens for users. That’s why users need to be authenticated first as described in my article.
In my sample I create the App ID service instances and the protected APIs programmatically. If you want to use the web interface, you need to create the App ID instance first and then create via the CLI a Cloud Foundry alias so that you can see the instance in the combobox in the screenshot above. Hopefully this will get easier soon.
1
$ ibmcloud resource service-alias-create app-id-serverless --instance-name app-id-serverless
In order to create the API programmatically, I created a Swagger template. Before deploying the API, the template needs to be modified. Right now the App ID tenant ID needs to be defined in the Swagger JSON file first (see my script for details). There is work going on to simplify this as well, so that you only need to define App ID service instance names or GUIDs.
The implementation of the actual function is pretty straight forward. OpenWhisk ensures automatically that users have valid access tokens before the functions are triggered. If you only want to make sure that users are authenticated, no extra code is required.
However if you not only want to know that users are authenticated, but also who the users are, you need to invoke the ‘/userinfo’ endpoint. Check out my sample code and read the documentation. The endpoint expects user tokens in the ‘authorization’ header which can be read in OpenWhisk functions from ‘params.__ow_headers.authorization’.
This is a sample response from ‘userinfo’:
1
2
3
4
5
6
7
8
9
10
11
12
13
14
15
16
17
18
19
20
21
22
23
24
25
"sub": "cad9f1d4-e23b-3683-b81b-d1c4c4fd7d4c",
"name": "John Doe",
"email": "john.doe@gmail.com",
"picture": "https://lh3.googleusercontent.com/-XdUIqdbhg/AAAAAAAAI/AAAAAAA/42rbcbv5M/photo.jpg",
"gender": "male",
"locale": "en",
"identities": [
   {
       "provider": "google",
       "id": "104560903311317789798",
       "profile": {
           "id": "104560903311317789798",
           "email": "john.doe@gmail.com",
           "verified_email": true,
           "name": "John Doe",
           "given_name": "John",
           "family_name": "Doe",
           "link": "https://plus.google.com/104560903311317789798",
           "picture": "https://lh3.googleusercontent.com/-XdUIqdbhg/AAAAAAAAI/AAAAAAA/42rbcbv5M/photo.jpg",
           "gender": "male",
           "locale": "en",
           "idpType": "google"
       }
   }
]
If you want to try this functionality yourself, create an IBM Cloud lite account (free, no credit card required) and follow the steps outlined in my repo.
This article is part of a mini series. Check out the other articles and documentation:

