Watsonx.ai is IBM’s AI platform built for business. It is provided as SaaS and as software which can be deployed on multiple clouds and on-premises. This post describes how to deploy custom fine-tuned models.
Watsonx.ai is part of IBM Cloud Pak for Data. Since it’s based on OpenShift it can run everywhere. Recently IBM added a key capability to run models from HuggingFace and your own fine-tuned models, called Bring Your Own Model (BYOM). Watsonx.ai leverages Text Generation Inference from HuggingFace.
Models
The documentation describes the supported model architectures, for example the modern architectures used by llama, mistral, mixtral and others.
GPTQ can be used for quantization and float16 and bfloat16 as datatypes.
Model weights need to be available in the safetensors format. Models in PyTorch formats can be converted.
Prerequisites
To deploy custom foundation models in Cloud Pak for Data, you must have NVIDIA A100 80GB or H100 80GB GPUs set up on your cluster. Via hardware specifications the required GPU and CPU resources are defined.
Example for 4-bit quantized models:
- GPU memory (number of billion parameters * 0.5) + 50 % additional memory
- Number of GPUs depends on model GPU memory requirements: 1GPU = 80 GB
- Number of CPUs is the number of GPUs + 1
- CPU memory is equal to GPU memory
Additionally, you must prepare a properly sized Persistent Volume Claim on your cluster. The disc size should be roughly two times the size of the model file size.
Flow
The full deployment includes the following steps.
- Set up storage
- Upload model
- Register the model
- Create the model asset
- Deploy the custom model
- Prompt the deployed model
Check out the documentation for details.
Upload Model
To upload the model, you can leverage several approaches. One option is to create a pod that mounts the PVC. From the pod you can read files from S3 or from repos via gitlfs. Alternatively, you can use ‘oc’ to copy files or ‘oc rsync’.
The files need to be put in the root directory. Make sure the config.json, tokenizer.json and the safetensors files exist.
Register the Model
To register the model, edit the Watsonxaiifm custom resource.
1
2
3
4
5
6
7
8
9
10
11
12
13
14
15
16
17
18
19
20
21
22
23
24
25
26
27
28
29
30
31
32
33
34
apiVersion: watsonxaiifm.cpd.ibm.com/v1beta1
kind: Watsonxaiifm
metadata:
  name: watsonxaiifm-cr
...
custom_foundation_models:
- model_id: example_model_70b
    location:
      pvc_name: example_model_pvc
    tags:
    - example_model
    - 70b
    parameters:
    - name: dtype
        default: float16
        options:
        - float16
        - bfloat16
    - name: max_batch_size
        default: 256
        min: 16
        max: 512
    - name: max_concurrent_requests
        default: 64
        min: 0
        max: 128
    - name: max_sequence_length
        default: 2048
        min: 256
        max: 8192
    - name: max_new_tokens
        default: 2048
        min: 512
        max: 4096
Deploy the custom Model
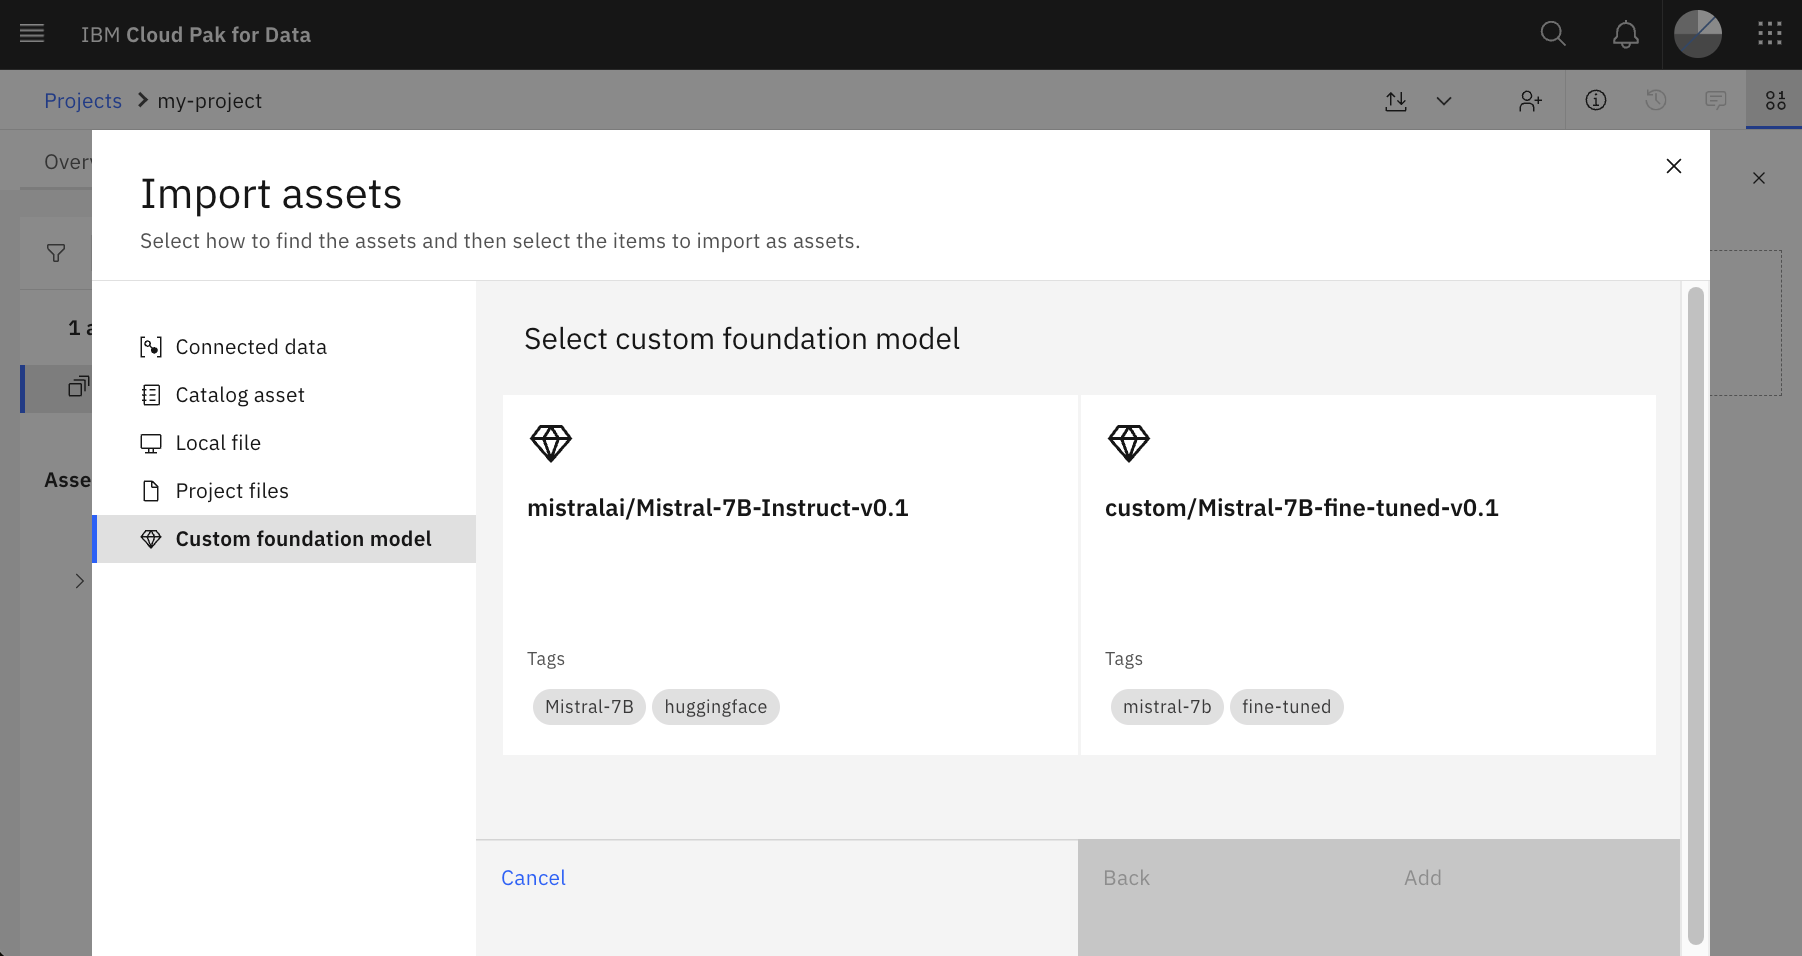
After the OpenShift administrator has registered the model, the watsonx.ai user interface can be used to deploy the model so that it can be accessed via API or from the Prompt Lab - see screenshot above.
Next Steps
To learn more, check out the Watsonx.ai documentation and the Watsonx.ai landing page.

