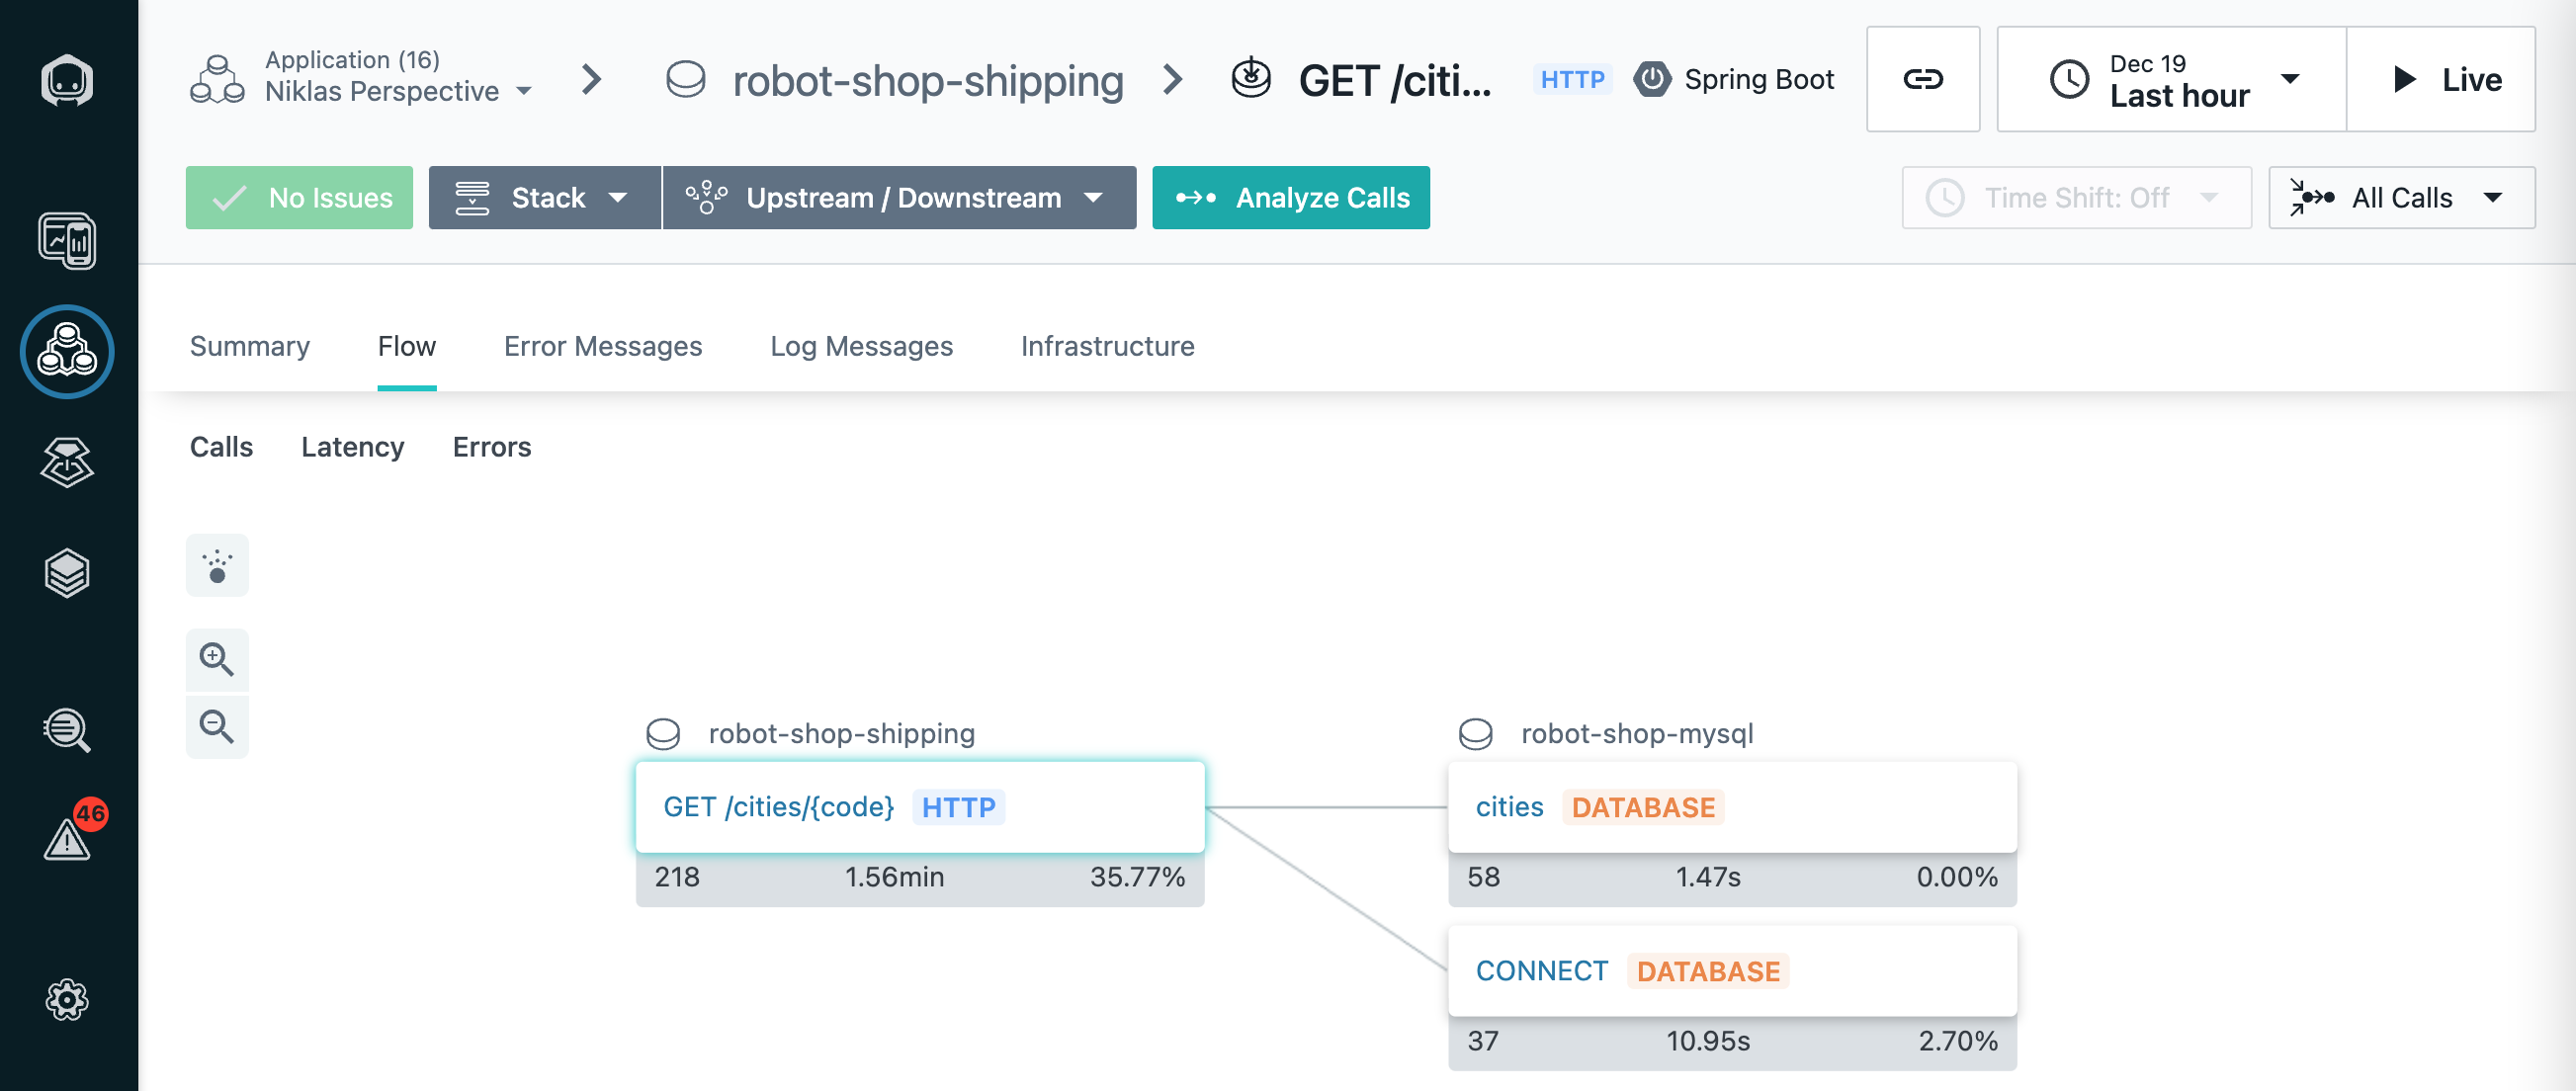
This posts explains how I have migrated my 700 blog posts from Wordpress to a static website built with Jekyll and hosted via GitHub Pages.
There are several reasons why I stopped using Wordpress and chose Jekyll instead. Read my previous post Welcome to my new Jekyll based Blog for details.
Jekyll Exporter Plugin
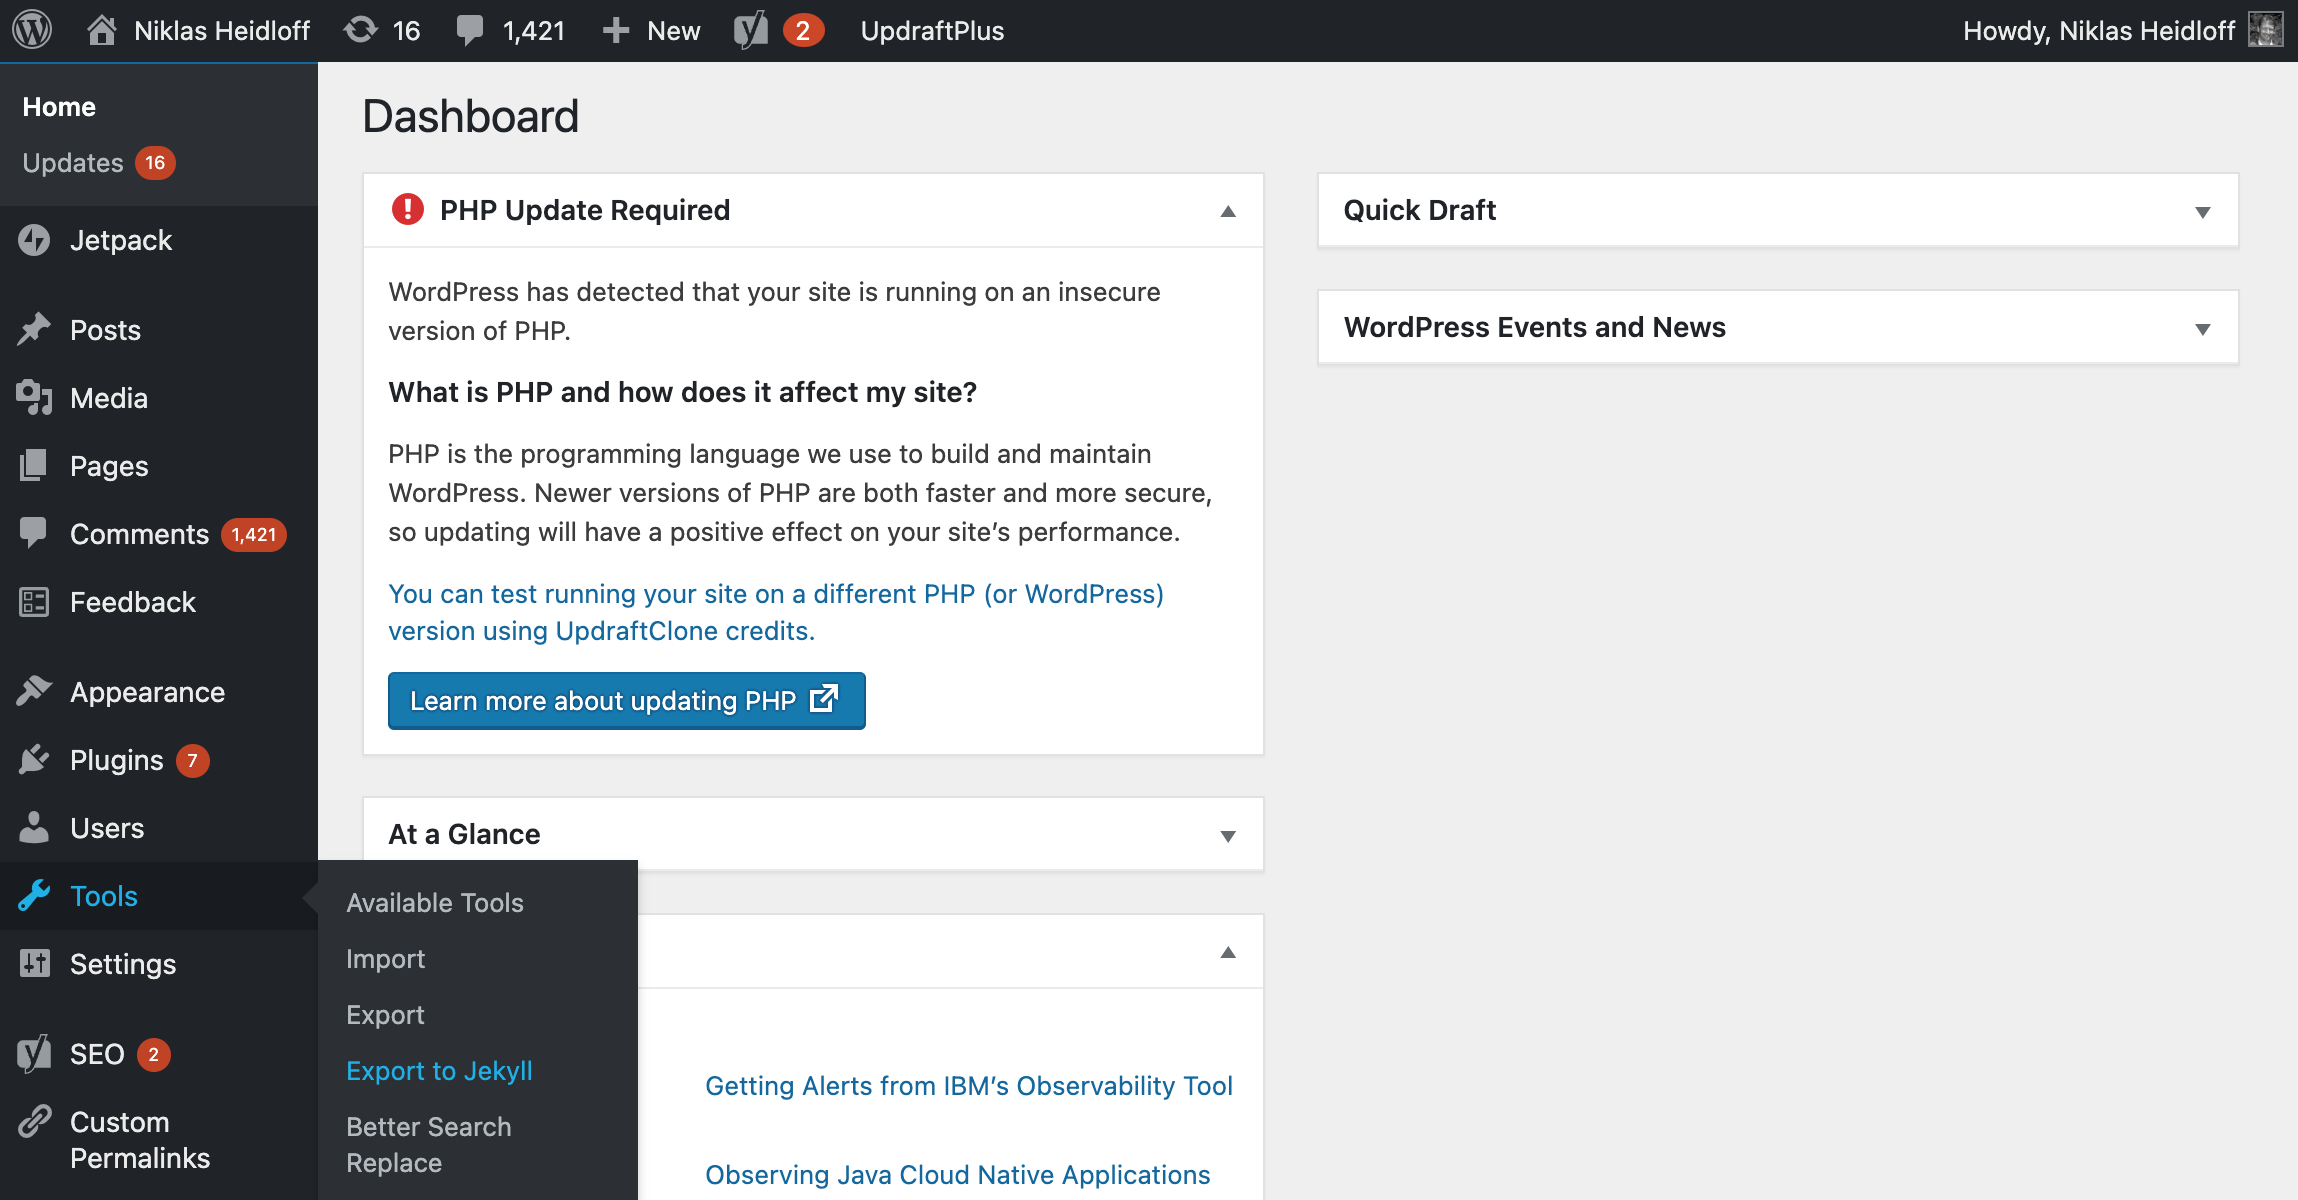
Fortunately there is a Wordpress plugin wordpress-to-jekyll-exporter. It exports all images and posts in a directory structure as expected by Jekyll into one zip file. If it works, it is as easy as installing the plugin into Wordpress and running it from the Wordpress Dashboard - see the screenshot at the top. When I started to use Wordpress, I chose a semi-managed hosting so that I could leverage plugins like this one. The blog From Wordpress To Jekyll provides step by step instructions.
Unfortunately the plugin didn’t work for me in the Wordpress Dashboard. After some minutes it timed out. My assumption was that this was related to the rather large size of my blog with 800 MB of data. The documentation stated that the plugin can also be run locally which solved this issue.
Running Wordpress locally
To run the exporter plugin locally, Wordpress had to run locally as well in my case. I googled and found different pieces of information how to do this.
The blog How to Install WordPress on Docker helps you getting started. I prefer the container approach to avoid installing prerequisites locally. docker-compose brings up all necessary containers.
1
2
3
4
5
6
7
8
9
10
11
12
13
14
15
16
17
18
19
20
21
22
23
24
25
26
27
28
29
30
31
32
33
34
35
version: "3"
services:
  db:
    image: mysql:5.7
    restart: always
    environment:
      MYSQL_ROOT_PASSWORD: MyR00tMySQLPa$$5w0rD
      MYSQL_DATABASE: MyWordPressDatabaseName
      MYSQL_USER: user
      MYSQL_PASSWORD: pw
  phpmyadmin:
    image: phpmyadmin/phpmyadmin:latest
    restart: always
    environment:
      PMA_HOST: db
      PMA_USER: user
      PMA_PASSWORD: pw
    ports:
      - "8080:80"
  wordpress:
    depends_on:
      - db
    image: wordpress:5.1.1-php7.3-apache
    restart: always
    ports:
      - "80:80"
    environment:
      WORDPRESS_DB_HOST: db:3306
      WORDPRESS_DB_USER: user
      WORDPRESS_DB_PASSWORD: pw
      WORDPRESS_DB_NAME: MyWordPressDatabaseName
    volumes:
      ["./:/var/www/html"]
volumes:
  mysql: {}
Before starting the containers, change the PHP image to the same version your blog runs on.
1
docker-compose up
Exporting Wordpress Data and configuring Wordpress
There are some additional things that need to be done first before Wordpress can be launched. First the data needs to be exported. Since the Jekyll exporter plugin didn’t work, I leveraged another plugin, called UpdraftPlus - Backup/Restore. That plugin exports all images and the complete SQL database including posts. As result zip files with this data can be downloaded. The wp-content folder in one of the zip files can simply be copied to your local Wordpress directory.
The database is a little bit more tricky, but phpMyAdmin helps. The tool provides an easy way to import the exported SQL database file ending with -db.gz. Since the tool is defined in the docker-compose.yml file above, you can launch it via http://localhost:8080.
Check out the documentation of the backup plugin:
After the database has been imported, two rows need to be changed that define your domain. They need to be replaced with http://localhost. Search for homeand siteurlin the ...optionstable.
The same information needs to be defined in config.php. Read the article How to Change Your Domain Name on WordPress for details.
Last, but not least the prefix of your tables needs to be defined in wp-config.php. Otherwise you cannot log in. Read the blog WordPress Asking to Install Again for more.
Finally you can launch Wordpress via http://localhost/wp-admin and log in with your existing Wordpress user.
Running the Jekyll Exporter locally
To run the exporter plugin locally, execute into the running PHP container.
1
docker exec -it wordpress-wordpress-1 /bin/bash
From within the container run this command:
1
php jekyll-export-cli.php > jekyll-export.zip
The zip file contains the posts and wp-content container which need to be copied to your Jekyll project.
1
2
3
4
5
6
7
8
9
10
11
12
13
tree
.
├── _config.yml
├── _posts
│   ├── 2008-09-29-welcome-to-my-new-blog.md
│   ├── ...
├── archives.md
└── wp-content
    └── uploads
        ├── 2008
        │   ├── 09
        │   │   ├── my.png
    │   ├── ...
Maybe I had an old version, but I had to apply one patch before I could run the plugin.
Creating the Jekyll Project
To create a new Jekyll project, follow the instructions from the Jekyll home page. If you want to use the theme from my blog, get the code from GitHub, remove my data and add your exported data.
1
2
3
4
5
6
7
8
9
10
11
git clone https://github.com/nheidloff/heidloffblog
cd heidloffblog
rm -rf .git
rm -rf _posts
rm -rf assets/img
cp jekyll-export/_posts _posts
cp jekyll-export/wp-content/uploads assets/img
code _config.yml
bundle install
bundle exec jekyll serve
open http://localhost:4000
Here are some other commands which you’ll often need:
1
2
3
4
5
6
7
8
9
10
11
12
13
14
15
16
17
Run locally:
$ bundle exec jekyll serve
or
$ bash tools/run

Run locally as container:
$ docker run -it --rm \
    --volume="$PWD:/srv/jekyll" \
    -p 4000:4000 jekyll/jekyll \
    jekyll serve

If you need to change JavaScript code, run this in the first terminal:
$ bash tools/run
Run this in the second terminal:
$ npx gulp dev
To generate the minimized and uglified zip files, run this command:
$ npx gulp
Fixing Links to Images and Posts
Linking to other posts and embedding images works differently in Markdown and Jekyll. Fortunately all your data is now in files (not databases). Find and Replace, for example in Visual Studio Code, is your friend, especially since it also supports regular expressions.
1
2
3
4
5
6
7
8
9
10
11
12
13
14
15
16
17
18
19
20
21
22
23
24
25
26
27
28
29
30
31
32
1. Images (normal search and replace)
Example - From:

Example - To:

From:

Example - From:
[](http://heidloff.net/wp-content/uploads/2019/01/game-results.png)
Example - To:
[](/assets/img/2019/01/game-results.png)
From:
\[!\[(.+?)\]\(http://heidloff.net/wp-content/uploads/(.+?)\)\]\(http://heidloff.net/wp-content/uploads/(.+?)\)
To:

3. Links to Blog Posts (regex)
Example - From:
[Observing Java Cloud Native Applications with Instana](http://heidloff.net/article/observing-java-cloud-native-applications-with-instana/)
Example - To:
[Observing Java Cloud Native Applications with Instana](/article/observing-java-cloud-native-applications-with-instana/)
From:
\[(.+?)\]\(http://heidloff.net/article/(.+?)\)
To:
[$1](/article/$2)
In addition to fixing the links I also removed all images that Wordpress had created with smaller resolutions, for example my-image-135x100.png. This saves not only space, but more importantly it significantly decreases the time builds take. I wrote a little script to remove all images with an x since I was too lazy to build another regex. The images that have been removed, but shouldn’t have been removed, I added back manually.
Deploying via GitHub Actions
After changes are pushed to GitHub.com, GitHub Actions are triggered which build the static website and make it accessible under the URL https://your-github-user.github.io/your-github-repo-name via GitHub Pages. Alternatively custom domains are supported including HTTPS.
Before pushing changes to GitHub.com, you should do as much testing as possible locally. As part of the free plan there is only a limited number of GitHub Actions minutes and running the builds on the server takes much longer than locally. Especially when you get started, there are quite a number of things that can break builds, for example internal links to posts or images that don’t exist.
The same logic to build the static site and to validate the syntax of the posts can be run locally. You should really run the following command every time before you push code. The output of this command tells you, for example, that images need alternate names and that the permalinks have to end with /. You won’t see these issues, when running the blog locally, but only when you try to deploy it.
1
bash tools/test
Next Steps
Give Jekyll a try. Follow the instructions above, if you need to migrate from Wordpress, or just follow the simple Jekyll getting started tutorial and play around with it. You can find my blog on GitHub.


