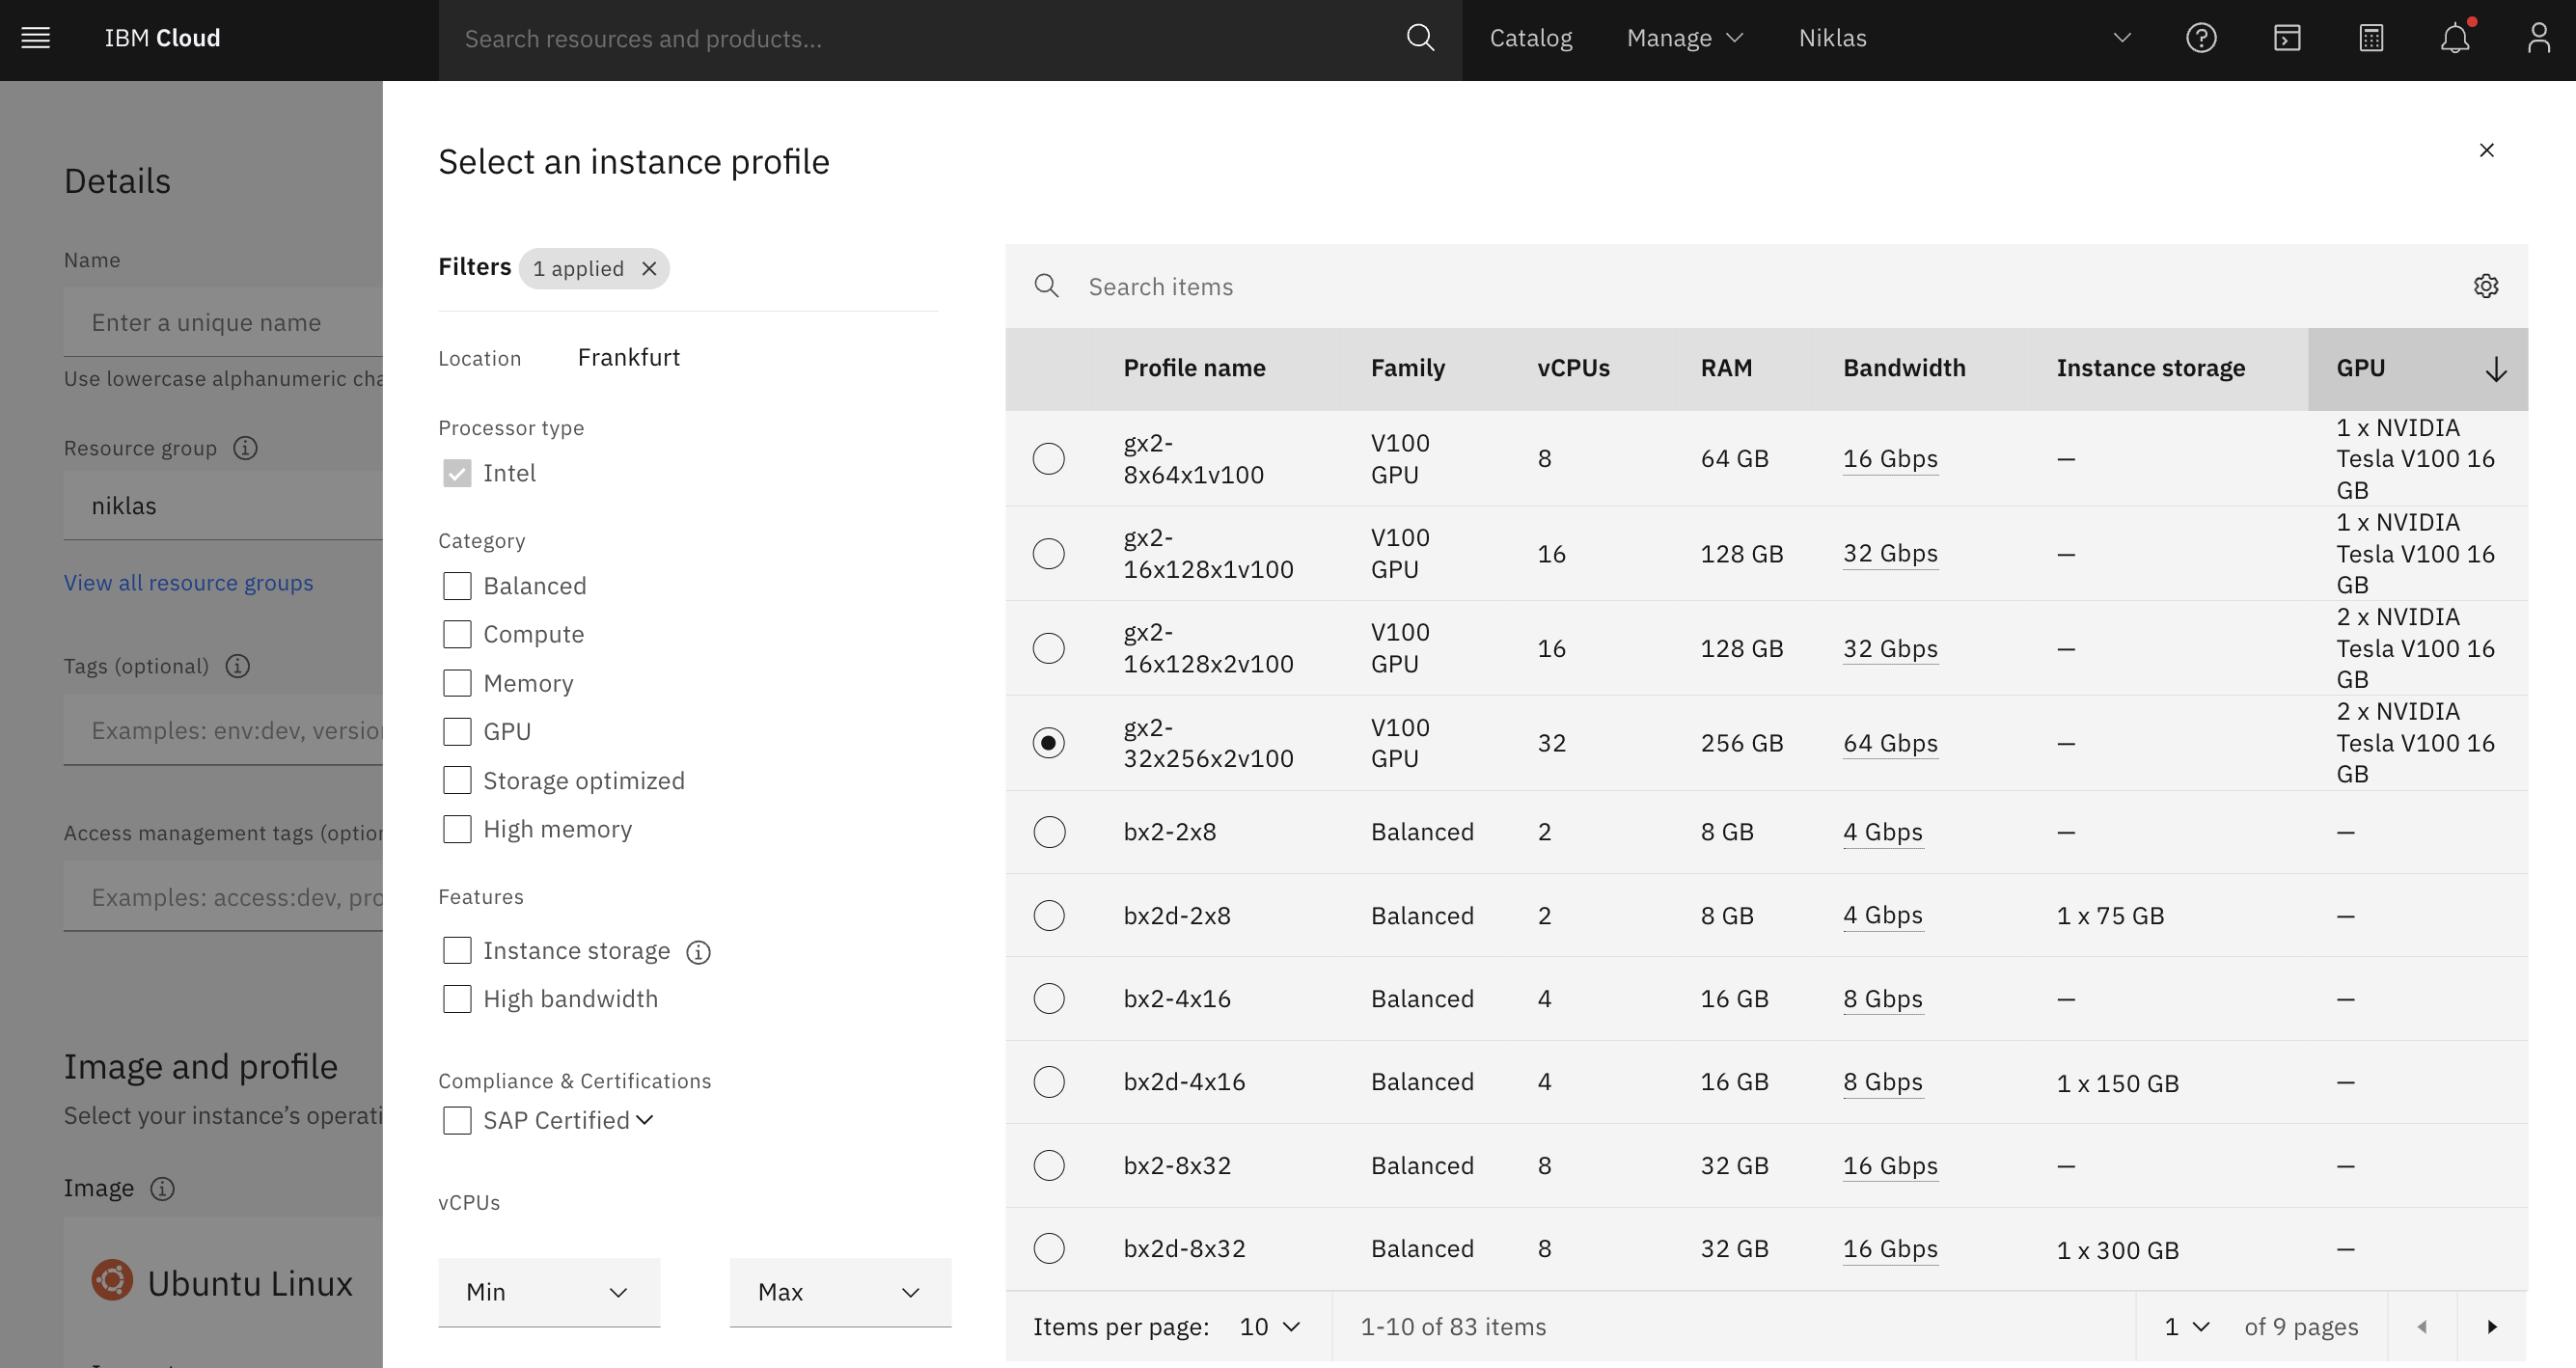
The speed of innovation in the AI community is amazing. What didn’t seem to be possible a year ago, is standard today. Fine-tuning is a great example. With the latest progress, you can fine-tune smaller models with cheap GPUs in little time. This post describes how to tune Mistral 7b on the IBM Cloud.
Context
Over the last year, we’ve seen how smaller models can be fine-tuned to perform as good as or even better than the large LLMs (Large Language Models), especially when tuning them for specific tasks.
While prompt engineering is a great and easy way to customize models, there are limitations with it which explains why fine-tuning is desirable in certain scenarios.
- Often prompt engineering works best for the large models only which are rather expensive and cannot be run on premises.
- Few-short learning, chain of thought and similar techniques often run into context window size limitations.
Additionally, a lot of new techniques were invented to make fine-tune more efficient: LoRA, quantization, deep speed, accelerate and many more. Hugging Face does an outstanding job to integrate these improvements in little time in their APIs making them very easy to consume.
Fine-tuning of Mistral
At the end of last year Mistral was open sourced which provides an amazing performance for many standard benchmarks. Since the original version is only 7b big, it’s a good candidate for fine-tuning.
Below I describe how to run fine-tuning on the IBM Cloud for Mistral 7b. For my example with 10.000 items in the dataset and three episodes, the fine tuning takes less than three hours.
Credit goes to Phil Schmid from Hugging Face. He wrote a blog post recently which I modified slightly to work on IBM Cloud.
- Phil Schmid: How to Fine-Tune LLMs in 2024 with Hugging Face
- Announcing Mistral 7B
- Fine-Tuning LLMs with LoRA on a small GPU
- Deploying a Virtual Server with GPU in the IBM Cloud
Dependencies
As documented in the blog post above, install the following dependencies first:
- Python
- pip
- Torch
- CUDA toolkit
Then install the Python modules:
1
2
3
4
5
6
7
8
9
!pip install "torch==2.1.2"
!pip install --upgrade \
  "transformers==4.36.2" \
  "datasets==2.16.1" \
  "accelerate==0.26.1" \
  "evaluate==0.4.1" \
  "bitsandbytes==0.42.0"
!pip install git+https://github.com/huggingface/trl@a3c5b7178ac4f65569975efadc97db2f3749c65e --upgrade
!pip install git+https://github.com/huggingface/peft@4a1559582281fc3c9283892caea8ccef1d6f5a4f --upgrade
Code
The code from Phil Schmid’s blog post works on a GPU with 24 GB (or better ones). To use smaller and/or older GPUs, I’ve done a couple of changes marked in the code as …
Change from Niklas / Different from Phil Schmid’s blog post
The following code works for two V100 GPUs with 16 GB. If you want to use only one V100 with 16 GB, decrease ‘r’ from 128 to 8.
1
2
3
4
5
6
7
8
9
10
11
12
13
14
15
16
17
18
19
20
21
22
23
24
25
26
27
28
29
30
31
32
33
34
35
36
37
38
39
40
41
42
43
44
45
46
47
48
49
50
51
52
53
54
55
56
57
58
59
60
61
62
63
64
65
66
67
68
69
70
71
72
73
74
75
76
77
78
79
80
81
82
83
84
85
86
model_id = "mistralai/Mistral-7B-v0.1"
output_directory="/text-to-sql/output/"
peft_model_id=output_directory+"model"

from datasets import load_dataset
dataset = load_dataset("json", data_files="train_dataset.json", split="train")

import torch
from transformers import AutoTokenizer, AutoModelForCausalLM, BitsAndBytesConfig
from trl import setup_chat_format

bnb_config = BitsAndBytesConfig(
    load_in_4bit=True,
    bnb_4bit_use_double_quant=True,
    bnb_4bit_quant_type="nf4",
    bnb_4bit_compute_dtype=torch.float16  # Change from Niklas / Different from Phil Schmid's blog post
)

model = AutoModelForCausalLM.from_pretrained(
    model_id,
    device_map="auto",
    #attn_implementation="flash_attention_2", # Change from Niklas / Different from Phil Schmid's blog post
    torch_dtype=torch.float16, # Change from Niklas / Different from Phil Schmid's blog post
    quantization_config=bnb_config
)
tokenizer = AutoTokenizer.from_pretrained(model_id)
tokenizer.padding_side = 'right'
model, tokenizer = setup_chat_format(model, tokenizer)

from peft import LoraConfig
peft_config = LoraConfig(
        lora_alpha=128,
        lora_dropout=0.05,
        r=128, # Change from Niklas / Different from Phil Schmid's blog post
        bias="none",
        target_modules="all-linear",
        task_type="CAUSAL_LM",
)

from transformers import TrainingArguments
args = TrainingArguments(
    output_dir=output_directory+"checkpoints",
    logging_dir=output_directory+"logs",
    logging_strategy="steps",
    logging_steps=250,
    save_steps=1000,
    num_train_epochs=3,
    per_device_train_batch_size=3,
    gradient_accumulation_steps=2,
    gradient_checkpointing=True,
    optim="adamw_torch_fused",
    save_strategy="epoch",
    learning_rate=2e-4,
    fp16=True, # Change from Niklas / Different from Phil Schmid's blog post
    #bf16=True,# Change from Niklas / Different from Phil Schmid's blog post
    #tf32=True,# Change from Niklas / Different from Phil Schmid's blog post
    max_grad_norm=0.3,
    warmup_ratio=0.03,
    lr_scheduler_type="constant",
    push_to_hub=False,  # Change from Niklas / Different from Phil Schmid's blog post
    auto_find_batch_size=True # Change from Niklas / Different from Phil Schmid's blog post
)

from trl import SFTTrainer
max_seq_length = 3072
trainer = SFTTrainer(
    model=model,
    args=args,
    train_dataset=dataset,
    peft_config=peft_config,
    max_seq_length=max_seq_length,
    tokenizer=tokenizer,
    packing=True,
    dataset_kwargs={
        "add_special_tokens": False,
        "append_concat_token": False,
    }
)

trainer.train()
trainer.model.save_pretrained(peft_model_id)
tokenizer.save_pretrained(peft_model_id)

del model
del trainer
torch.cuda.empty_cache()
Next Steps
To learn more, check out the Watsonx.ai documentation and the Watsonx.ai landing page.

