Ansgar Schmidt and I open sourced a sample that shows how to use TensorFlow to recognize certain types of flowers. The first version of the sample used the MobileNet model which we deployed to the serverless platform OpenWhisk to run the predictions. This article describes how to deploy a TensorFlow model to Kubernetes.
TensorFlow supports various image recognition models that can be retrained for certain objects. MobileNet is small and can be run in OpenWhisk. The more precise and bigger Inception model however is too big for the 512 MB RAM memory limit of OpenWhisk. Instead it can be deployed to Kubernetes, for example on the IBM Cloud which provides a free plan that can be used to run this sample.
In order to deploy TensorFlow models to production environments you should check out TensorFlow Serving. It provides a lot of nice functionality to manage models, provide API access to models and more. I set up Serving, but it wasn’t as straight forward as I had hoped. Below is a quick tutorial how you can deploy a model on Kubernetes without Serving.
I’ve open sourced the code. There is also a live demo of the original sample using the MobileNet model.
Check out the blog from Ansgar how to train the model. The only change is that you have to refer to Inception rather than MobileNet. Ansgar also describes how to deploy the model to OpenWhisk via Docker. The same Docker image can also be deployed to Kubernetes on the IBM Cloud.
Before the Docker image can be built, you need to create an instance of IBM Object Storage on the IBM Cloud. Check out the article Accessing IBM Object Store from Python for details. Paste the values of ‘region’, ‘projectId’, ‘userId’ and ‘password’ in classifier.py. After this upload the model (retrained_graph.pb and retrained_labels.txt) into your Object Storage instance in a bucket ‘tensorflow’.
In order to build the image, run these commands:
1
2
3
$ git clone https://github.com/AnsgarSchmidt/VisualRecognitionWithTensorflow.git
$ cd VisualRecognitionWithTensorflow/Classify
$ docker build -t $USER/tensorflow-kubernetes-classify:latest .
In order to test the image, run these commands:
1
2
$ docker run -d -p 8080:8080 $USER/tensorflow-kubernetes-classify:latest
$ curl http://localhost:8080/classify?image-url=http://heidloff.net/wp-content/uploads/2017/10/codetalks17-6.jpg
In order to deploy the image to Kubernetes on the IBM Cloud, run the following commands after you’ve updated your user name in [tensorflow-model-classifier.yaml](Classify/tensorflow-model-classifier.yaml):
1
2
3
4
5
6
7
8
9
$ docker push $USER/tensorflow-kubernetes-classify:latest
$ bx plugin install container-service -r Bluemix
$ bx login -a https://api.eu-de.bluemix.net
$ bx cs cluster-config mycluster
$ export KUBECONFIG=/Users/nheidlo.....
$ cd Classify
$ kubectl create -f tensorflow-model-classifier.yaml
$ bx cs workers mycluster
$ kubectl describe service classifier-service
In order to test the classifier, open the following URL after you’ve replaced your ‘Public IP’ and ‘NodePort’ from the previous two commands:
http://169.51.19.8:32441/classify?image-url=http://heidloff.net/wp-content/uploads/2017/10/codetalks17-6.jpg
Check out the complete source on GitHub. For now it’s in my fork, but we’ll merge it in the original project soon.
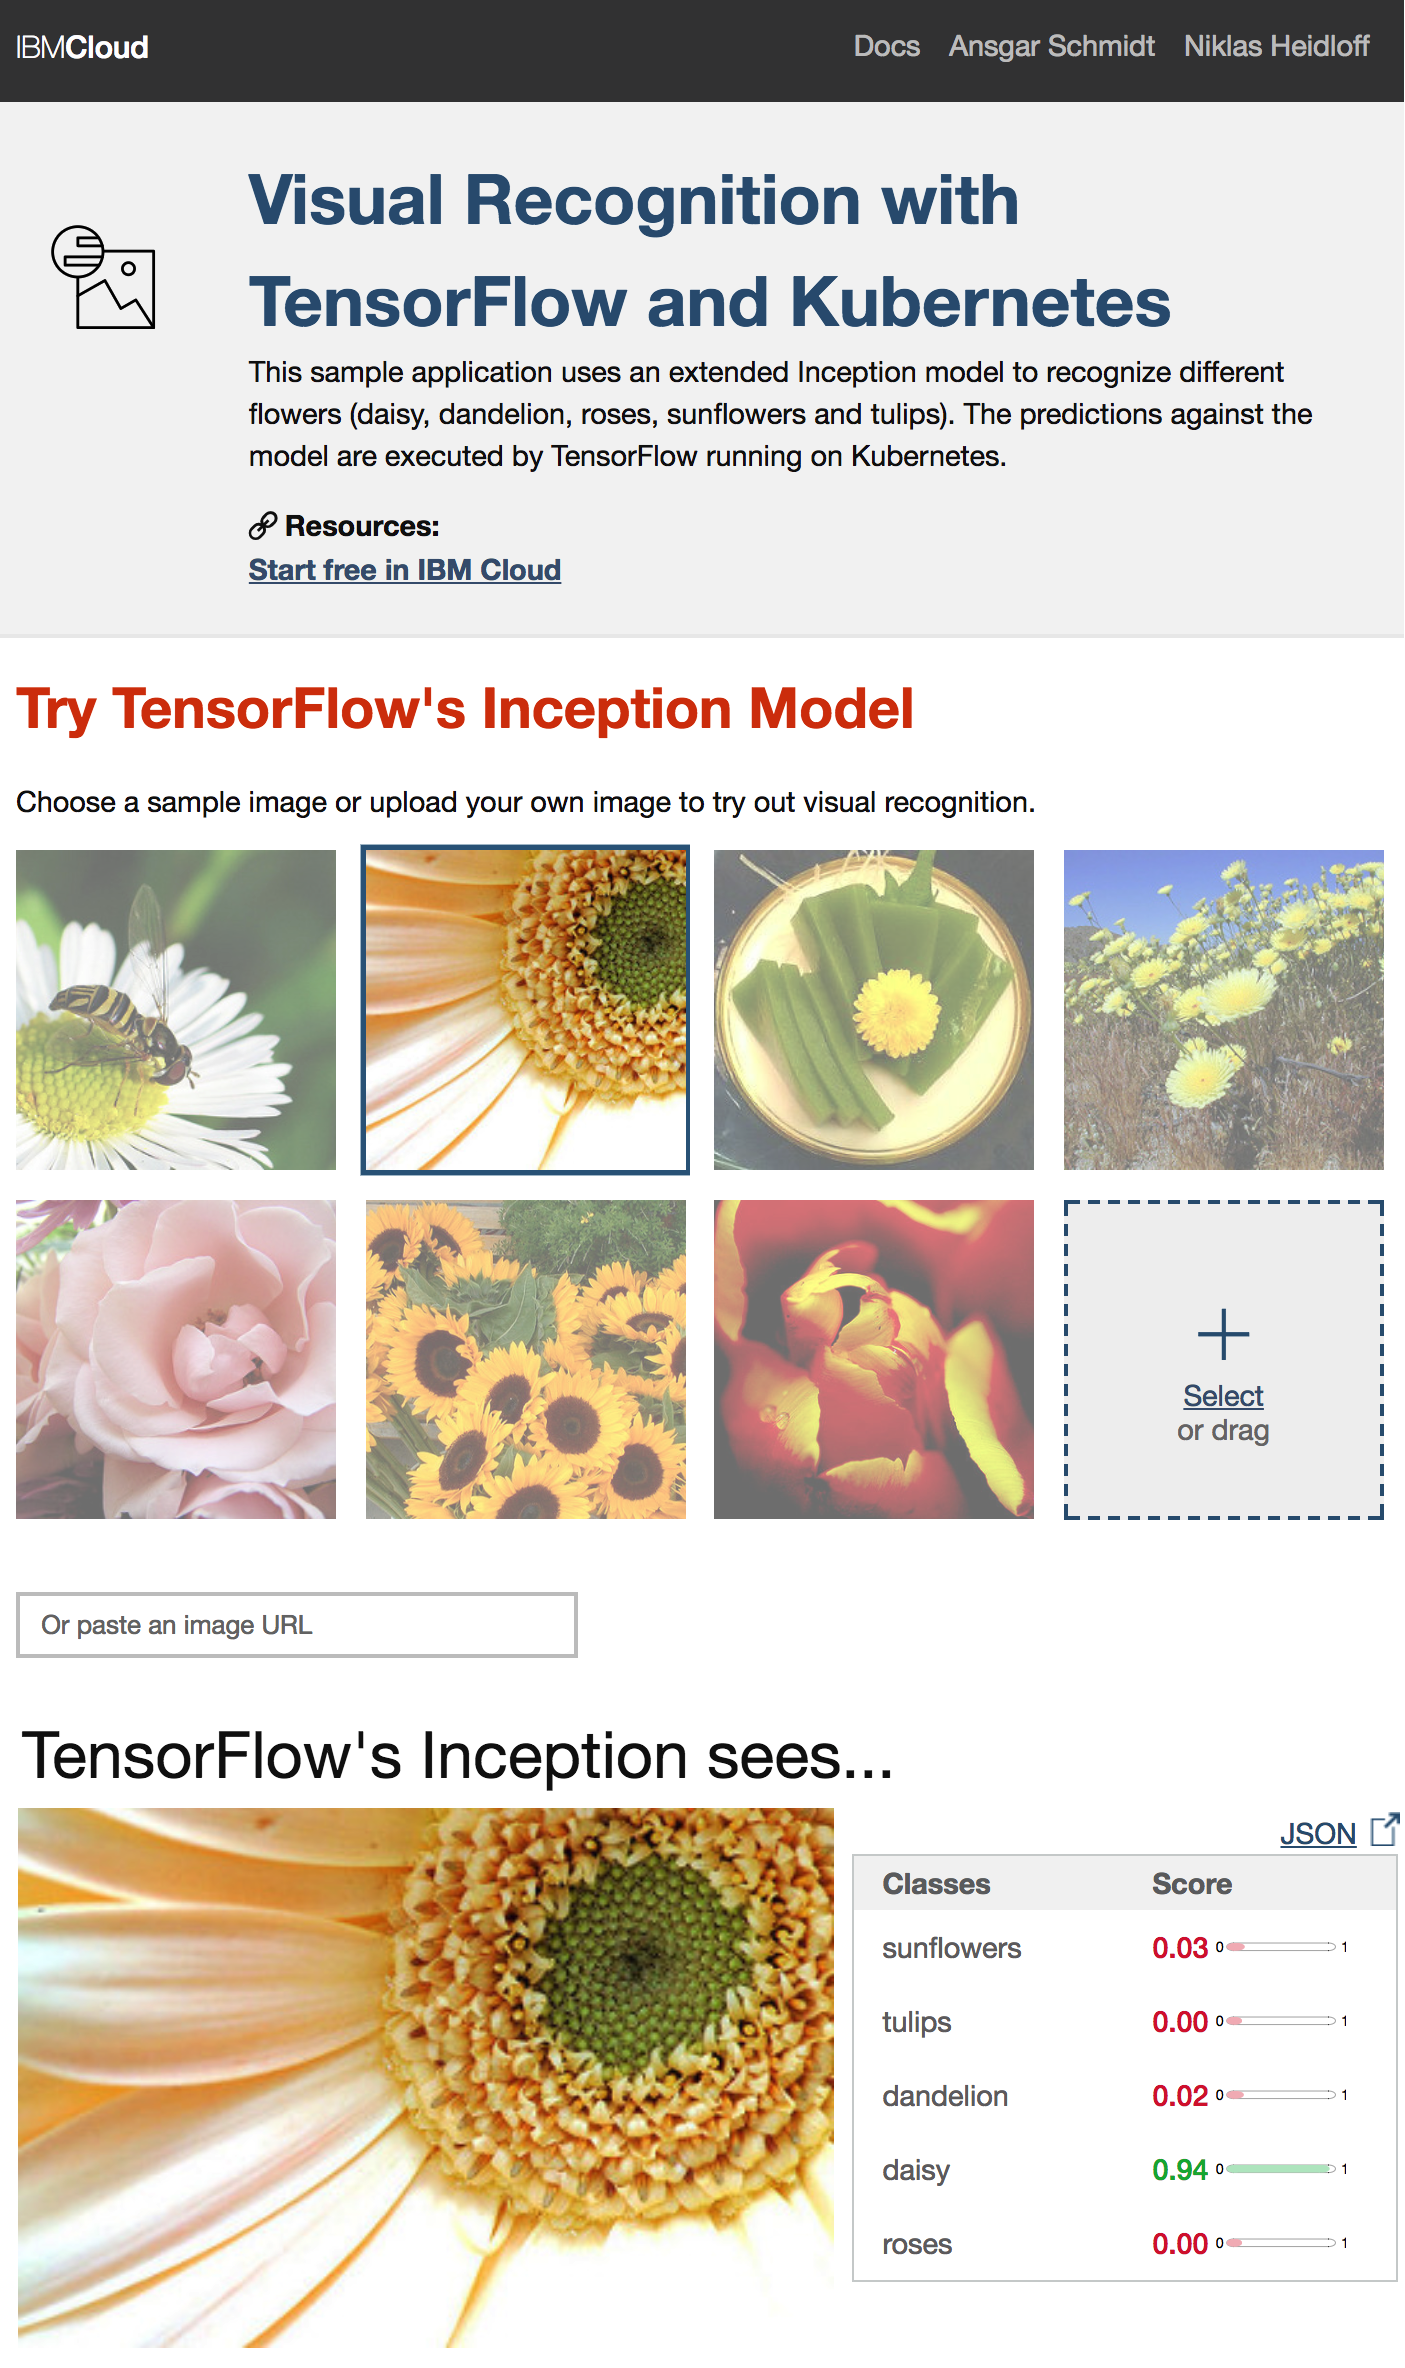
Here is a screenshot of the sample web application: