Eclipse MicroProfile is an open source project to optimize Enterprise Java for microservices architectures. MicroProfile based applications can be deployed to Kubernetes. This article describes how to build microservices via the Microservice Builder and how to deploy them to Bluemix.
The Microservice Builder provides functionality to easily create new Java based microservices. Below is a quick walkthrough how to create new microservices, how to run them locally and how to deploy them to Kubernetes on Bluemix public. You can find more information on the Microservice Builder landing page.
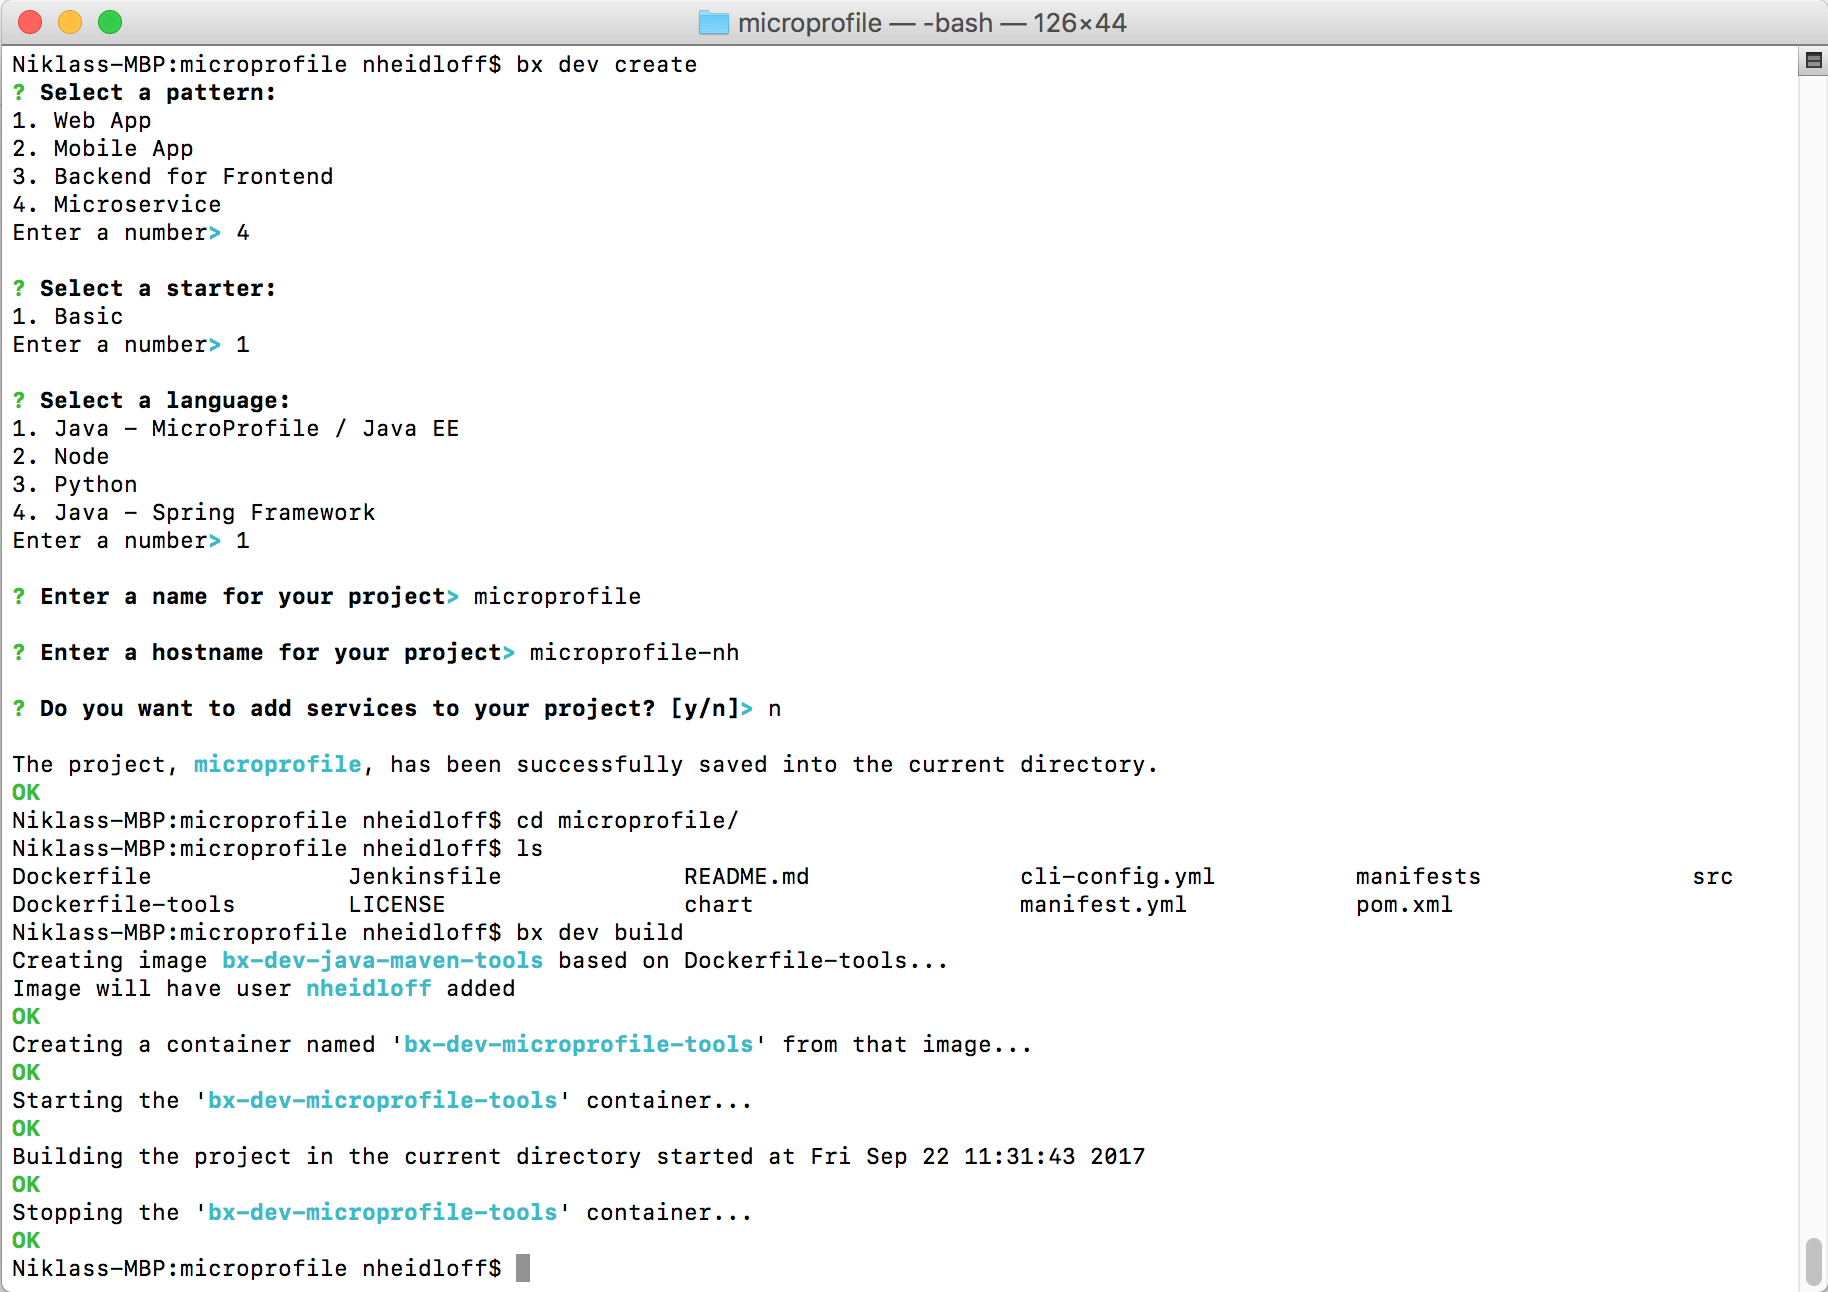
To create a new project install the Bluemix CLI and run these commands:
1
2
bx plugin install -r bluemix dev
bx dev create
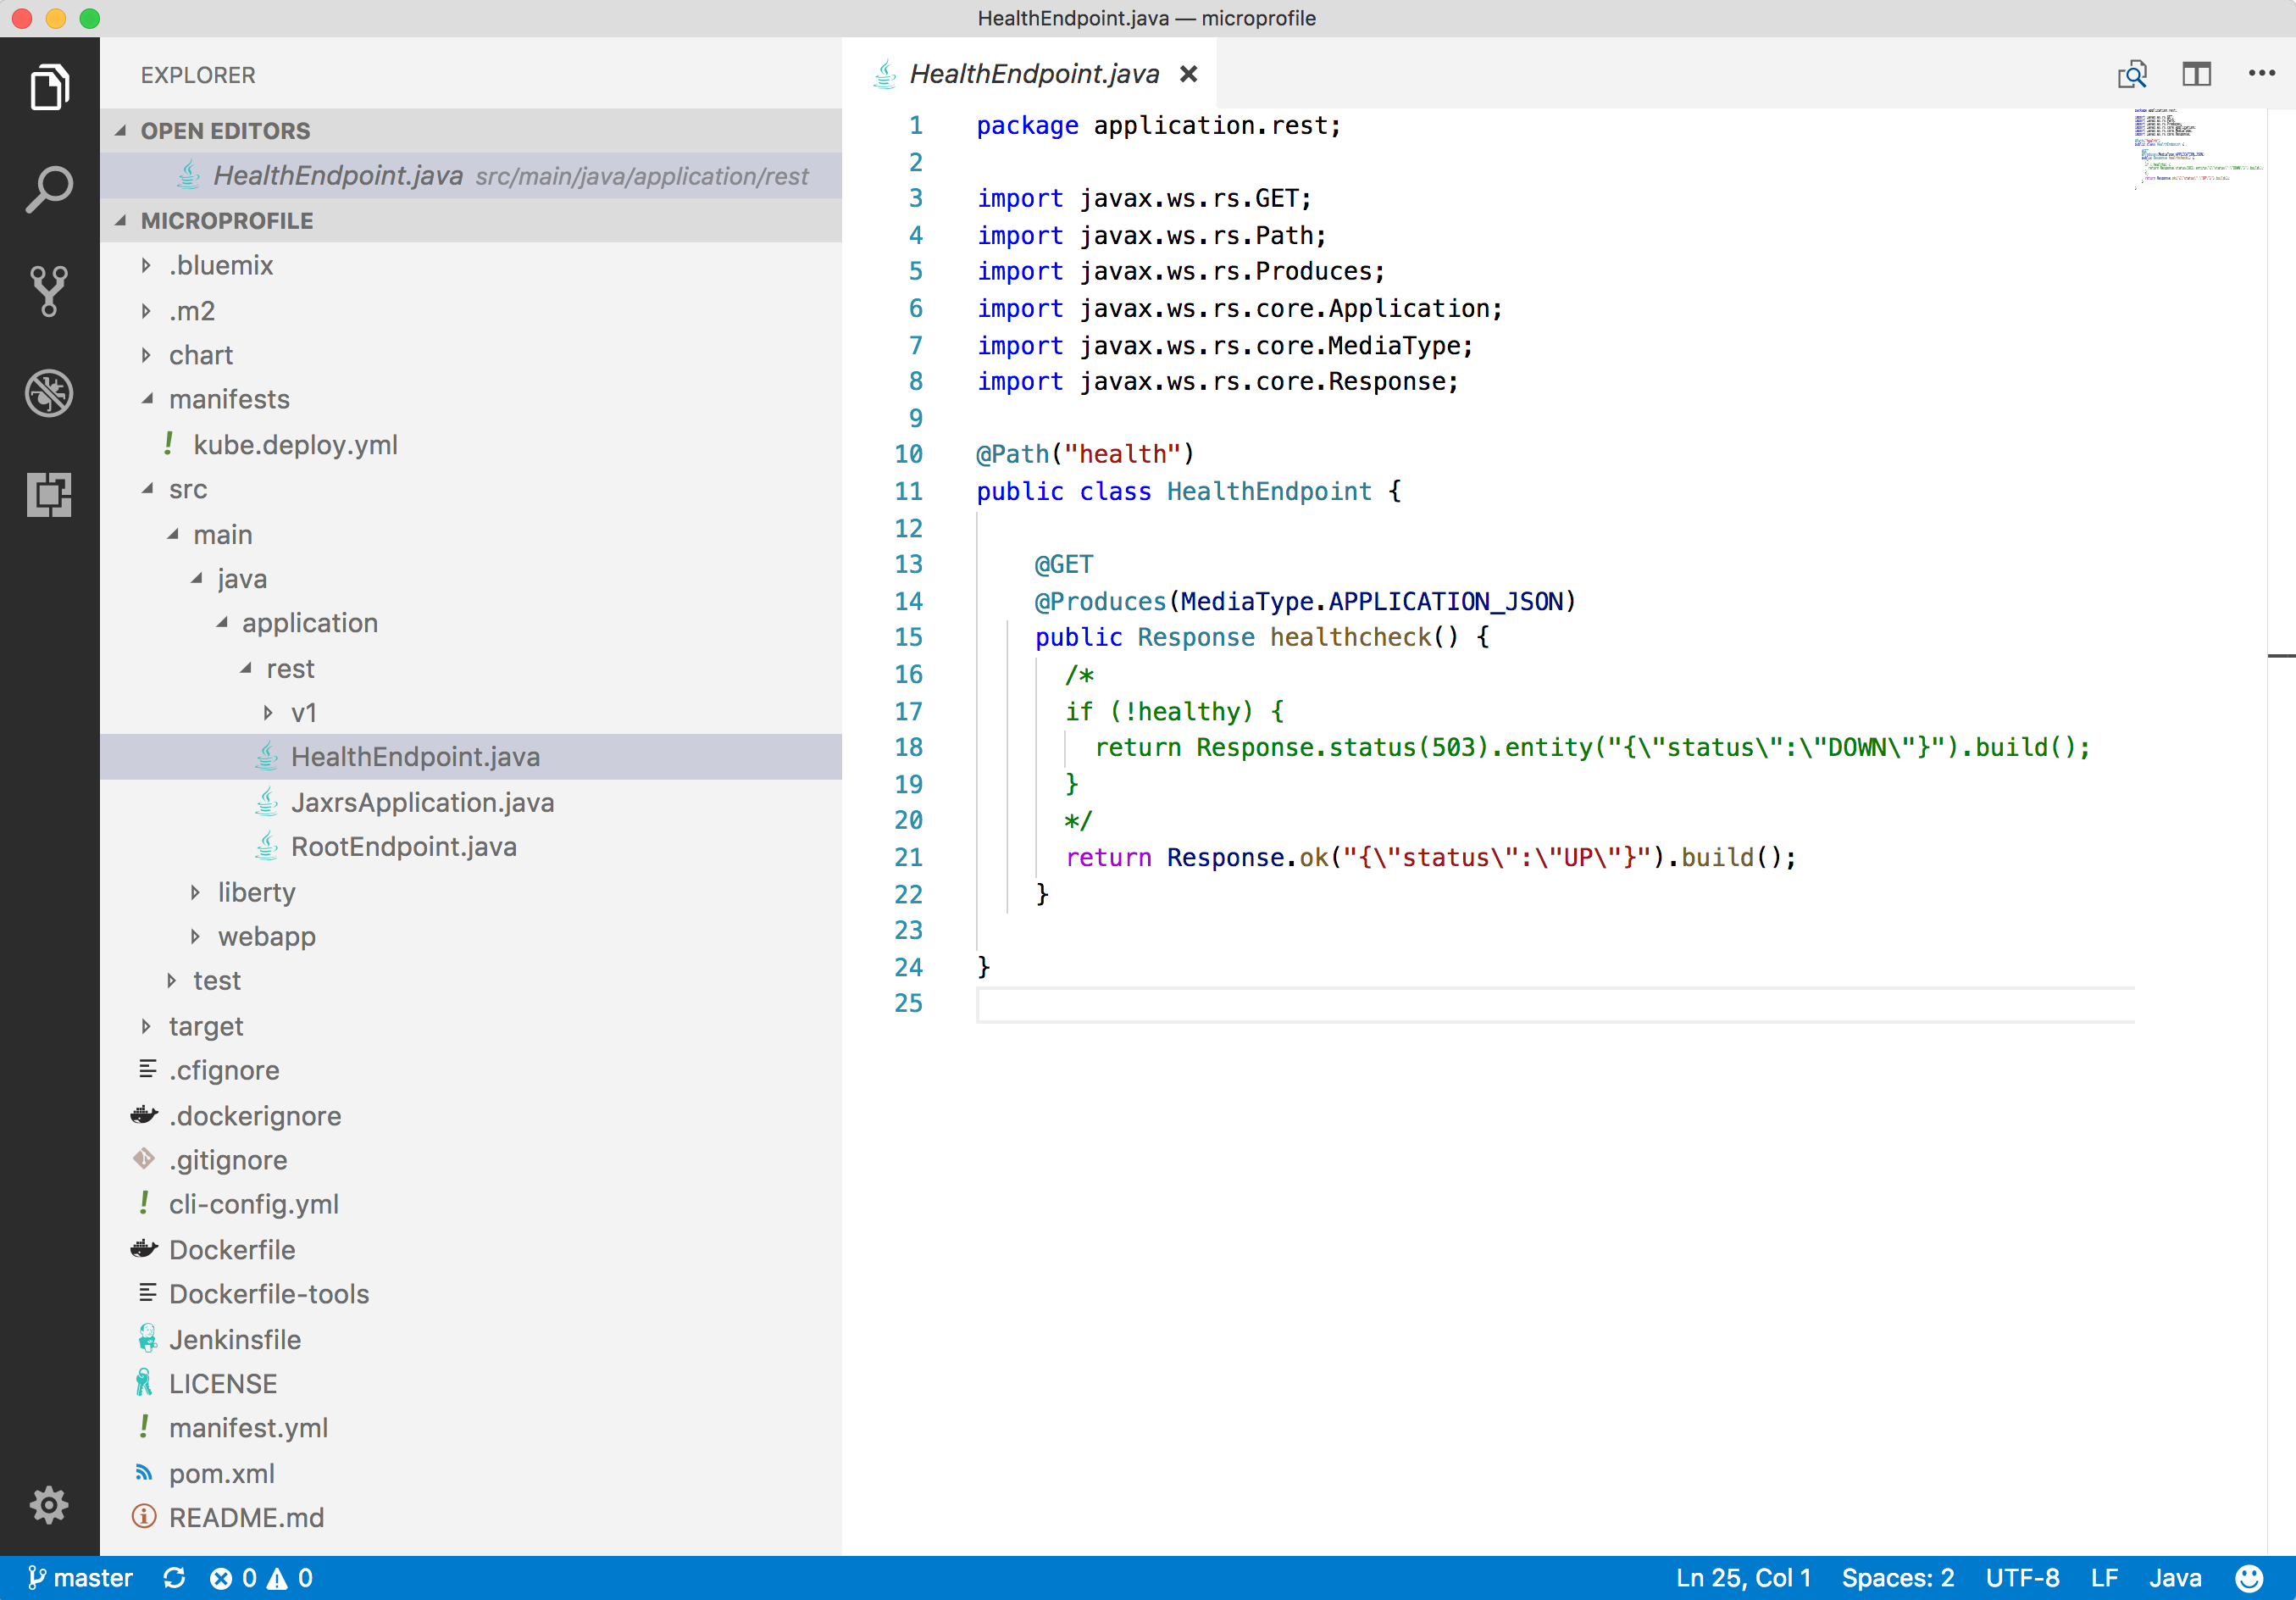
After this you can change the starter template with your IDE of choice. Here is a sample project that contains the generated code.
In order to run the microservice locally (http://localhost:9080) run these commands.
1
2
bx dev build
bx dev run
Before deploying the microservice to Bluemix, you need to login with the CLI:
1
2
3
4
5
6
bx login -a https://api.ng.bluemix.net
bx target --cf
bx cs init
bx cs cluster-config mycluster
set environment variable: export KUBECONFIG=...
bx cr login
You also need to change the image name in the generated Kubernetes yml file to include the Bluemix DNS name and your namespace, e.g. “registry.ng.bluemix.net/nheidloff/microprofile:latest”.
1
2
3
4
5
6
apiVersion: extensions/v1beta1
kind: Deployment
...
         containers:
         - name: microprofile
           image: registry.ng.bluemix.net/nheidloff/microprofile:latest
Before deploying the service to Kubernetes, the image needs to be tagged and pushed.
1
2
3
docker tag microprofile registry.ng.bluemix.net/nheidloff/microprofile
docker push registry.ng.bluemix.net/nheidloff/microprofile
kubectl create -f manifests
To find out the IP address and port run these commands:
1
2
bx cs workers mycluster
kubectl get svc microprofile-service


