

MCP tools acting on‑behalf‑of users in IBM watsonx Orchestrate enable agents to perform actions just as users would. Impersonated tools boost efficiency by automating tasks securely and seamlessly. With OAuth On‑Behalf‑Of (OBO) flows and SSO (Single Sign On), users authenticate once while agents work transparently in the background.
My previous post describes a technique to run Python tools on behalf of users to access external systems. This is done via OAuth code flows where users need to grant Orchestrate access to these systems. This post eliminates the additional approval step by utilizing SSO between watsonx Orchestrate and other enterprise systems.
My colleagues have written a tutorial with a simple example. The tutorial describes every step in detail. Below is a summary of the key concepts. The complete code is on GitHub.
Example
The sample HR application provides a chat experience. All users can ask questions like ‘show me working locations’. Only managers can ask questions about salary.

A MCP server provides tools which are protected via RBAC (Role Based Access Control). Users authenticate against an Identity Provider and watsonx Orchestrate manages credentials to connect to the MCP tools.

MCP Tools
After SSO and OAuth have been set up, tools can be invoked that get the JWT tokens passed in. Only if the tokens exist and are valid, the tool code is run.
1
2
3
4
5
6
7
8
9
10
11
12
13
14
15
16
17
18
19
20
21
22
23
24
25
26
27
28
29
30
31
32
33
34
35
36
37
38
from fastmcp import FastMCP
from fastmcp.server.auth.providers.jwt import JWTVerifier

OKTA_ISSUER = os.getenv(
    "OIDC_ISSUER",
    "https://trial-xxx.okta.com/oauth2/default"
)
OKTA_AUDIENCE = os.getenv(
    "OIDC_AUDIENCE",
    "api://default"
)

auth = JWTVerifier(
    jwks_uri=f"{OKTA_ISSUER}/v1/keys",
    issuer=OKTA_ISSUER,
    audience=OKTA_AUDIENCE,
    algorithm="RS256",
    required_scopes=["mcp.read"]
)

mcp = FastMCP(name="HR MCP Server", version="1.0.0", host="localhost", port=8080, stateless_http=True, auth=auth)

@mcp.tool(description="Returns a list of company office locations")
async def get_office_locations() -> List[Dict]:
    return [
       {"office_name": "HQ", "city": "New York", "country": "USA"},
       ...
    ]

@mcp.tool(description="Returns the employee salary in USD")
async def get_employee_salary() -> Dict:
    return {
        "salary_usd": 85000,
        "currency": "USD"
    }

if __name__ == "__main__":
    mcp.run(transport="streamable-http")
Tools can also access the user ids and the bearer tokens:
1
2
3
4
5
6
7
8
9
10
11
12
13
@mcp.tool(description="Returns a list of company office locations")
async def get_office_locations(ctx: Context) -> List[Dict]:
    user_id = ctx.request_context.auth.claims.get("sub")
    print(f"Request made by User: {user_id}")
...
@mcp.tool(description="Fetches private data from a remote HR API")
async def get_remote_hr_data(ctx: Context) -> Dict:
    auth_header = ctx.request_context.headers.get("authorization")
    async with httpx.AsyncClient() as client:
        response = await client.get(
            https://api.yourcompany.com/v1/private-data,
            headers={"Authorization": auth_header}
        )
Role based Access
The code of the MCP tools above does not check the roles of users. Role based access control (RBAC) is done via Watsonx Orchestrate plug-ins which can be run before agents are invoked.
The example uses Okta as identity provider where custom roles can be defined and assigned.

The plug-in code checks the ‘is_manager’ role:
1
2
3
4
5
6
7
8
9
10
11
12
13
14
15
16
@tool(
    description="RBAC plugin for salary sub-agent access control",
    kind=PythonToolKind.AGENTPREINVOKE
)
def rbac_plugin(
    plugin_context: PluginContext,
    agent_pre_invoke_payload: AgentPreInvokePayload
) -> AgentPreInvokeResult:
    result = AgentPreInvokeResult(modified_payload=agent_pre_invoke_payload)
    action = plugin_context.metadata.get("action")
    state = plugin_context.state or {}
    context = state.get("context", {})
    user_profile = context.get("user_profile", {})
    is_manager = bool(user_profile.get("is_manager", False))
    result.continue_processing = is_manager
    return result
OpenID Connect
Okta is used as OpenID Connect identity provider, for single sign on, for the user directory and the OAuth flows.

MCP Setup
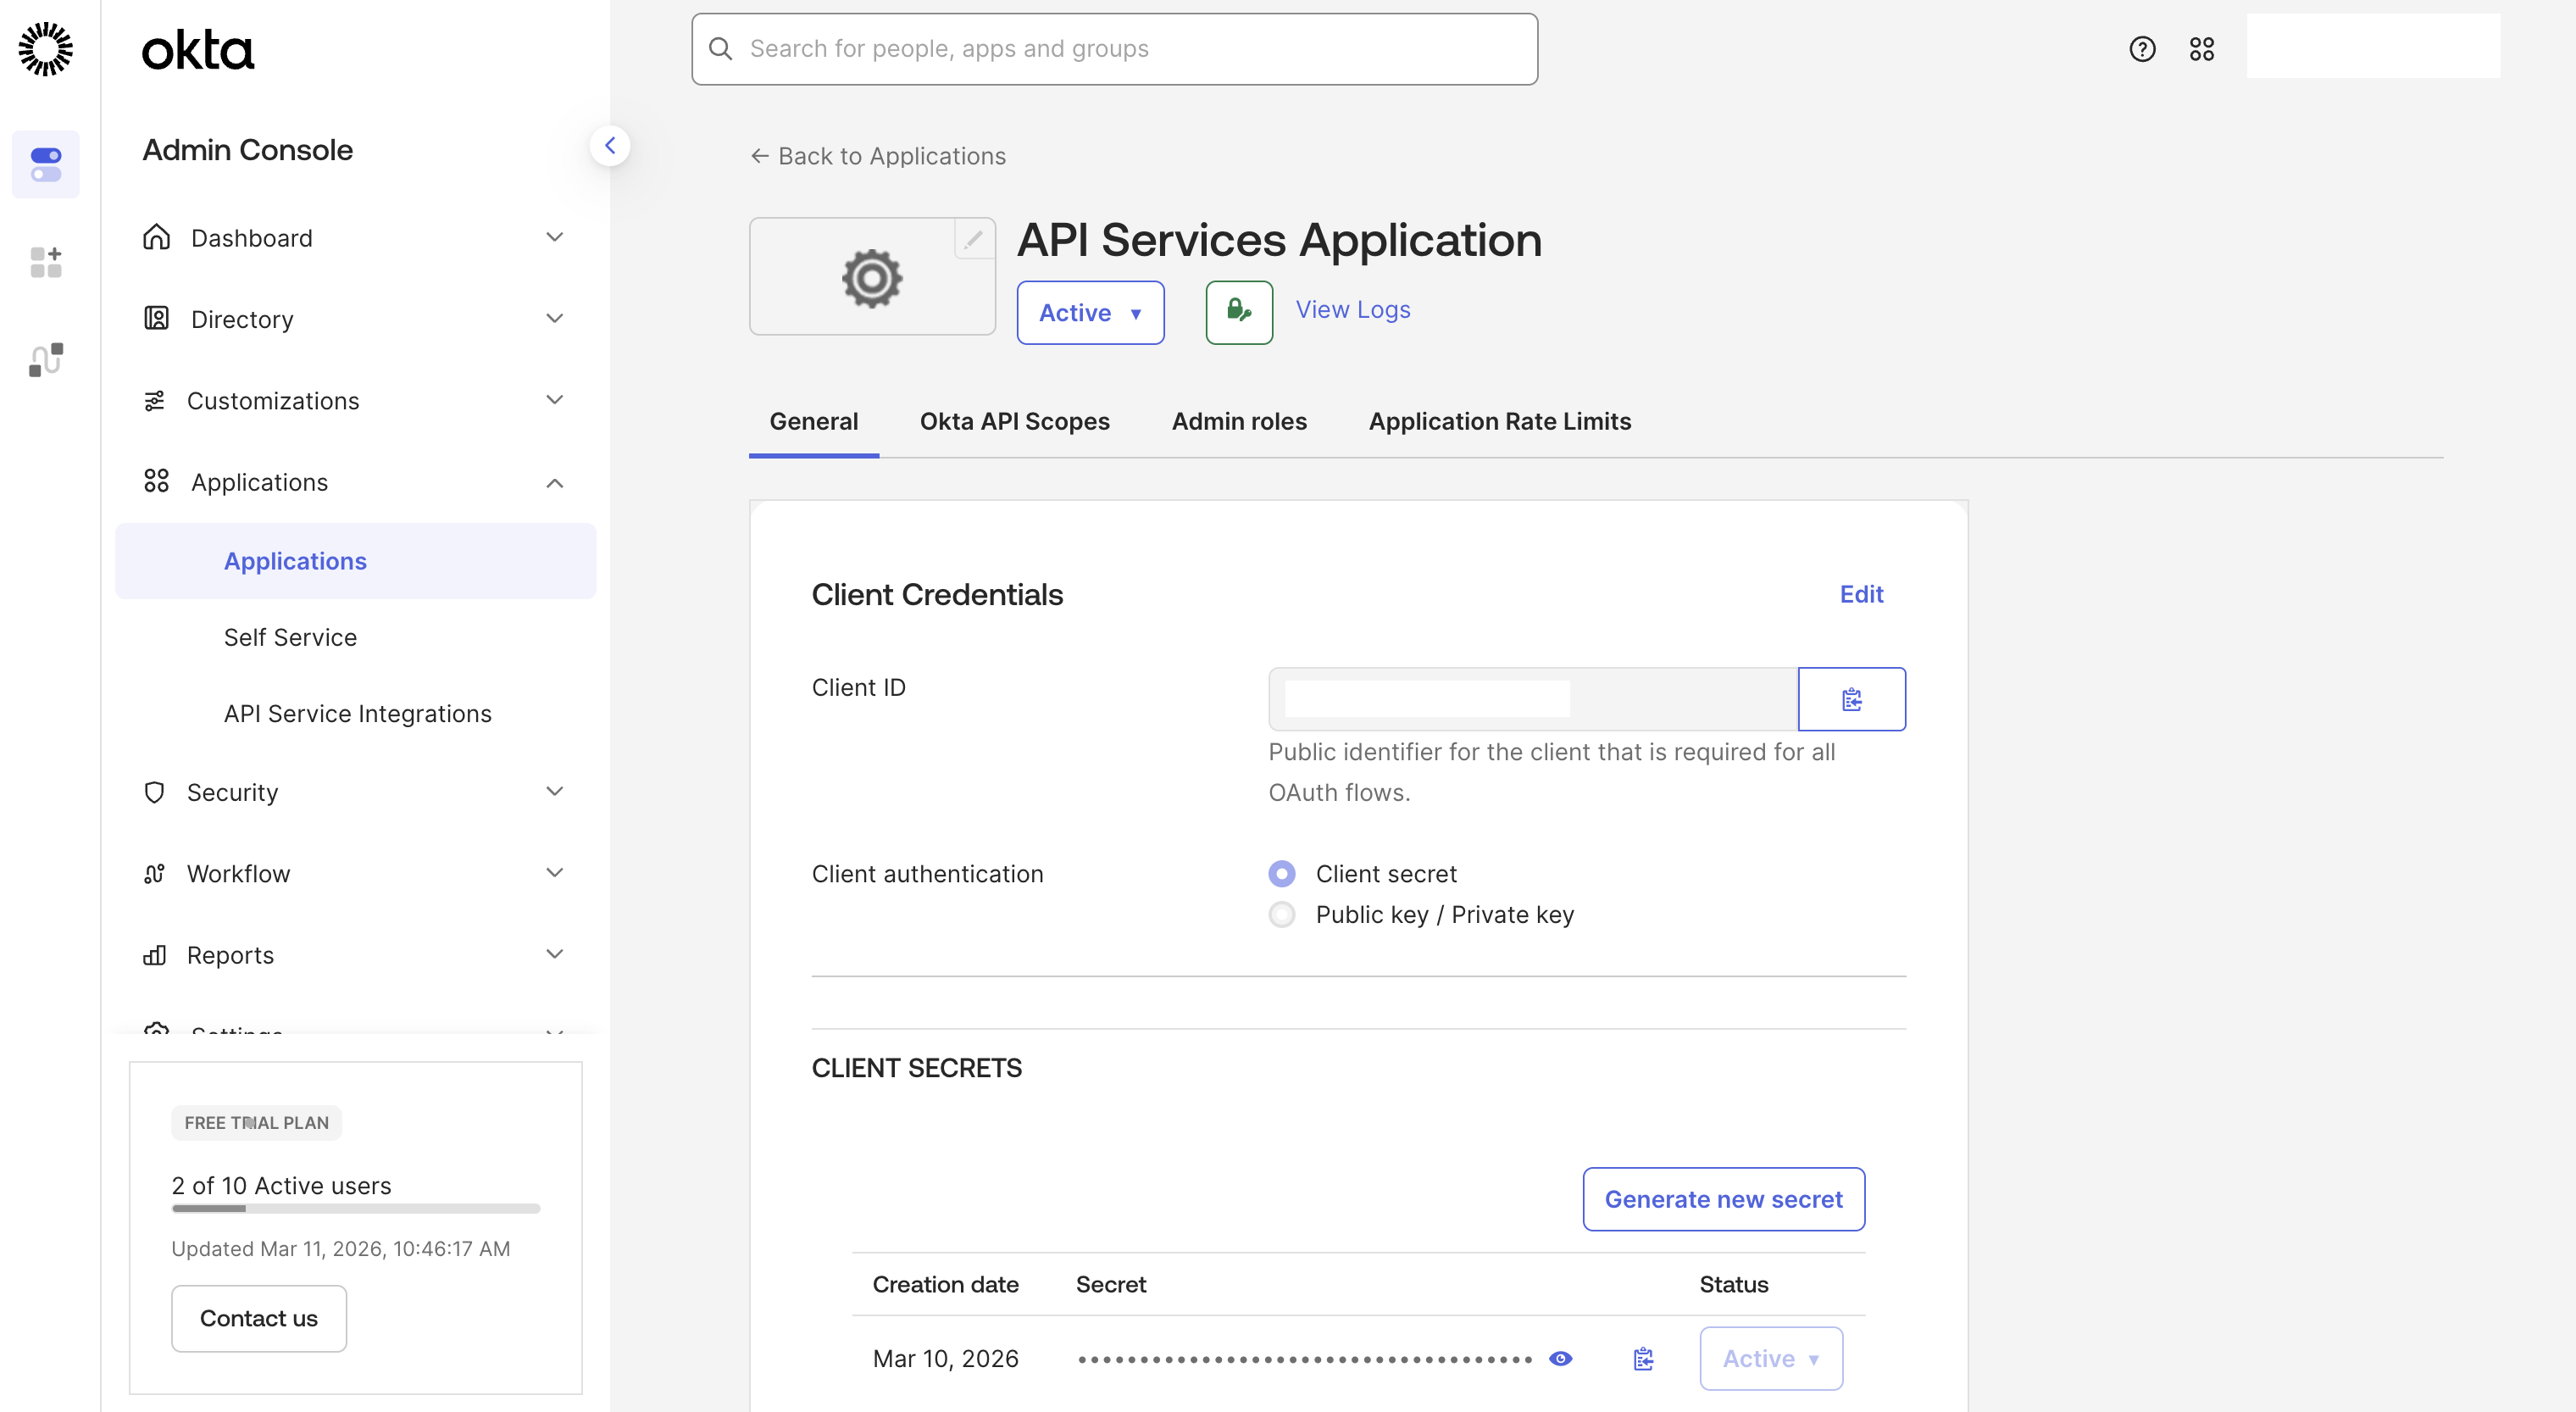
Credentials and tokens are managed by Orchestrate Connections. To get an Okta access token, run the following command.
1
2
3
4
5
6
7
8
9
curl -X POST "<OKTA_BASE_URL>/oauth2/default/v1/token" \
-H "Accept: application/json" \
-H "Content-Type: application/x-www-form-urlencoded" \
--data-urlencode "grant_type=client_credentials" \
--data-urlencode "client_id=<API_SERVICES_CLIENT_ID>" \
--data-urlencode "client_secret=<API_SERVICES_CLIENT_SECRET>" \
--data-urlencode "scope=mcp.read"

{"token_type":"Bearer","expires_in":300,"access_token":"xxx.xxx.xxx","scope":"mcp.read"}
The token is used to read and import the tools from the MCP server. Note that this is not a user specific token, but a team token.
1
2
3
4
5
6
7
8
9
10
11
12
13
14
15
16
17
18
19
20
21
orchestrate connections add -a mcp_connection

orchestrate connections configure \
   -a mcp_connection \
   --env draft \
   --type team \
   --kind bearer

orchestrate connections set-credentials \
 -a mcp_connection \
 --env draft \
 --token <OKTA_ACCESS_TOKEN>

orchestrate toolkits add \
 --kind mcp \
 --name mcp_tools_server \
 --description "MCP toolkit" \
 --url <MCP_SERVER_URL> \
 --transport streamable_http \
 --tools "*" \
 --app-id mcp_connection
OAuth OBO Setup
Next the SSO (Single Sign On) and OBO (On-Behalf-Of) flows are set up via the connection type ‘oauth_auth_token_exchange_flow’.
1
2
3
4
5
6
7
8
9
10
11
12
13
14
15
16
17
18
19
20
21
app_id: mcp_connection
spec_version: v1
kind: connection
environments:
  draft:
    sso: true
    server_url: https://trial-xxx.okta.com
    kind: oauth_auth_token_exchange_flow
    type: member
    app_config:
      header:
        content-type: application/x-www-form-urlencoded
  live:
    sso: true
    server_url: https://trial-xxx.okta.com
    kind: oauth_auth_token_exchange_flow
    type: member
    app_config:
      header:
        content-type: application/x-www-form-urlencoded
1
orchestrate connections import -f connection.yaml
Credentials store the different IDs and URLs.
1
2
3
4
5
6
7
8
9
10
11
orchestrate connections set-credentials \
 --app-id mcp_connection \
 --env live \
 --client-id <API_SERVICES_CLIENT_ID> \
 --grant-type urn:ietf:params:oauth:grant-type:token-exchange \
 --token-url <OKTA_BASE_URL>/oauth2/default/v1/token \
 -t "body:client_secret=<API_SERVICES_CLIENT_SECRET>" \
 -t "body:subject_token_type=urn:ietf:params:oauth:token-type:access_token" \
 -t "body:scope=mcp.read" \
 -t "body:audience=api://default" \
 -t "body:app_token_key=subject_token"
Alternatively, the credentials can be defined in the user interface.

Embedded Web Chat
To integrate watsonx Orchestrate agents in custom frontends, Orchestrate provides a reusable widget which requires security to be enabled (see documentation and script).

The following command returns a script that can be embedded in custom frontend applications. It handles the initial user authentication and passes the tokens to Orchestrate agents and tools.
1
2
3
4
5
6
7
8
9
10
11
12
13
14
15
16
17
18
19
20
21
22
orchestrate channels webchat embed -a hr_main_agent

<script>
    window.wxOConfiguration = {
        orchestrationID: "xxx",
        hostURL: "https://xxx.com",
        rootElementID: "root",
        showLauncher: true,
        chatOptions: {
    agentId: "xxx",
    agentEnvironmentId: "xxx"
}
    };
    setTimeout(function () {
        const script = document.createElement('script');
        script.src = `${window.wxOConfiguration.hostURL}/wxochat/wxoLoader.js?embed=true`;
        script.addEventListener('load', function () {
            wxoLoader.init();
        });
        document.head.appendChild(script);
    }, 0);
</script>
Next Steps
To find out more, check out the following resources: