Quarkus is a Kubernetes native Java stack crafted from the best of breed Java libraries and standards. Since Quarkus applications start very fast and consume little memory, they are well suited for serverless workloads.
IBM’s new offering Code Engine is a fully-managed serverless platform that runs your containerized workloads without having to understand any of the Kubernetes complexity. As developer you can focus on your business logic without having to worry about infrastructure.
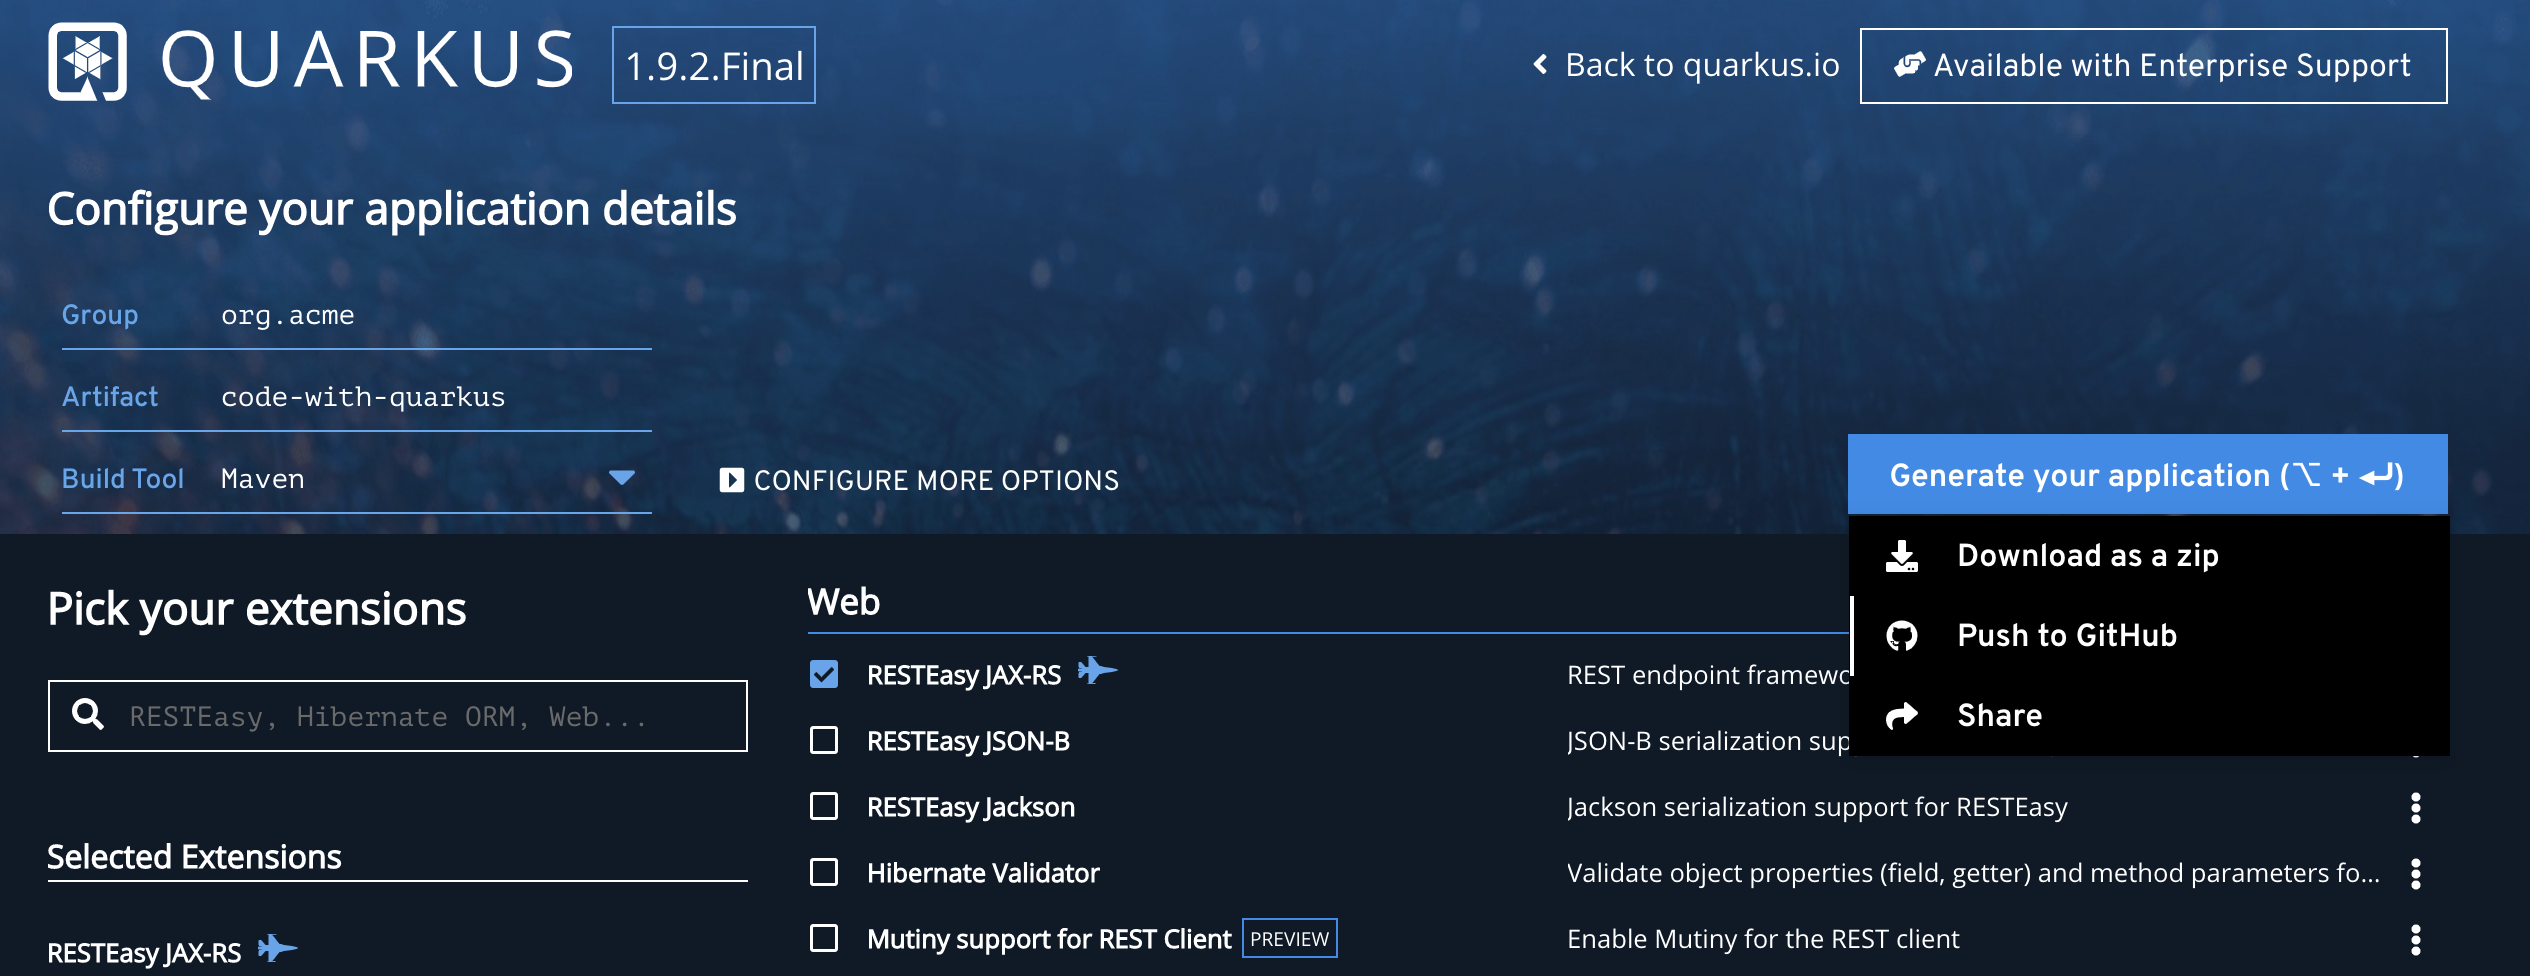
Let’s take a look at a simple sample. Quarkus provides a Start Coding page to generate new Quarkus applications. The generated code can directly be put on GitHub.
Dockerfiles are generated for the different ways to run Quarkus, for example in the JVM or binary modes. Unfortunately these Dockerfiles assume that the code is built previously with Maven which wouldn’t work when deploying Java applications to serverless platforms like Code Engine.
Instead the Maven build step needs to be added to the Dockerfile. Check out my article Multistage Dockerfiles for Quarkus for details.
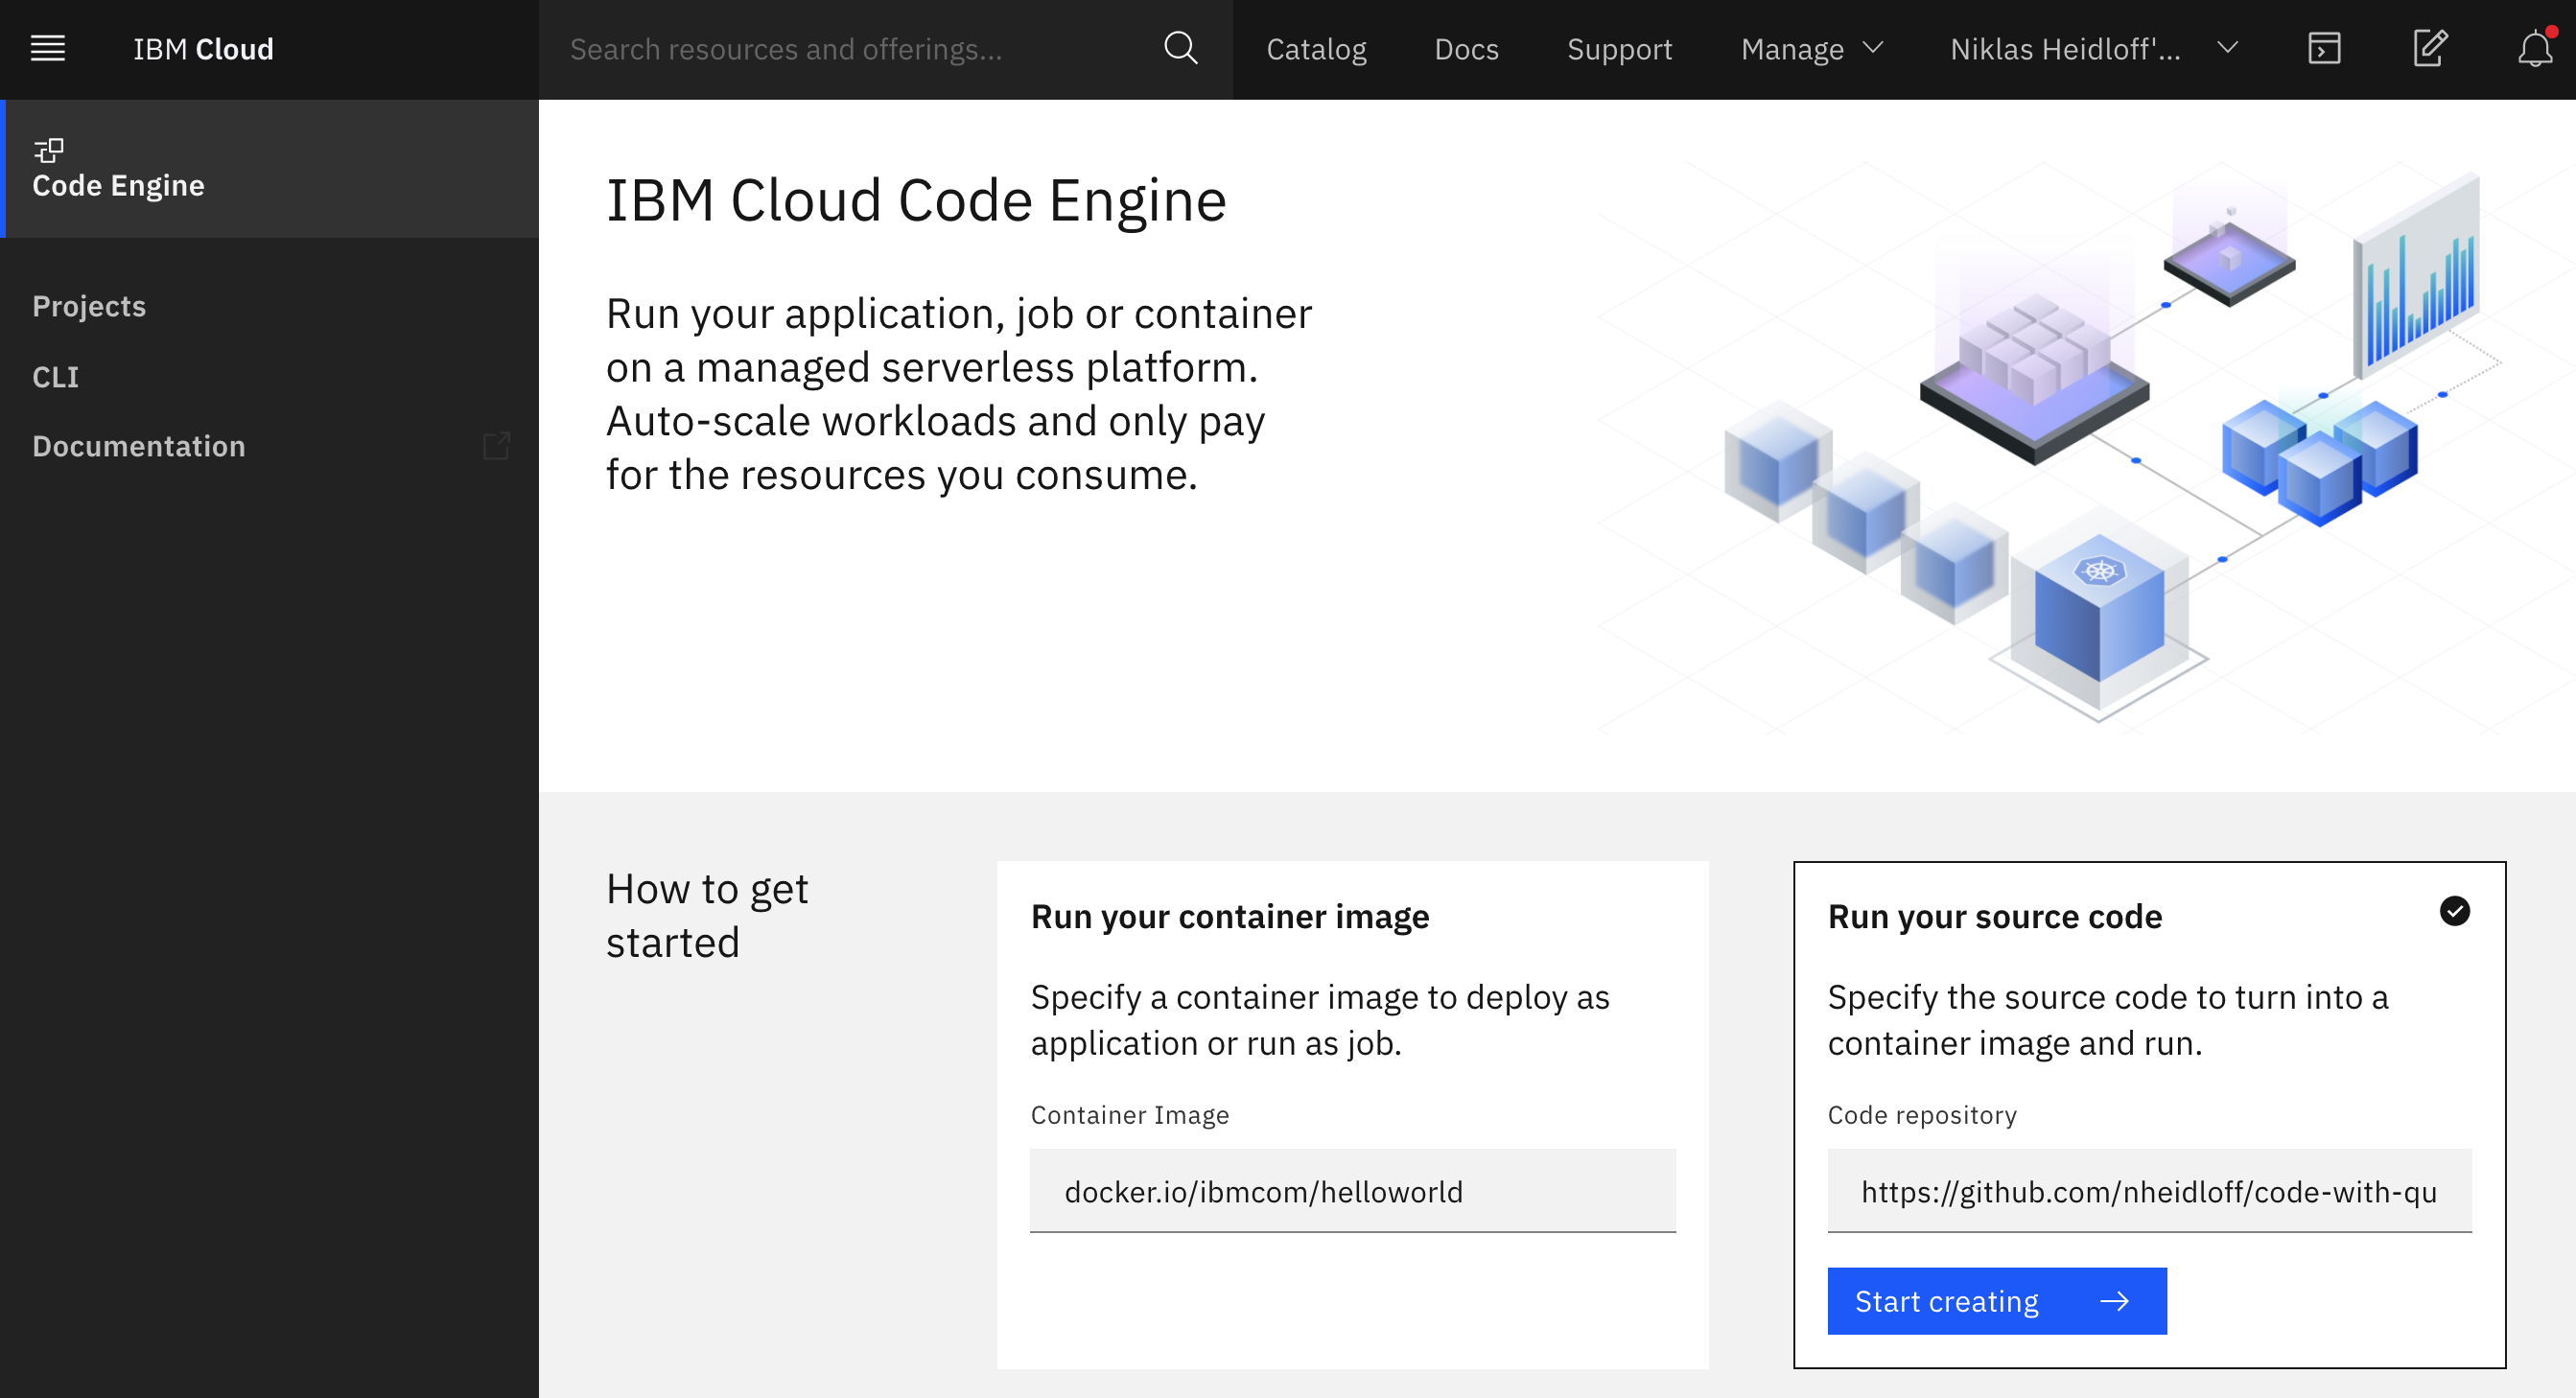
Once you have defined your image, you can navigate to the dashboard of Code Engine. From the landing page pick ‘Run your source code’.
Choose ‘Application’ and create a new project.
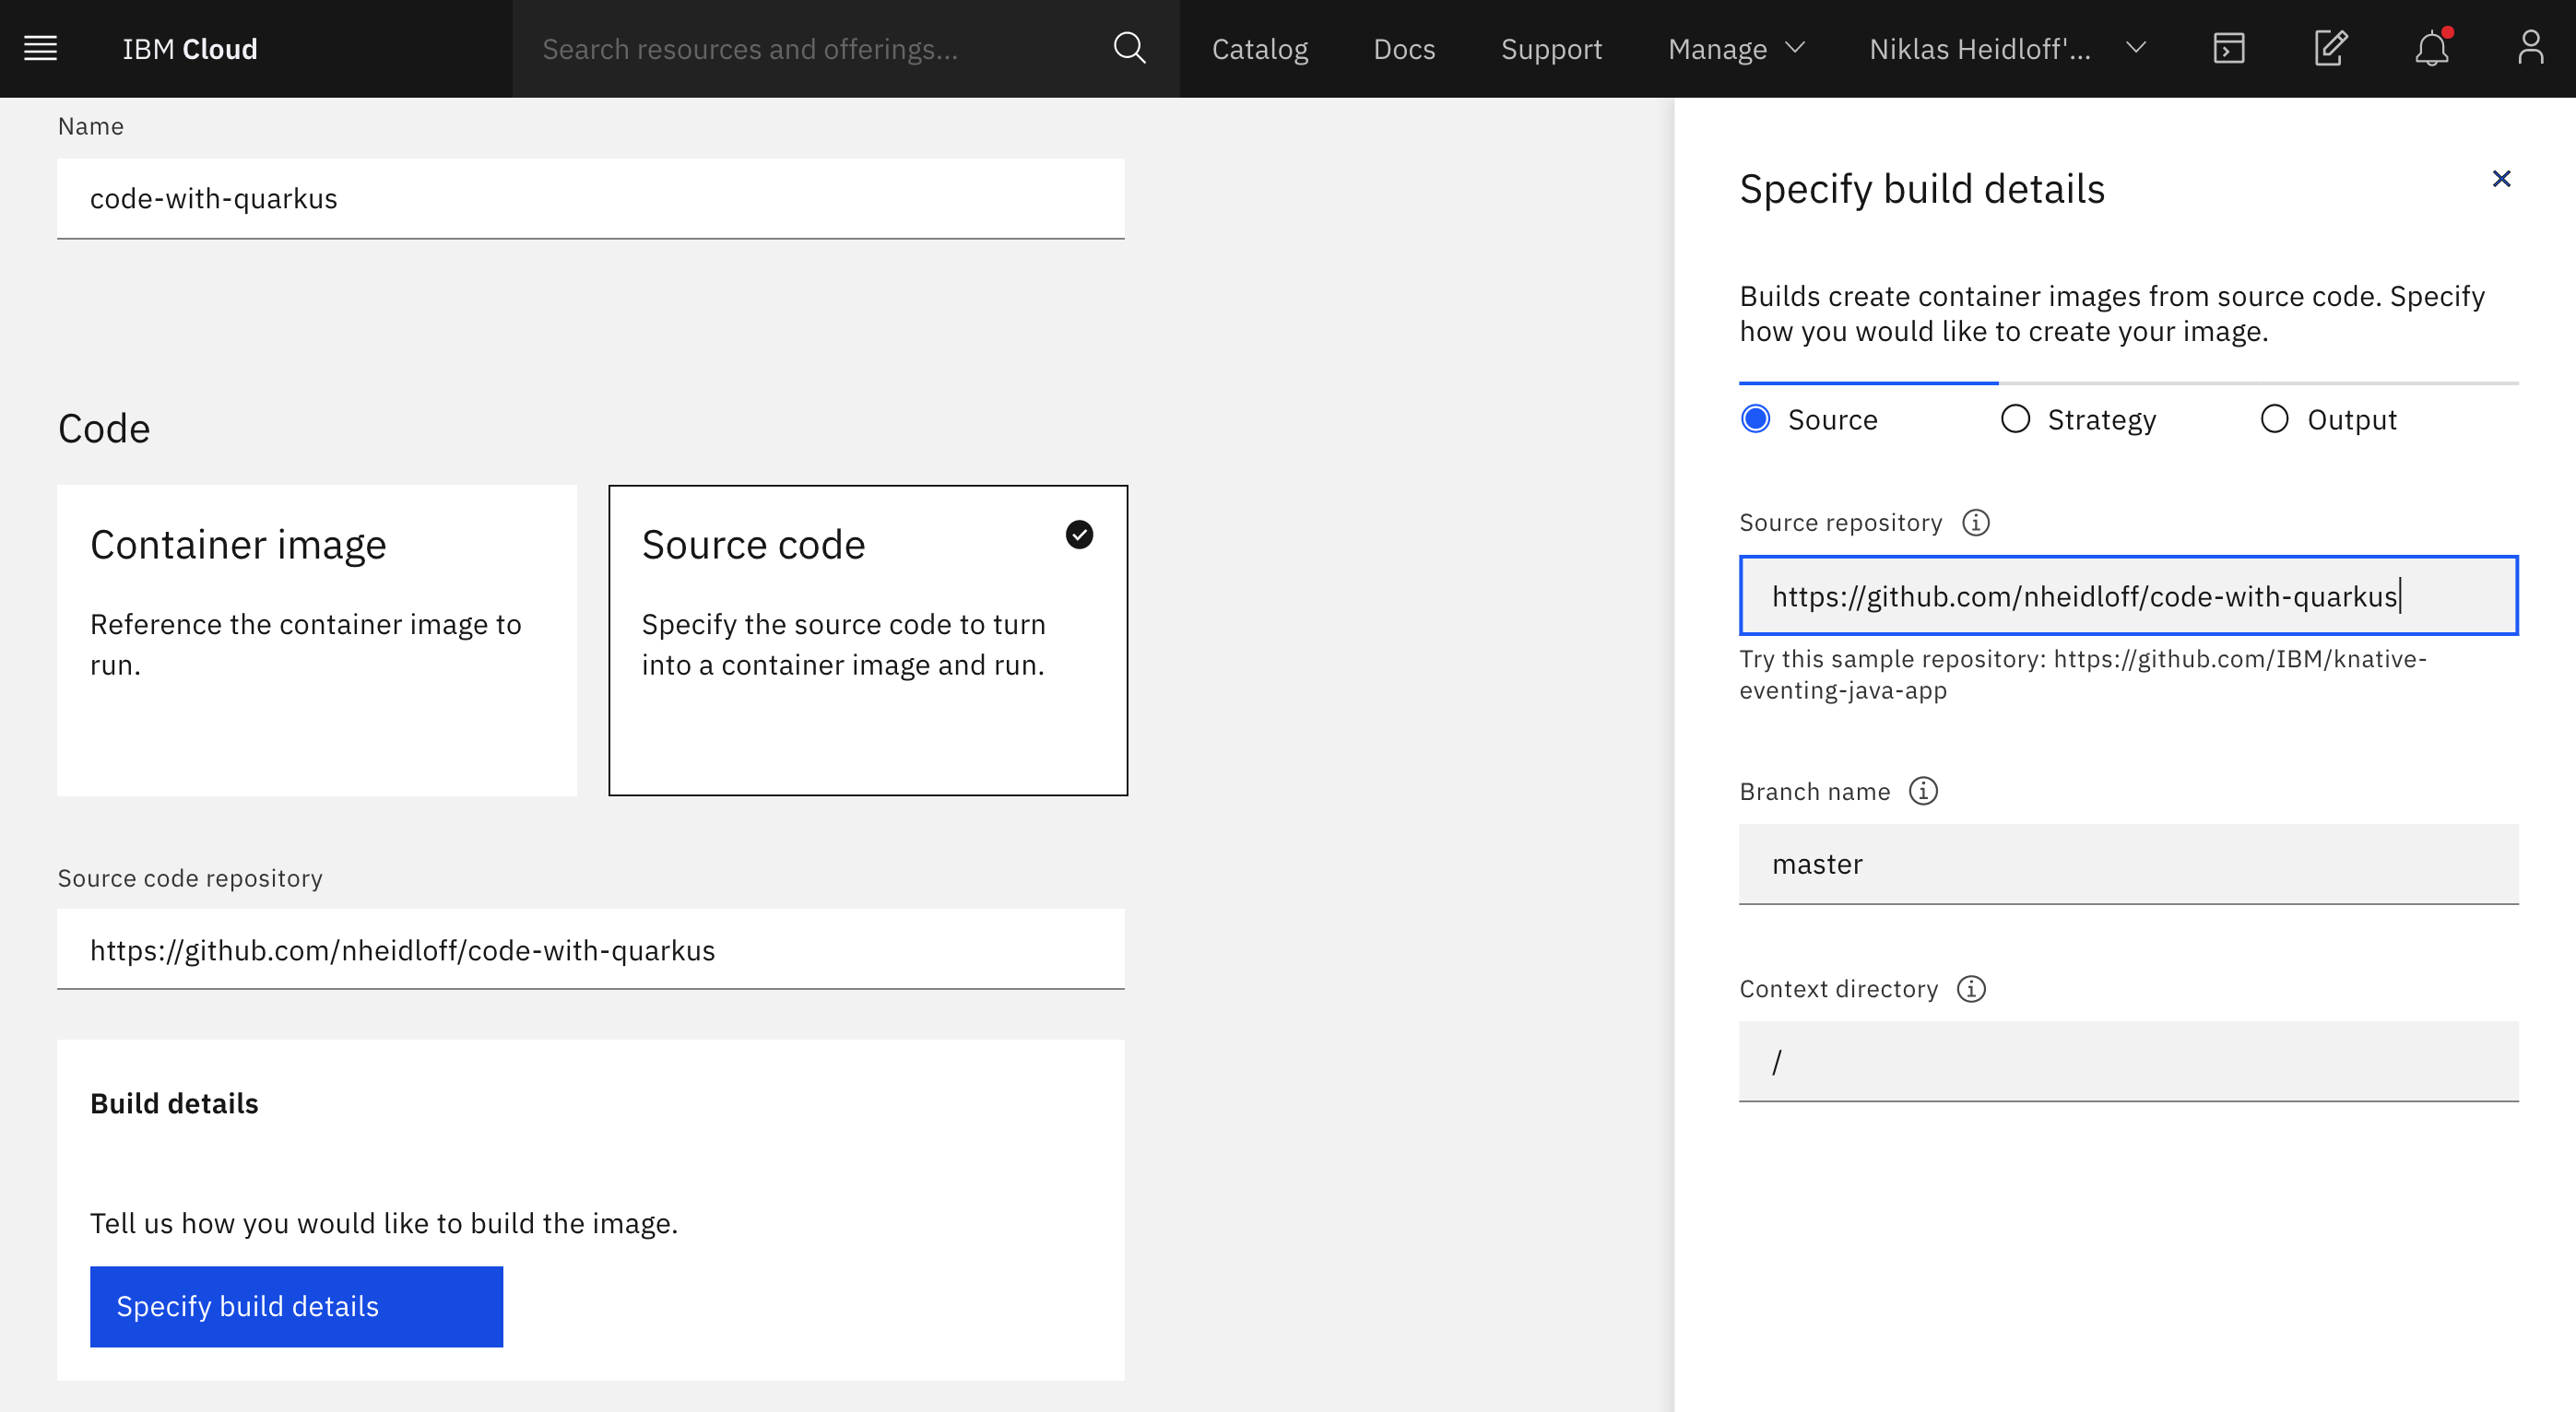
In the build details refer to your GitHub repo.
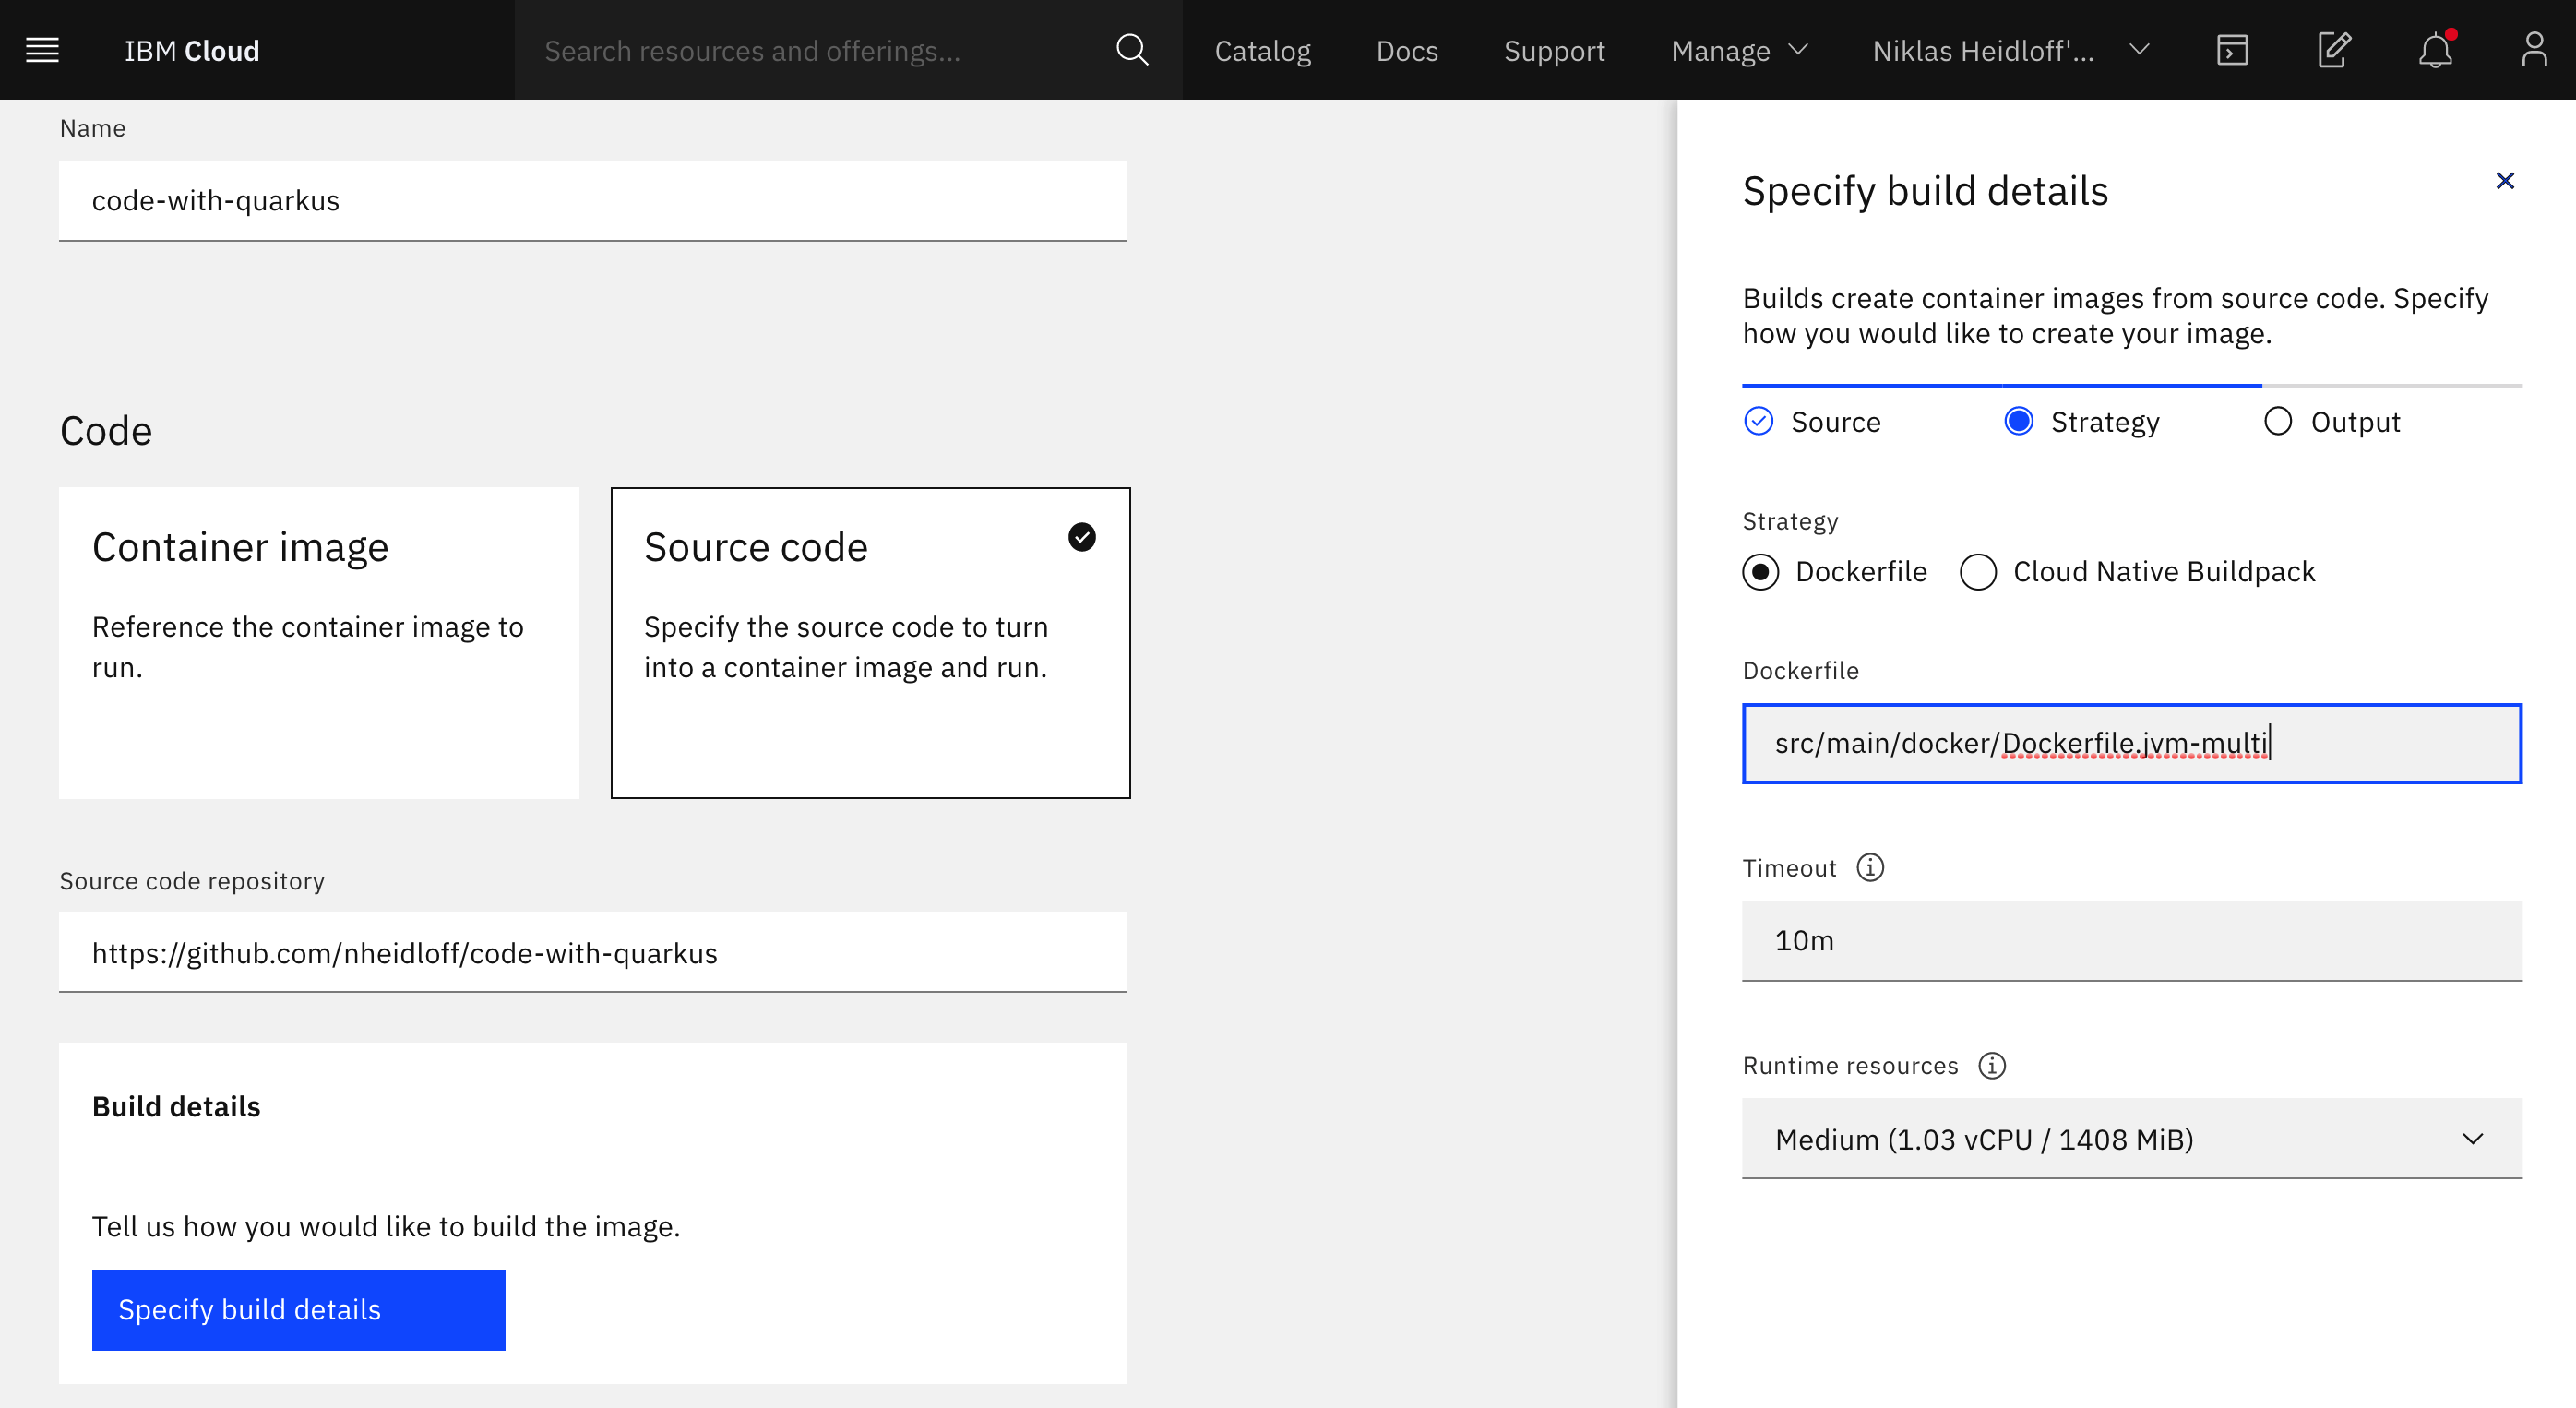
Define the location of your multi-stage Dockerfile and choose ‘Medium’ in the combobox at the bottom.
Note: The label ‘Runtime resources’ will be changed soon, since these are actually not the runtime resources, but the resources used for building the image. That’s why you need ‘Medium’ and not only ‘Small’.
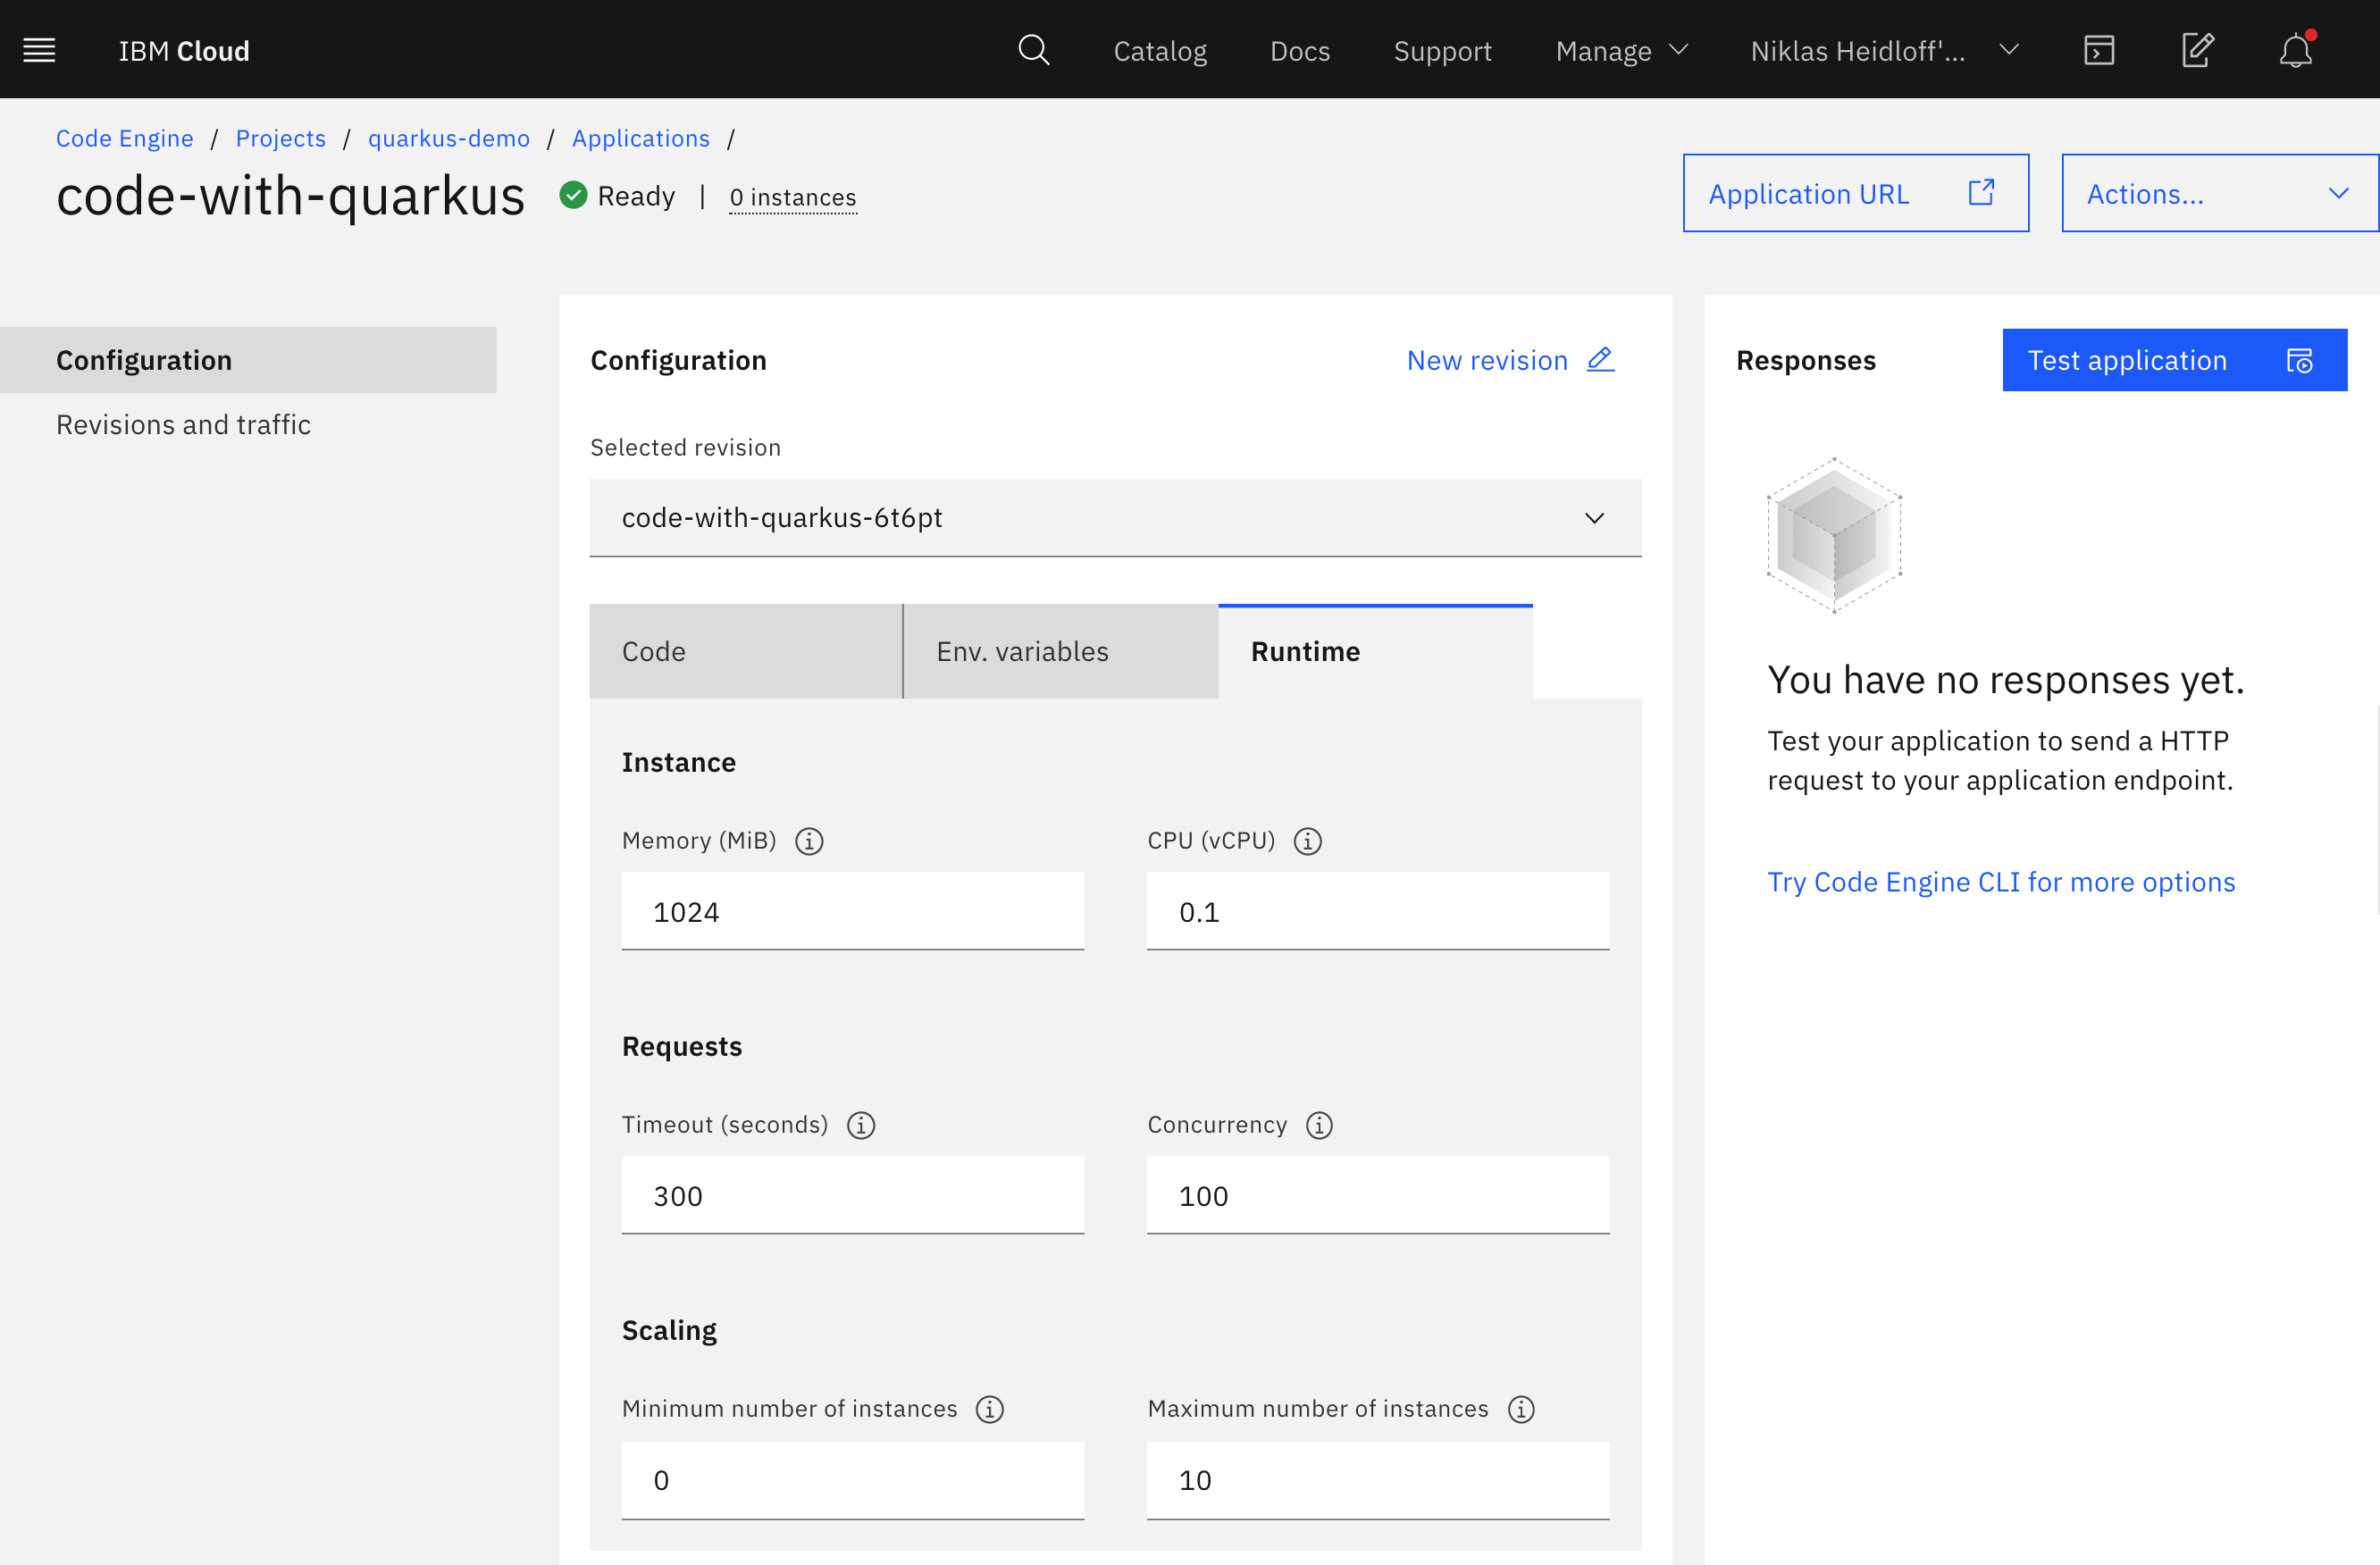
The actual runtime resources are defined on the Configuration page. I use 1024 MiB, but obviously this is too much for simple Quarkus applications. 128 MiB is the minimum you can choose here.
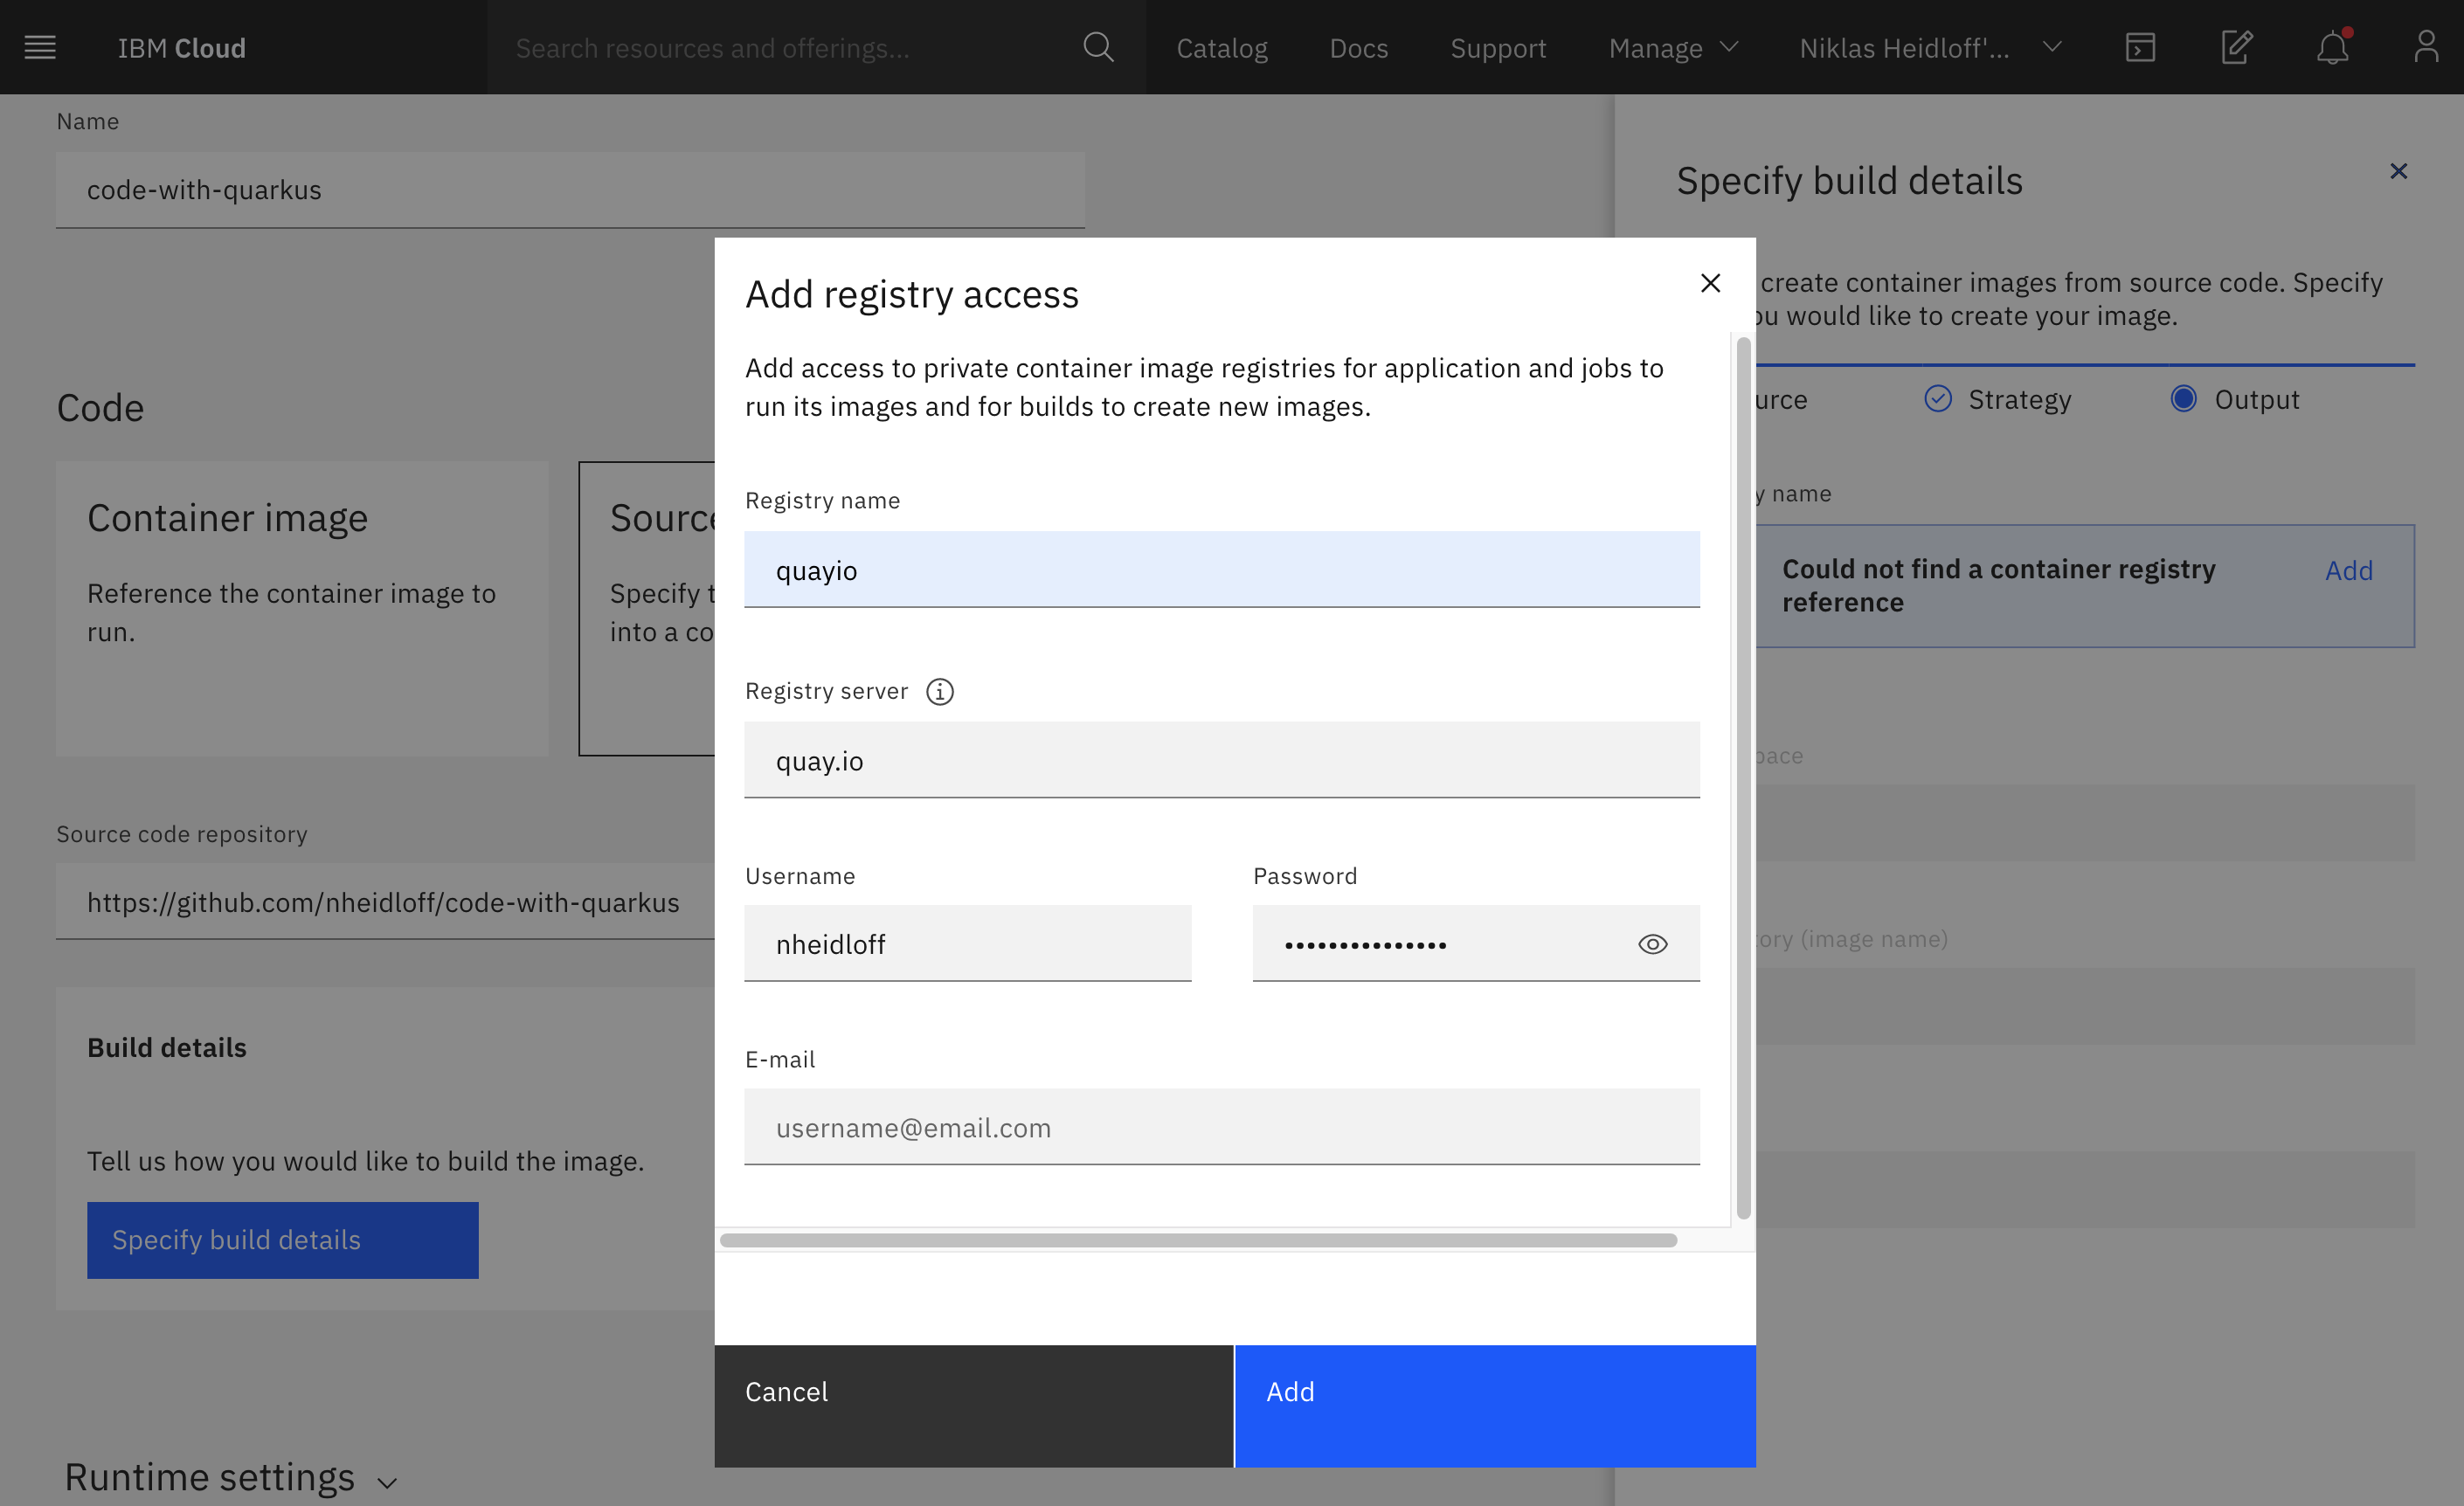
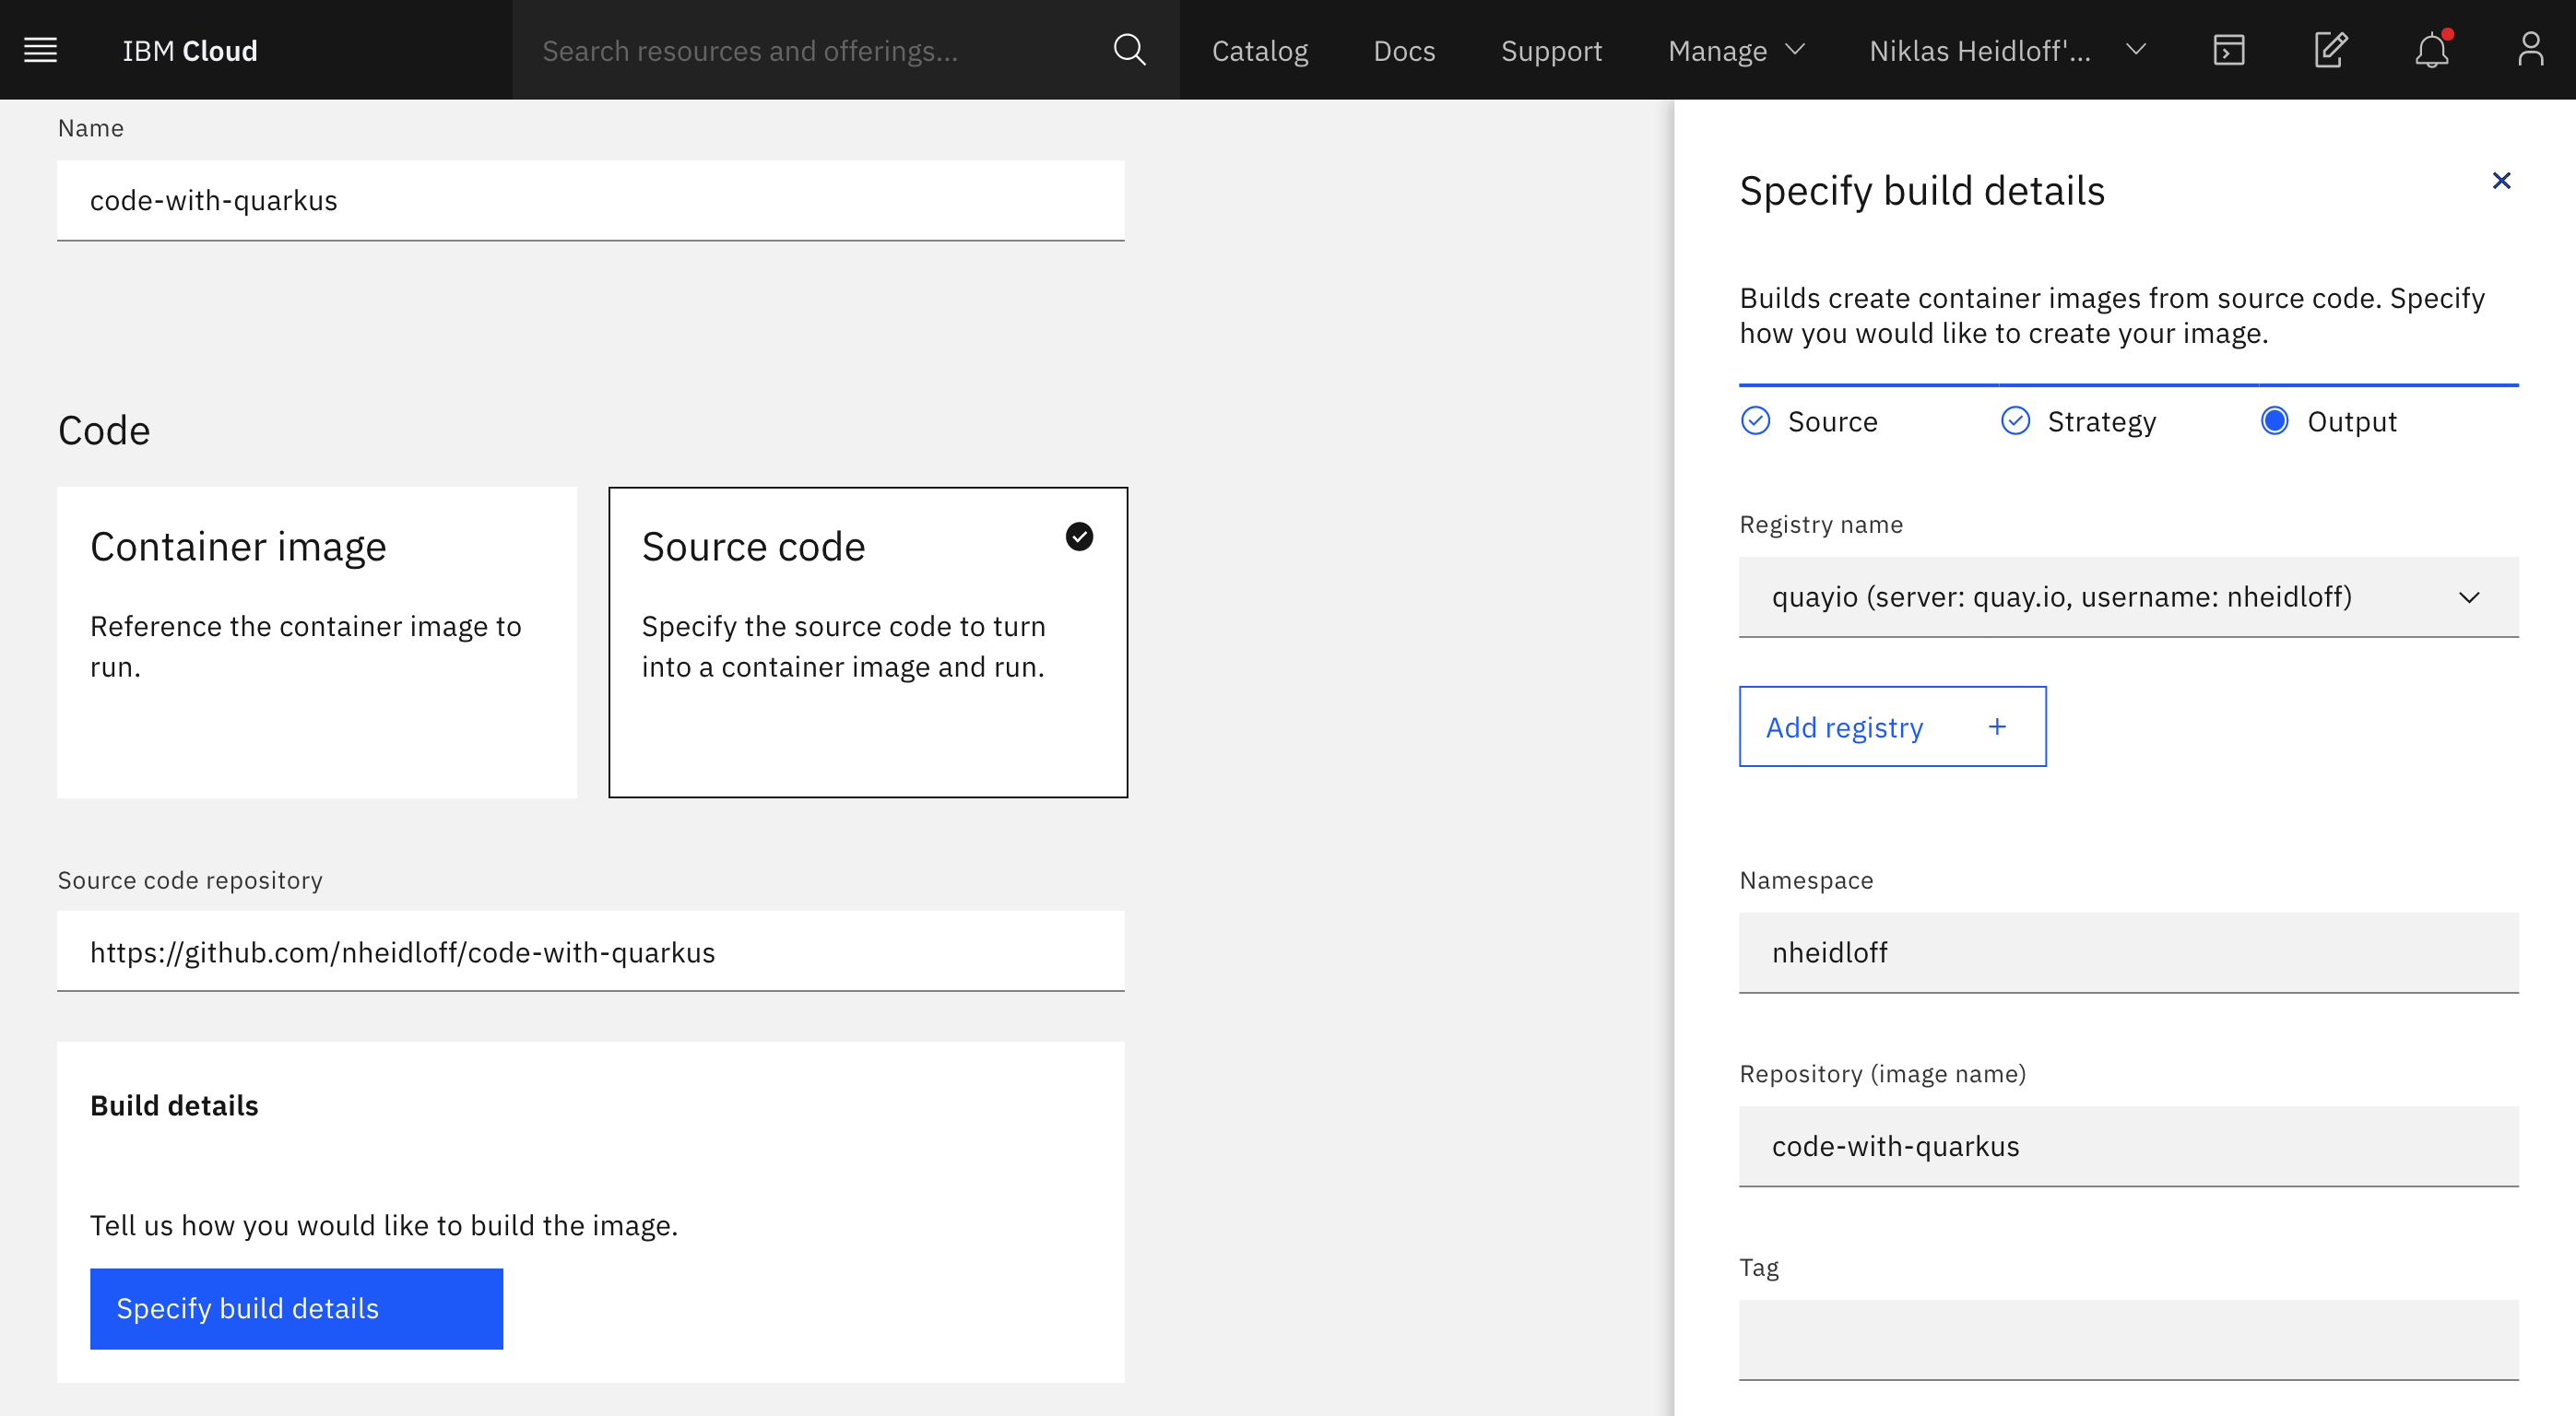
Next you need to define your image registry, for example quay.io.
Enter your namespace and image name.
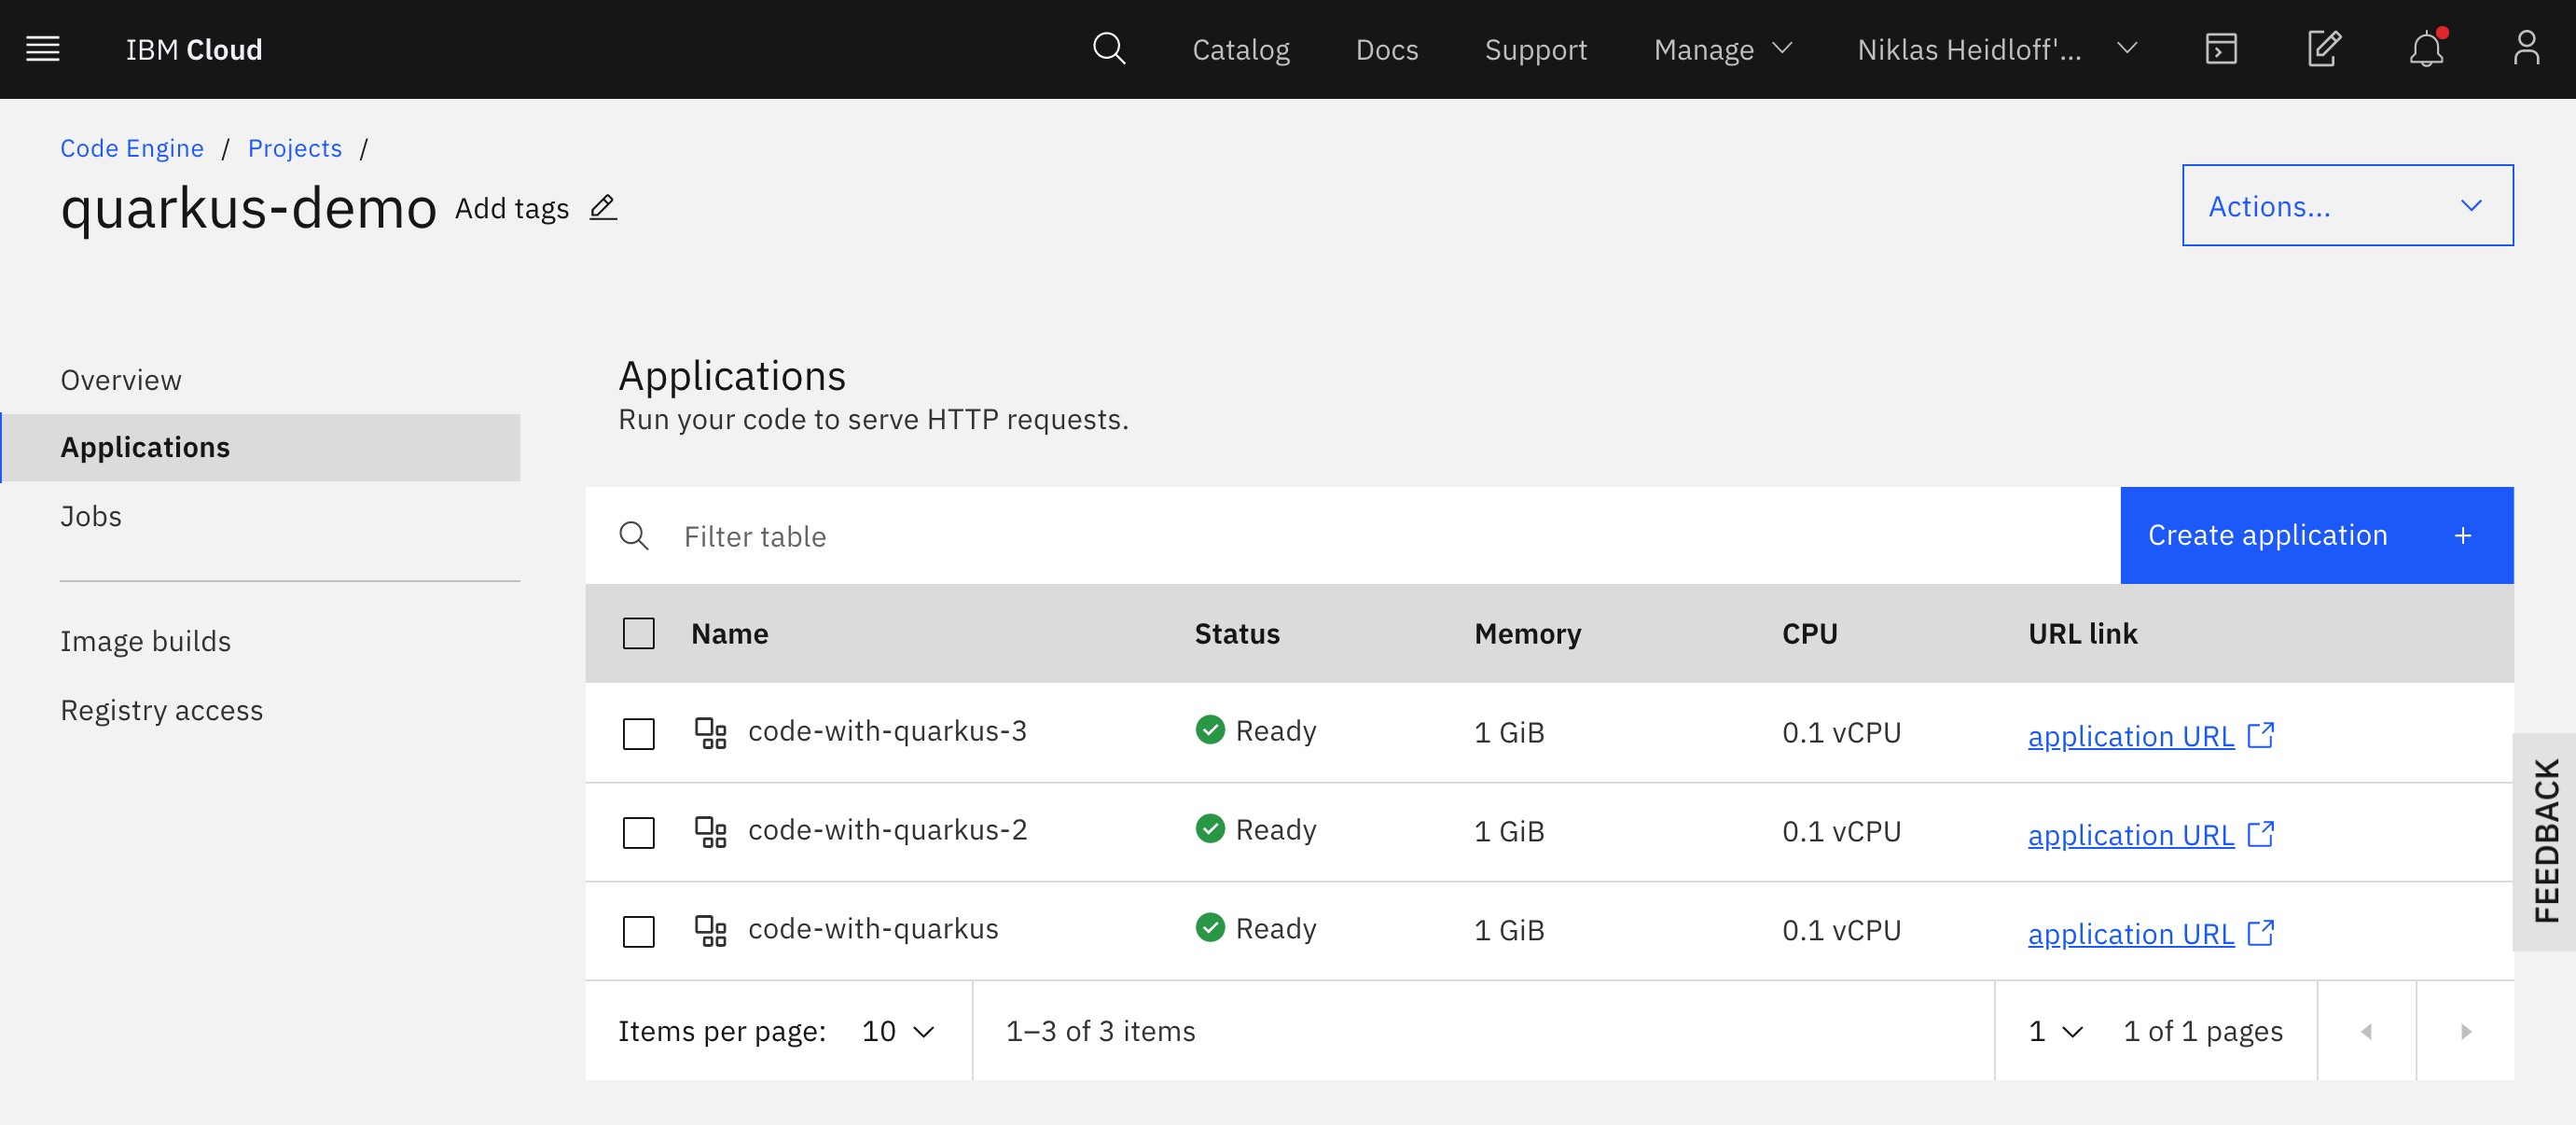
After this you can start the deployment. Depending on the size of your application, the build can take some time. After the build is done, the route will be created, so that you can access your application.
To find out more, check out the documentation or just give it a try. It’s really easy and IBM provides a free trial account without requiring a credit card.

