My colleague Harald Ueble and I are working on a repo to help especially Java developers getting started with cloud-native applications. By doing this we have learned a lot ourselves.
The topic, that has been the most time consuming one for me to figure out, is authentication and authorization. There are quite a number of samples, snippets and articles available, but I couldn’t find anything that describes the whole process end-to-end in one sample which you can simply install and run. That’s why I have created a new sample which allows users to authenticate and to check for authorization.
Get the code of cloud-native-starter from GitHub.
OpenID Connect and JWT
Before I describe the sample, let me give you some background and explain my requirements.
In order to authenticate and authorize users, I’d like to use the standard OpenID Connect 1.0 and OAuth 2.0 which can be used with many existing identify providers. In the context of enterprise applications you want to leverage existing organization directories. IBM App ID, for example, acts as an identity provider or identity provider proxy. For simple tests you can define test users in a cloud directory. For production usage App ID can be configured to work against third-party providers such as Active Directory Federation Services via SAML.
Identify providers also come with their own login pages which means that you, as a developer, don’t have to implement yet another login page with user name and password fields and enterprise users get a consistent way to log in. With App ID this login page can easily be customized.
The other nice thing about OpenID Connect for developers is, that you don’t have to understand the internals of the different identity providers, but can use standardized and easy APIs. As responses of successful OAuth dances, you get access tokens and user tokens as JSON Web Token (JWT).
Cloud-Native Sample Application
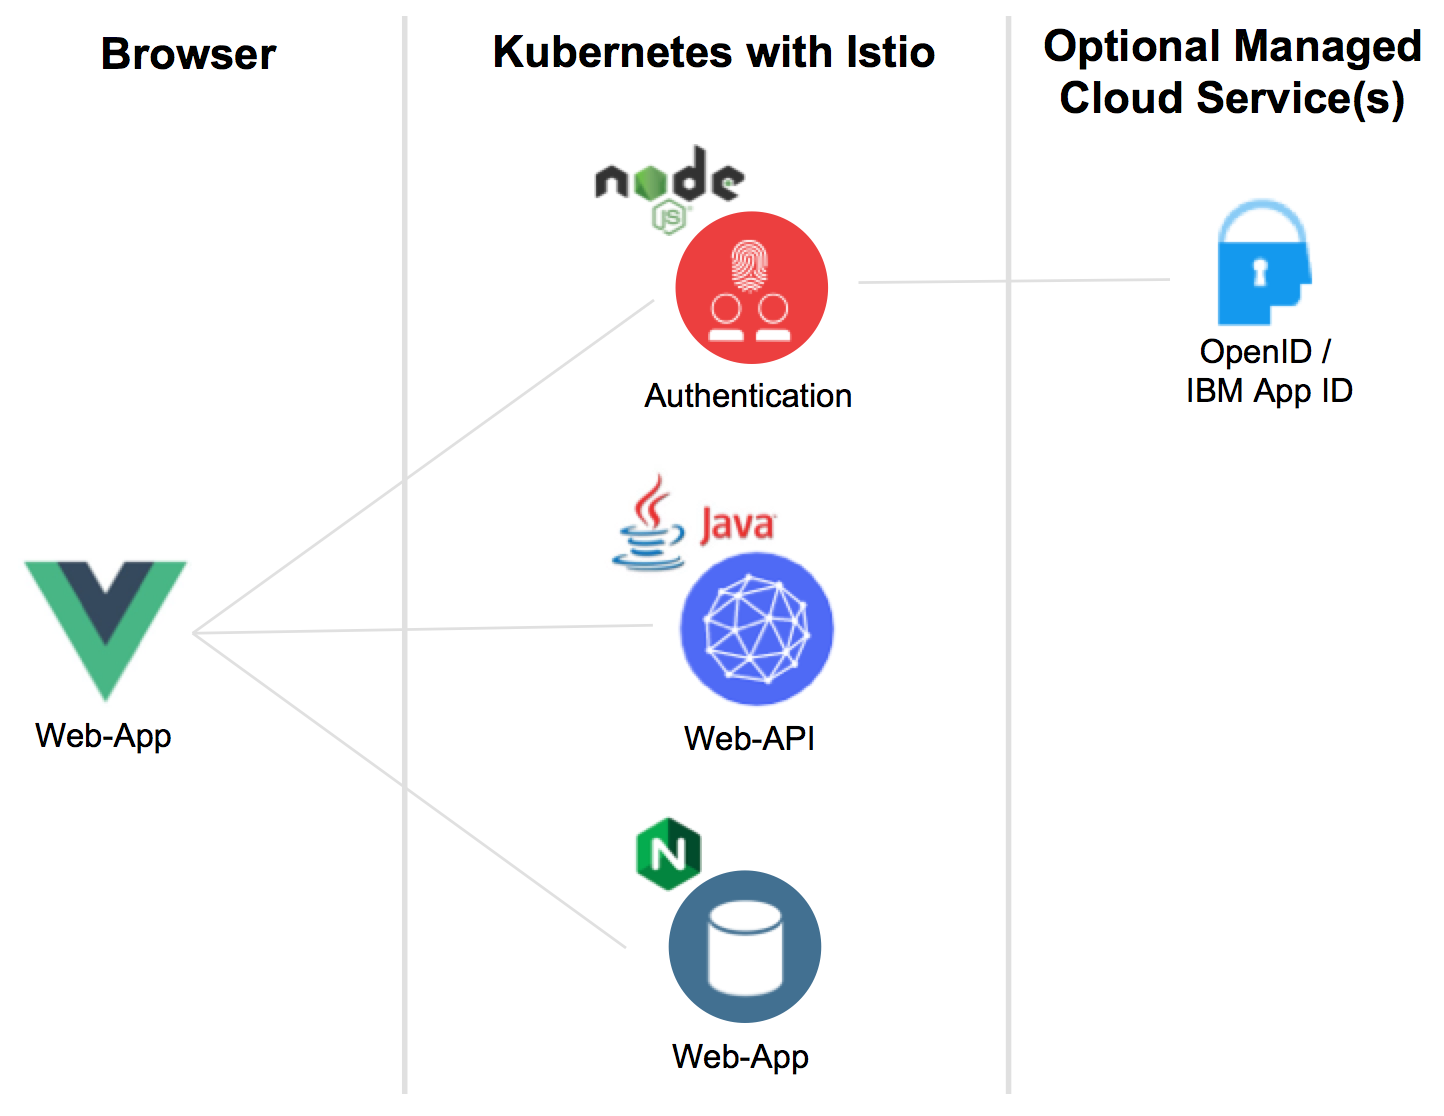
There are five services in the application. The services, except of the managed one, run in Kubernetes clusters with Istio. In my case I utilize Minikube locally or the IBM Cloud Kubernetes Service.
- Web-App: Simple web application built with Vue.js which provides login functionality for users and stores tokens locally
- Web-App Hosting: Nginx based hosting of the Vue.js resources
- Authentication: Node.js microservice which handles the OAuth dance and returns tokens to the web application
- Web-API: Provides an unprotected endpoint ‘/getmultiple’ to read articles and a protected endpoint ‘create’ to create a new article
- IBM App ID: Contains a cloud directory with test users and acts as an OpenID identity provider
Check out my previous article Authenticating Web Users with OpenID and JWT that explains how the tokens are retrieved and how they are stored in the web application.
Authorization via Istio Policies
Istio provides end-user authentication via OpenID and JWT. However, in order to use this functionality you need valid user tokens first (see my previous article).
Via yaml files policies can be defined. In the sample the endpoint ‘/web-api/v1/create’ is protected, so that only authenticated users can access it.
1
2
3
4
5
6
7
8
9
10
11
12
13
14
15
apiVersion: "authentication.istio.io/v1alpha1"
kind: "Policy"
metadata:
  name: "protect-web-api"
spec:
  targets:
  - name: web-api
  origins:
  - jwt:
      issuer: "https://us-south.appid.cloud.ibm.com/oauth/v4/4f1464ff-cd93-439b-aebd-9cdb9ba50e64"
      jwksUri: "https://us-south.appid.cloud.ibm.com/oauth/v4/4f1464ff-cd93-439b-aebd-9cdb9ba50e64/publickeys"
      trigger_rules:
      - included_paths:
        - exact: /web-api/v1/create
  principalBinding: USE_ORIGIN
Demonstration
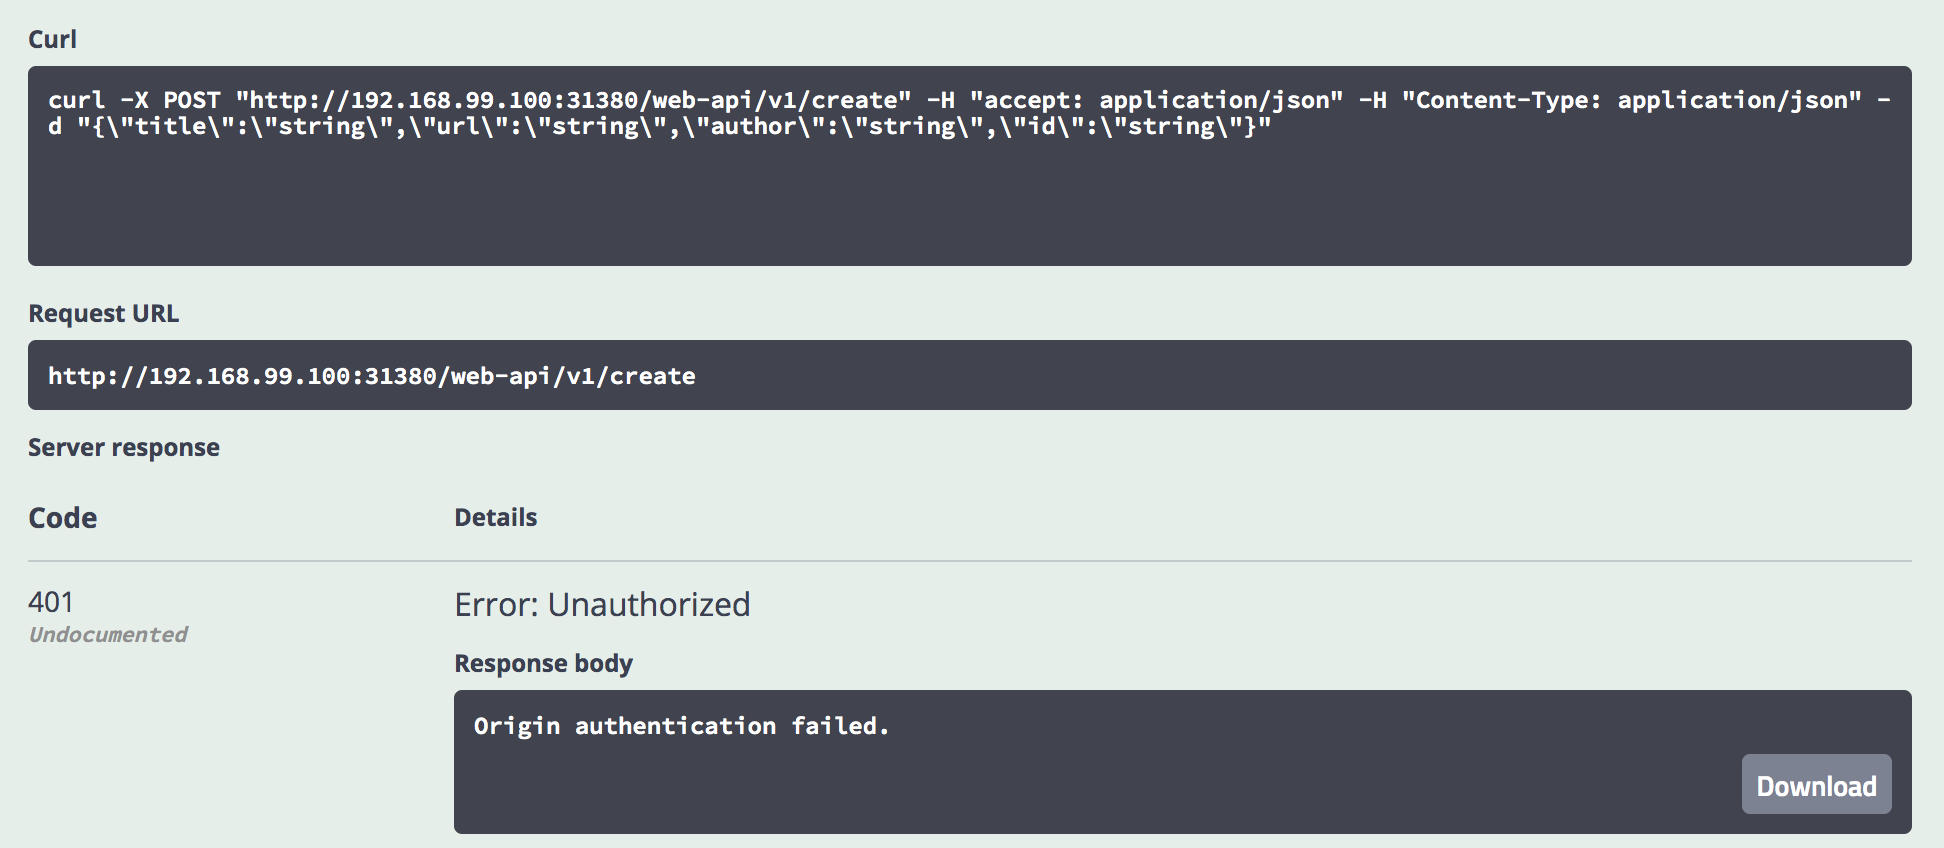
After the ‘create’ endpoint has been protected, the invocation of ‘/create’ returns a HTTP status 401 ‘Unauthorized’ as expected.
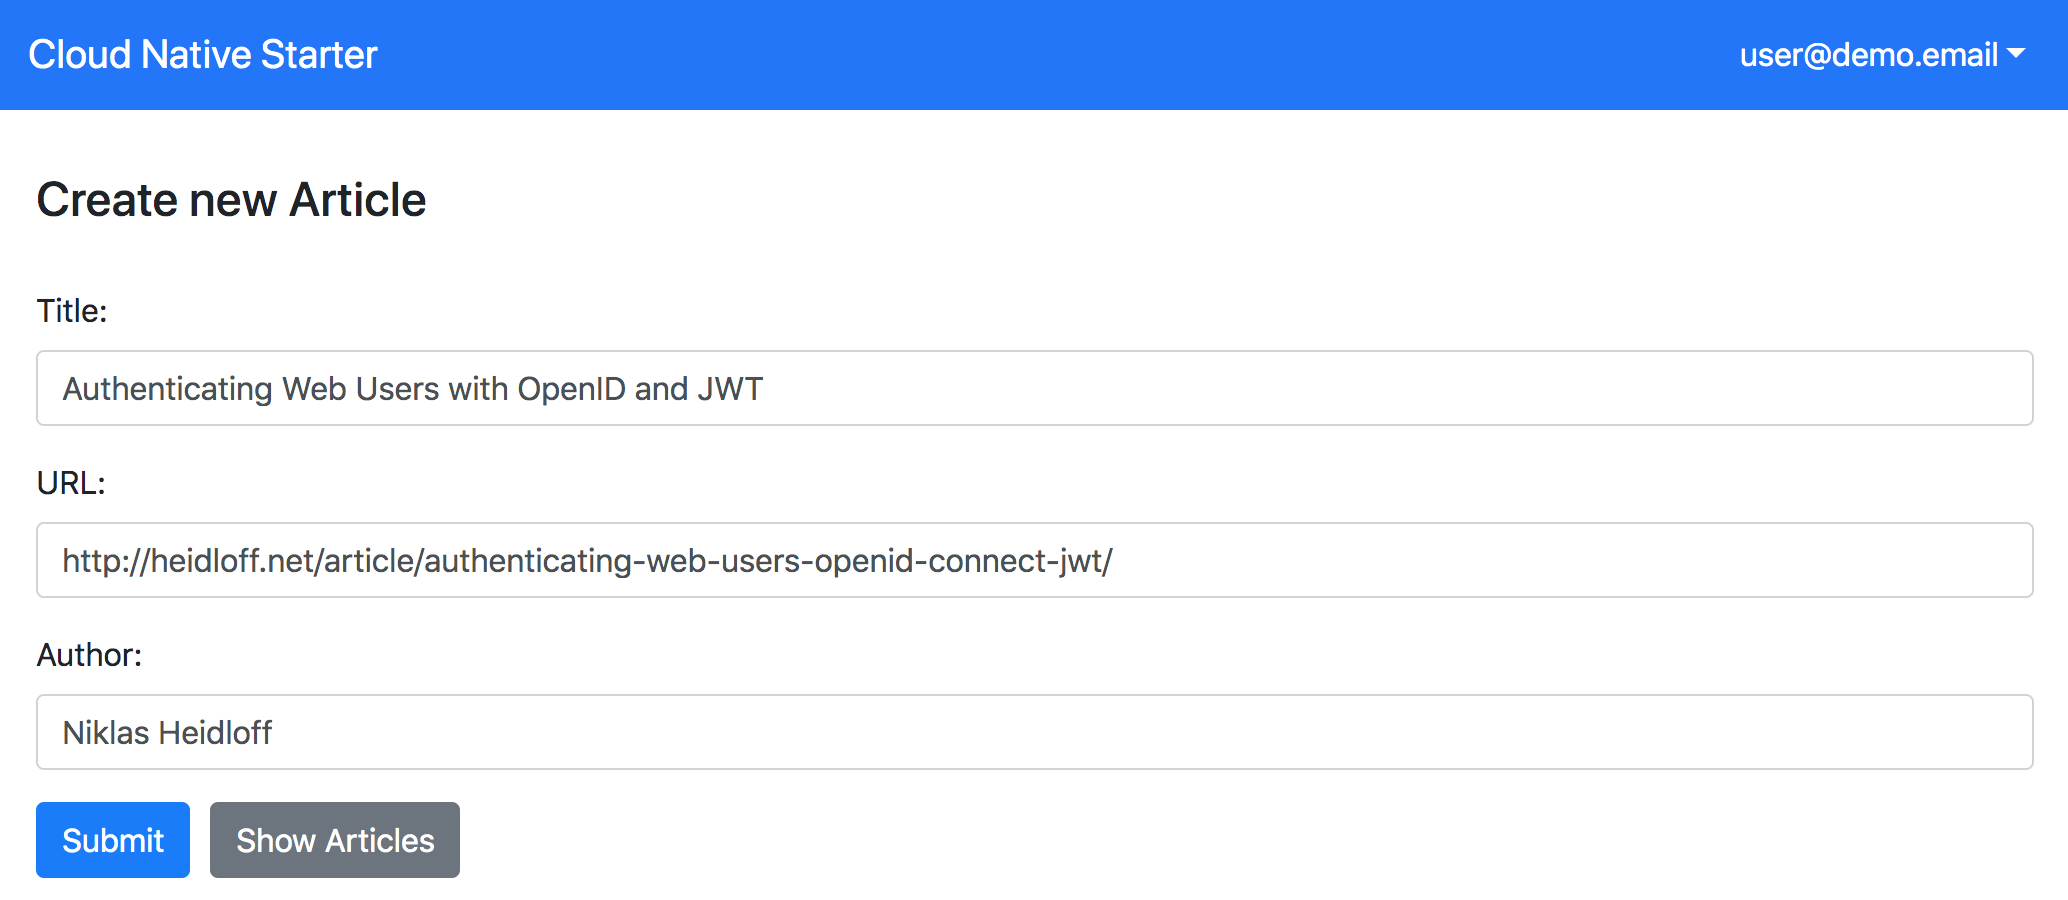
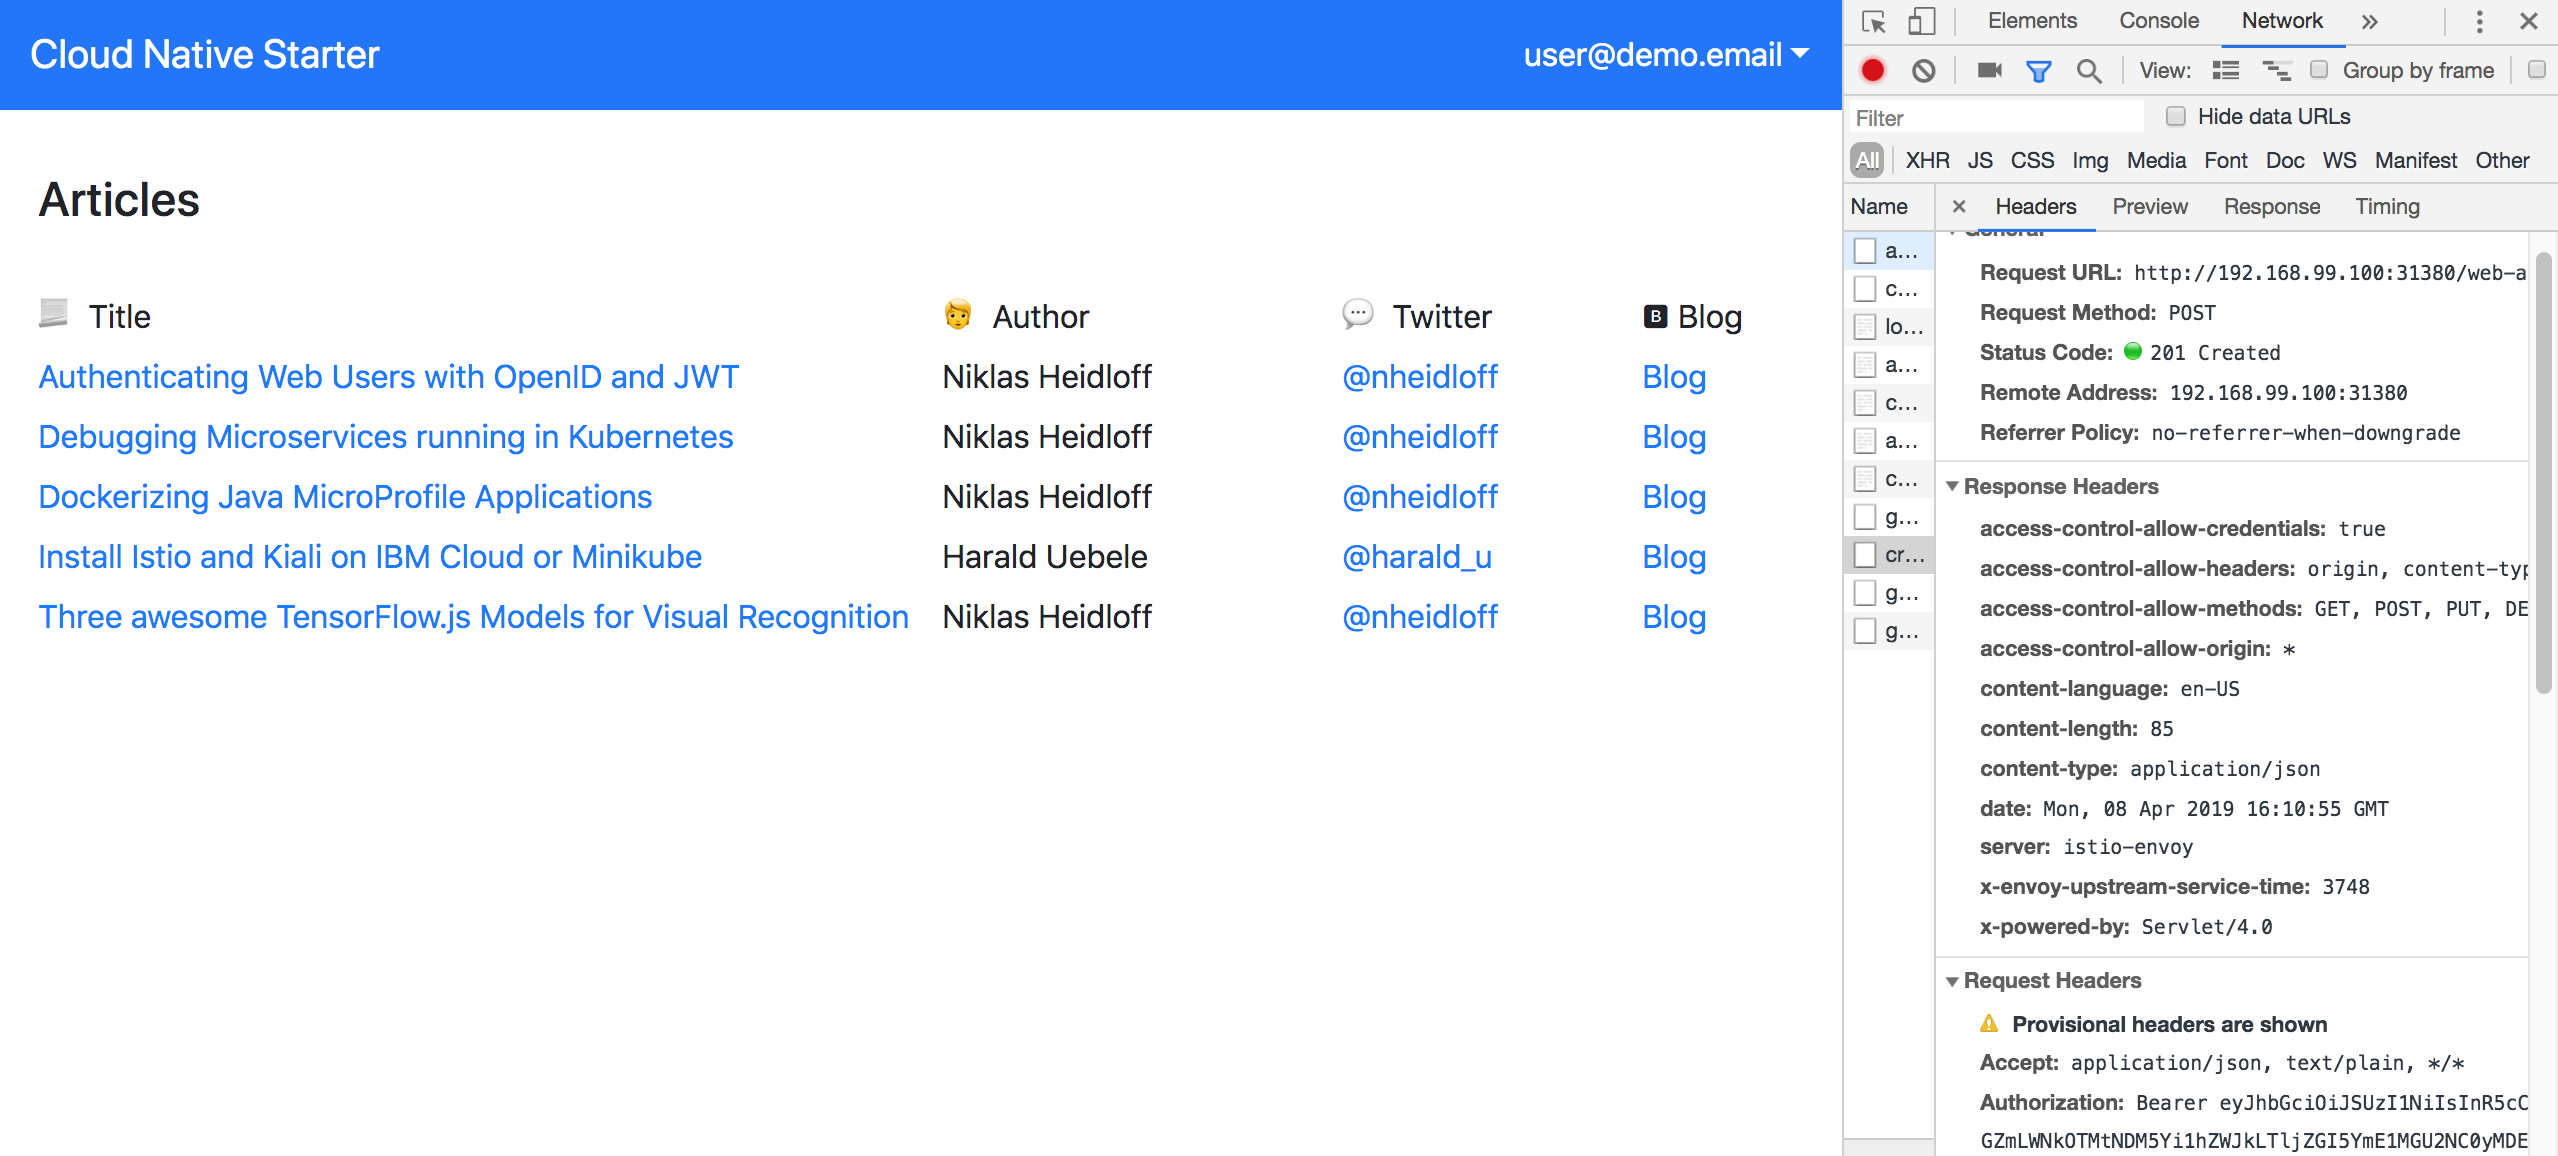
From the web application users can login and create a new article which invokes the same endpoint.
This time the invocation works, since the Bearer token is put into the HTTP ‘Authorization’ header.
To see the whole flow in action, download and play this animated gif.
Give it a try
If you want to try this functionality yourself, setup a local Minikube environment and follow the instructions in our repo.
The setup shouldn’t take longer than 30 mins. An instance of IBM App ID is created automatically if you have an IBM Cloud Lite account (free, no time restriction, no credit card required).
You can also use other OpenID identity providers. In this case check out the README how to configure the web application and authentication service.
Thanks to Ahmed Sayed Hassan for helping me to figure out how to configure Istio!


