This article describes Tekton, an open-source framework for creating CI/CD systems, and explains how to deploy and use it on the IBM Cloud Kubernetes service.
What is Tekton?
Kubernetes is the de-facto standard for running cloud-native applications. While Kubernetes is very flexible and powerful, deploying applications is sometimes challenging for developers. That’s why several platforms and tools have evolved that aim to make deployments of applications easier, for example Cloud Foundry’s ‘cf push’ experience, OpenShift’s source to image (S2I), various Maven plugins and different CI/CD systems.
Similarly as Kubernetes has evolved to be the standard for running containers and similarly as Knative is evolving to become the standard for serverless platforms, the goal of Tekton is to become the standard for continuous integration and delivery (CI/CD) platforms.
Here is the definition from the project’s home page:
Tekton is a powerful yet flexible Kubernetes-native open-source framework for creating CI/CD systems. It lets you build, test, and deploy across multiple cloud providers or on-premises systems by abstracting away the underlying implementation details.
As described in this intro video, Tekton is a shared set of open source building blocks that are composable, declarative and reproducible CI/CD systems.
The biggest companies that are engaged in this project are at this point Google, CloudBees, IBM and Red Hat. Because of its importance the project has been split from Knative which is focussed on scale to zero capabilities.
Deploying a Sample Application to IBM Cloud Kubernetes
The first thing you should get familiar with to use Tekton is its terminology and component model. Check out the documentation to understand what tasks, steps, pipelines, etc. are.
My colleague Gregory Dritschler has written a tutorial Deploy a Knative application using Tekton Pipelines. The same principles apply also for other (non Knative) containers.
I don’t want to repeat Gregory’s tutorial here, but outline some points that took me some time to understand. Here are the steps to deploy a simple hello world sample on the IBM Cloud Kubernetes service.
First get an IBM lite account. It’s free and there is no time restriction. In order to use the Kubernetes service you need to enter your credit card information, but there is a free Kubernetes cluster.
Next you need to install some prerequisites as described in the tutorial. Note that in order to run the tutorial with a lite account, you need to install Knative manually since the Knative add on currently doesn’t work.
Then run these commands to login and create two tasks, one pipeline and a resource pointing to your source:
1
2
3
4
5
6
7
8
9
$ ibmcloud login -a cloud.ibm.com -r us-south -g default
$ ibmcloud ks cluster-config --cluster niklas-heidloff-4
$ export <output-from-previous-command>
$ git clone https://github.com/IBM/tekton-tutorial
$ cd tekton-tutorial
$ kubectl apply -f tekton/tasks/source-to-image.yaml
$ kubectl apply -f tekton/tasks/deploy-using-kubectl.yaml
$ kubectl apply -f tekton/pipeline/build-and-deploy-pipeline.yaml
$ kubectl apply -f tekton/resources/picalc-git.yaml
Next a secret and a pipeline account needs to be created to access your image registry on the IBM Cloud from Tekton:
1
2
3
4
5
$ ibmcloud iam api-key-create tekton -d "tekton" --file tekton.json
$ cat tekton.json | grep apikey
$ kubectl create secret generic ibm-cr-push-secret --type="kubernetes.io/basic-auth" --from-literal=username=iamapikey --from-literal=password=<your-apikey>
$ kubectl annotate secret ibm-cr-push-secret tekton.dev/docker-0=us.icr.io
$ kubectl apply -f tekton/pipeline-account.yaml
Before the pipeline can be run, your registry’s DNS name and your namespace need to be defined in ‘tekton/run/picalc-pipeline-run.yaml’. Here is how you find this information:
1
2
$ ibmcloud cr region
$ ibmcloud cr namespace-list
After you’ve defined this information in ‘picalc-pipeline-run.yaml’, the pipeline can be run:
1
2
3
4
$ kubectl create -f tekton/run/picalc-pipeline-run.yaml
$ kubectl describe pipelinerun picalc-pr-<output-from-previous-command>
$ kubectl get ksvc picalc
$ curl http://picalc-default.<...>.us-south.containers.appdomain.cloud?iterations=20000000
Using the Tekton Dashboard
In addition to Tekton Pipelines there is another project Tekton Dashboard to visualize the definitions and output of pipelines.
In order to run it on the IBM Cloud, clone the repo:
1
2
$ git clone https://github.com/tektoncd/dashboard.git
$ cd dashboard
Before you can install it, one file needs to be changed. Since the lite account doesn’t provide Ingress capabilities, you need to define to use NodePort for the dashboard service.
In order to do this, add “type: NodePort” in line 145 in ‘config/release/gcr-tekton-dashboard.yaml’:
1
2
3
4
5
6
7
8
9
10
11
12
13
14
15
16
kind: Service
apiVersion: v1
metadata:
  name: tekton-dashboard
  namespace: tekton-pipelines
  labels:
    app: tekton-dashboard
spec:
  ports:
    - name: http
      protocol: TCP
      port: 9097
      targetPort: 9097
  type: NodePort
  selector:
    app: tekton-dashboard
After this run these commands to install and open the dashboard:
1
2
3
4
5
$ kubectl apply -f config/release/gcr-tekton-dashboard.yaml
$ CLUSTER_NAME=<your-cluster-name>
$ clusterip=$(ibmcloud ks workers --cluster $CLUSTER_NAME | awk '/Ready/ {print $2;exit;}')
$ nodeport=$(kubectl get svc tekton-dashboard -n tekton-pipelines --ignore-not-found --output 'jsonpath={.spec.ports[*].nodePort}')
$ open http://$clusterip:$nodeport
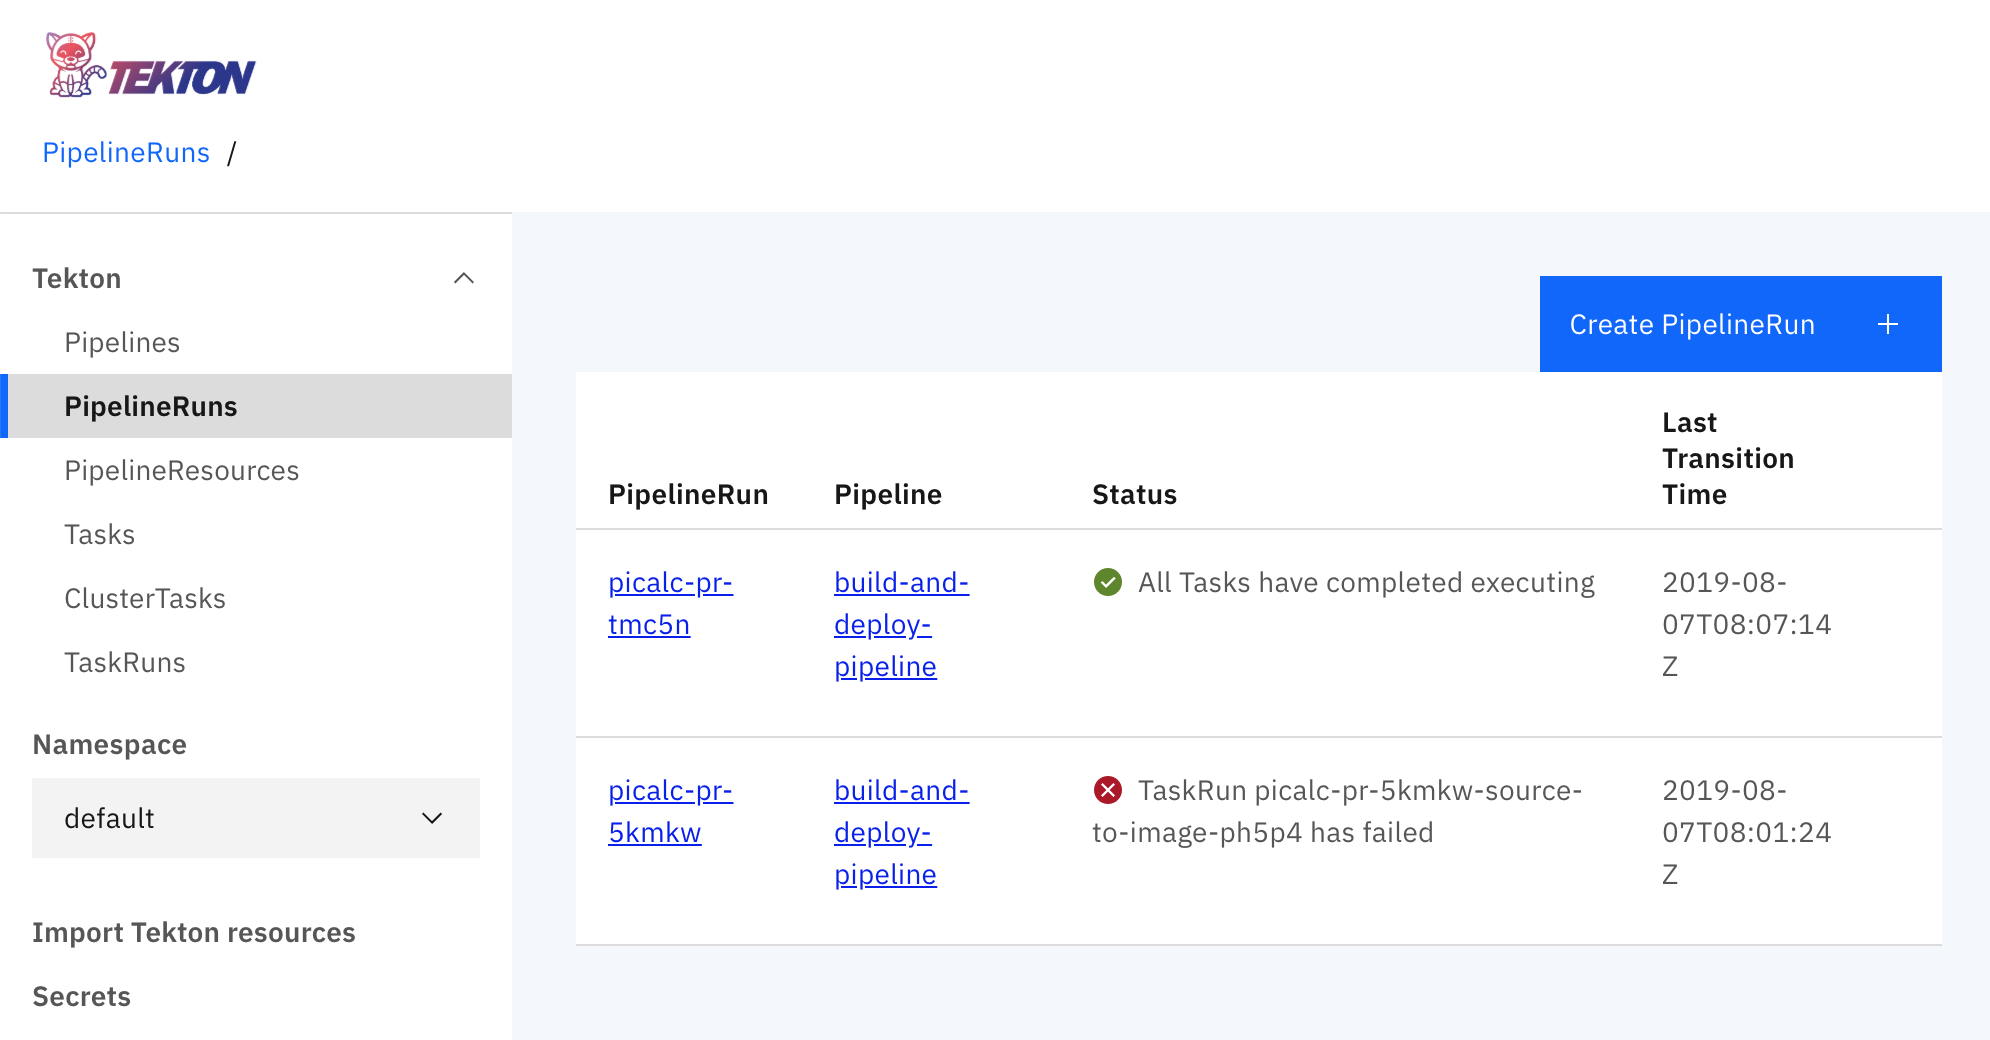
This screenshot shows the results of the pipeline runs:
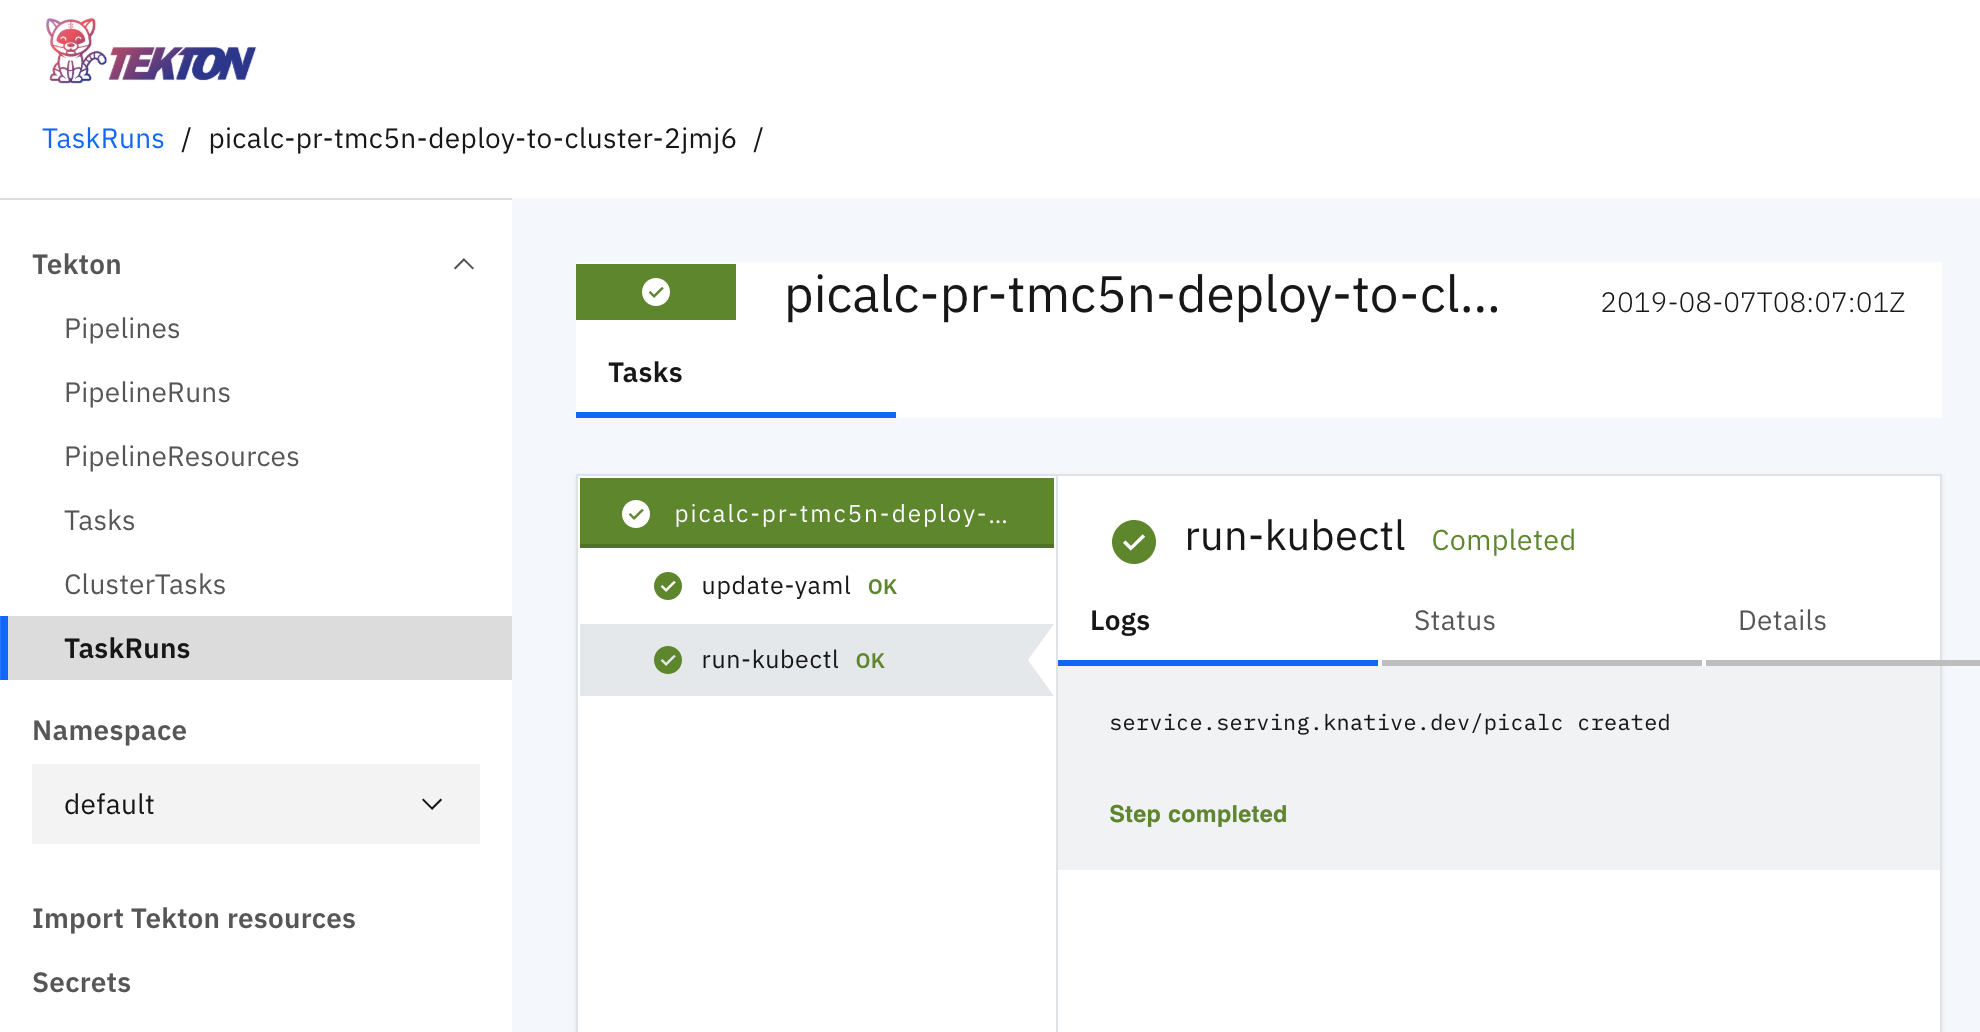
This screenshot shows the results of the task runs: