
This article describes an easy way for developers to deploy IBM’s Db2 databases on Red Hat OpenShift.
Managed Services
There are multiple ways to use Db2 in the cloud. One way is to use IBM’s managed Db2 service in the cloud. The big advantage of managed services is that you don’t have to worry about managing, operating and maintaining the database systems and your data. As soon as you deploy services in your own clusters, you are usually responsible for managing them. Even if you use operators which help with day 2 tasks, you will have to perform some extra work compared to managed services.
Developer Perspective
As a developer I want to write code and be productive as soon as possible. Setting up infrastructure should be as painless as possible. Especially for the early stages in projects I don’t need infrastructure that could be used in production. For example even databases that don’t persist data are often sufficient in these stages.
Managed services are often an option, but sometimes it’s also desirable to set up services like databases in your own clusters, for example if this makes the creation of the schema and sample data easier, if you don’t want to handle secure connectivity and certificates, if you don’t want to set up users, roles and access rights, etc. In these cases I like being able to set up infrastructure myself, if it’s fast, easy and doesn’t cost me anything.
Db2 Image
In order to deploy Db2 to Kubernetes and OpenShift clusters, you obviously need to use containers. For Db2 there is an image ‘ibmcom/db2’ which I’ve used in my example.
You can find the source code of the complete sample Application Modernization – From Java EE in 2010 to Cloud-Native in 2021 on GitHub. Everything related to Db2 is located in the ‘db2‘ directory.
The custom Dockerfile extends the Db2 image and adds scripts to add the schema and sample data.
1
2
3
4
5
6
FROM ibmcom/db2:11.5.5.0
RUN mkdir /var/custom
COPY createOrderDB.sql /var/custom
COPY orderdb-data.sql /var/custom
COPY populateDB.sh /var/custom
RUN chmod a+x /var/custom/populateDB.sh
Invoke these commands to build and run the container locally:
1
2
3
$ docker build . -t storefront-db2
$ docker create network store-front-network
$ docker run --name storefront-db2 --network store-front-network --privileged=true -e LICENSE=accept  -e DB2INST1_PASSWORD=db2inst1 -e DBNAME=orderdb -p 50000:50000 storefront-db2
Not that the container needs to be run as privileged. The Docker network is necessary to access the container from another container.
Connection Information
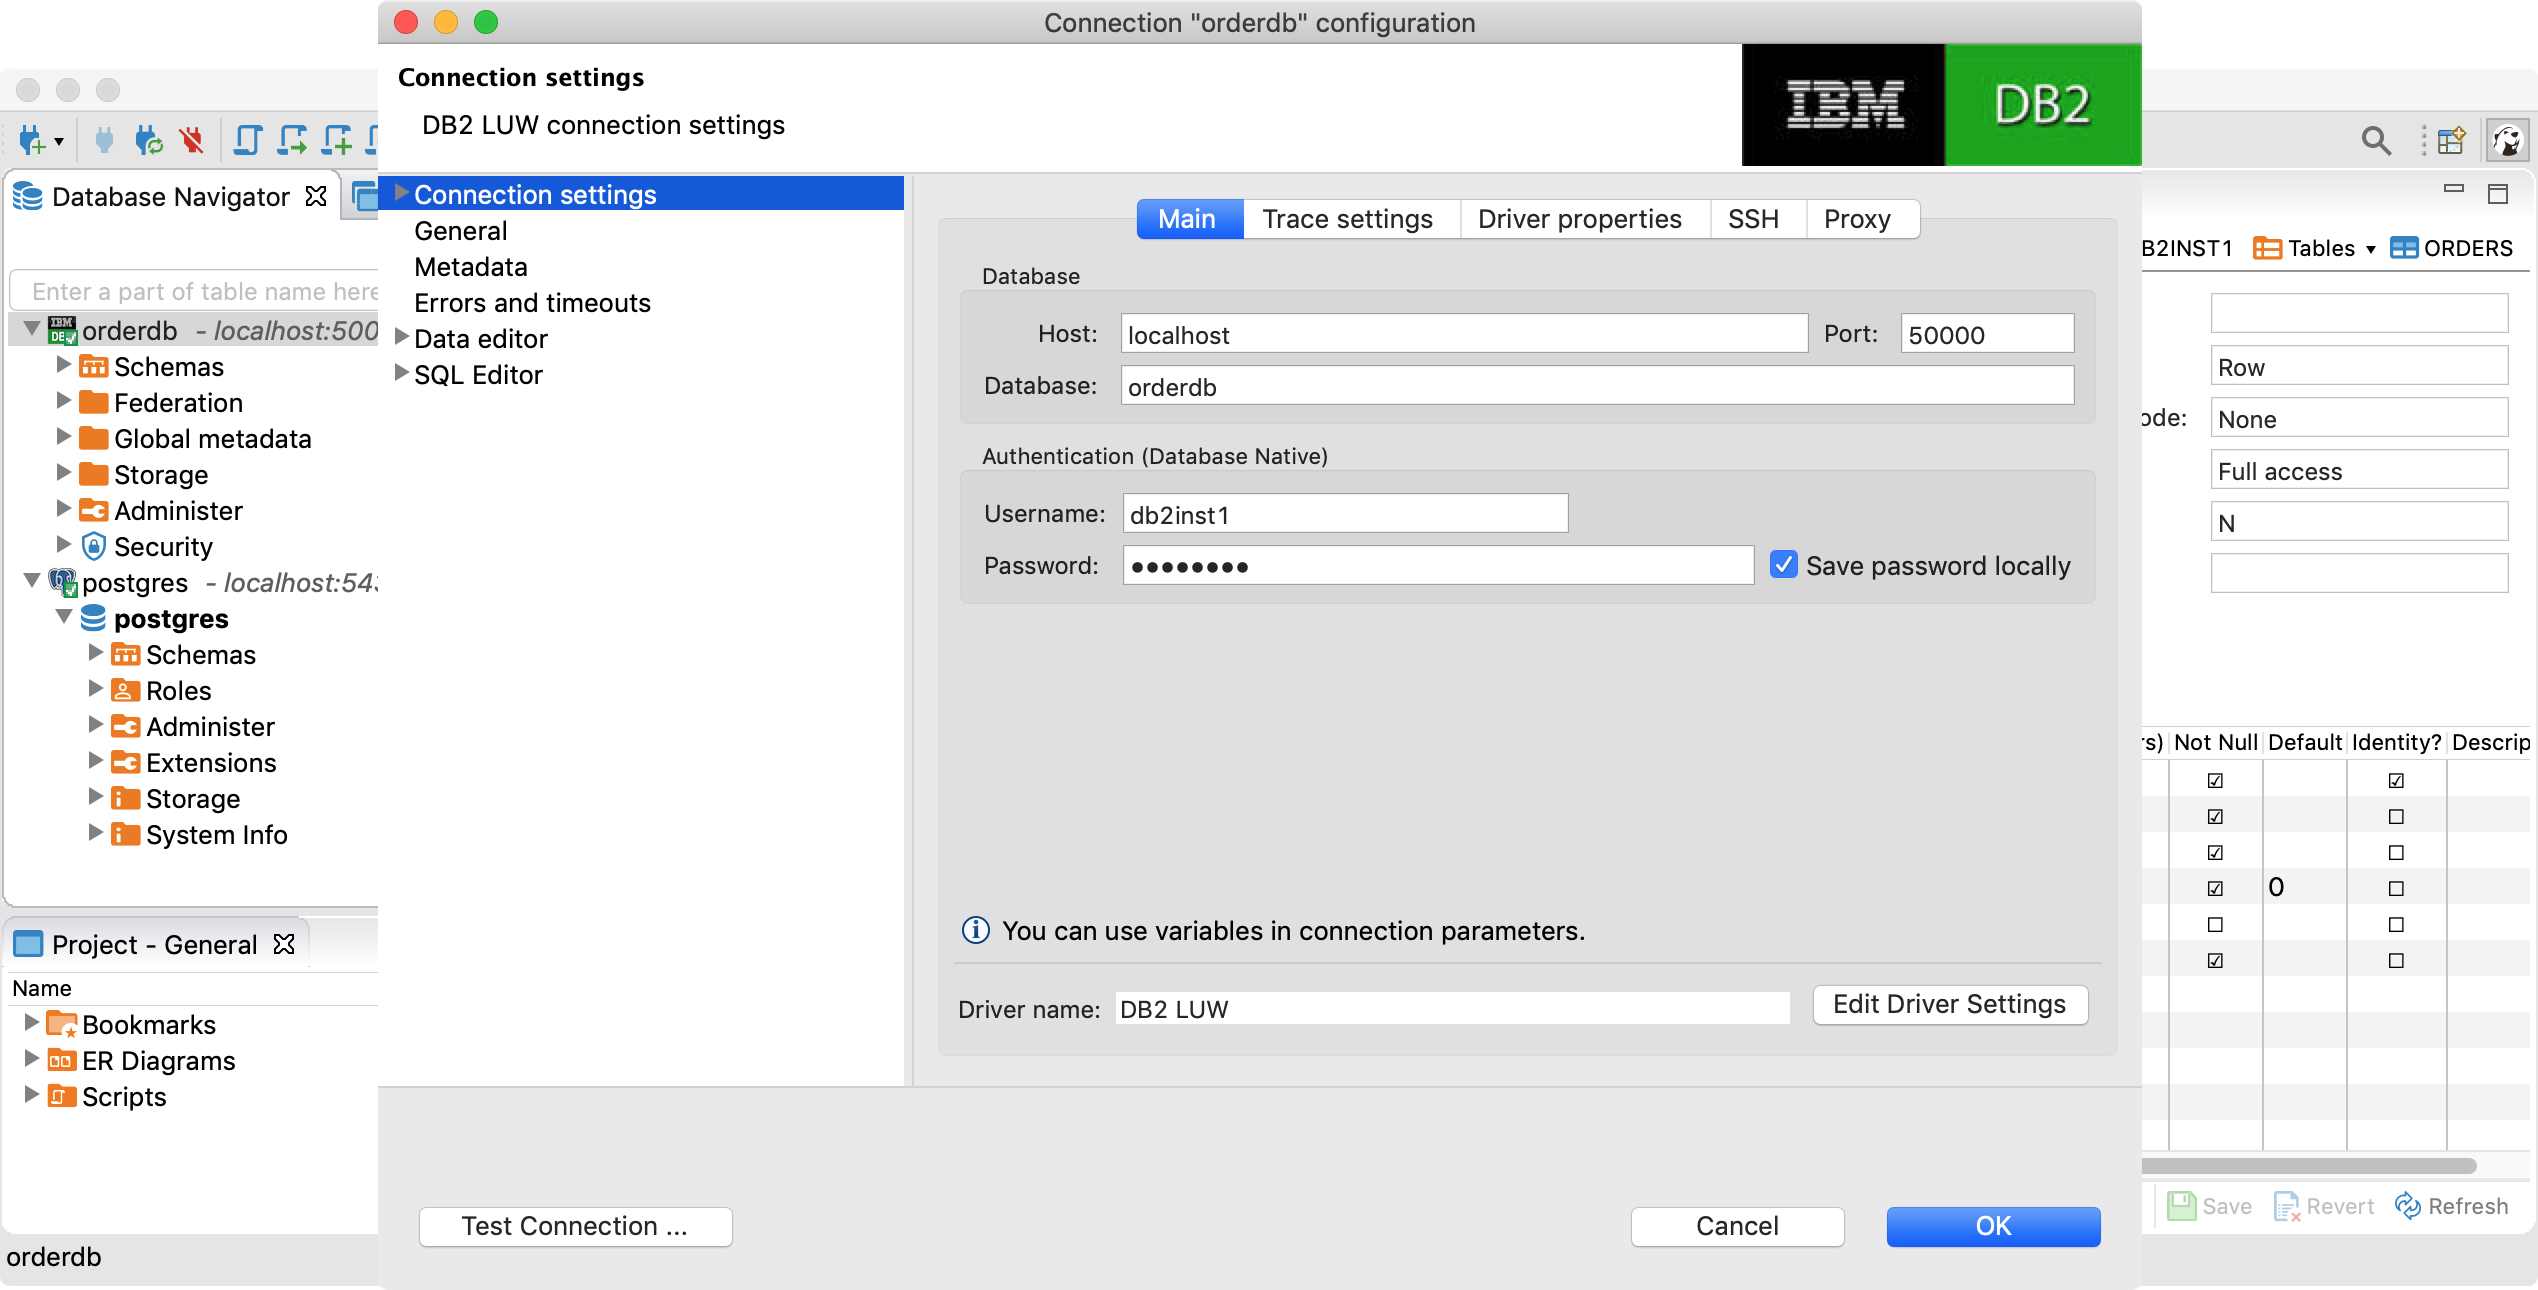
It takes several minutes to start the container (3-5 mins). After this you can access it from your applications, CLIs and tools.
The following screenshot shows DBeaver. The password is also ‘db2inst1’.
Deployment to OpenShift
In order to deploy the image to OpenShift, you need additional yaml configuration – see the ‘db2/deployment‘ directory. Similarly to running the container locally via Docker Desktop you need to use the privileged setting again.
1
2
3
4
5
6
7
8
9
10
11
12
13
14
15
16
17
18
19
20
21
containers:
- resources: {}
  name: storefront-db2
  env:
    - name: DB2INST1_PASSWORD
       value: db2inst1
    - name: LICENSE
       value: accept
    - name: DBNAME
       value: orderdb
   securityContext:
     capabilities:
     privileged: true
     readOnlyRootFilesystem: false
     allowPrivilegeEscalation: true
   ports:
     - containerPort: 50000
        protocol: TCP
    imagePullPolicy: Always
    terminationMessagePolicy: File
    image: nheidloff/storefront-db2
Additionally you need to create a service account which has the right to run privileged containers – see deploy-db.sh.
1
2
3
4
5
6
$ oc new-project db2
$ oc create sa mysvcacct
$ oc adm policy add-scc-to-user privileged -z default -n db2
$ oc apply -f ${root_folder}/db2/deployment/db2-dc.yaml -n db2
$ oc apply -f ${root_folder}/db2/deployment/db2-service.yaml -n db2
$ oc expose svc/storefront-db2 --port=50000
In order to access the database from other containers running in the same cluster use the name ‘storefront-db2.db2:50000’ and the same configuration as above. In order to access the database from external processes use the OpenShift route.
Next Steps
To learn more about Db2, OpenShift deployments via Tekton and ArgoCD and application modernization, check out the Application Modernization – From Java EE in 2010 to Cloud-Native in 2021 on GitHub.