
Kubernetes supports running stateless and stateful workloads. This article describes the core concepts how to build and run a simple database on Kubernetes using an open source sample.
The snippets below are part of the ibm/operator-sample-go repo which describes patterns and best practices how to build operators. A key benefit of operators is the automation of day 2 tasks like the management of stateful applications. For example operators can act as an auto-pilot to automatically run backups for databases. In order to demonstrate this, I’ve built a simple database sample.
The key concept to build stateful applications are StatefulSets. Check out the videos below, especially the first one, that describe this Kubernetes capability.
Here is a summary of the first video:
- Pods have identities, for example database-cluster-0
- Pods are created and deleted after each other
- Each pod has it’s own PVC and PV or StorageClass
- Data will survive when all pods die
- Pod state is stored on volumes to allow pod recreations
- One leader and multiple followers
- Only the leader can write
- Followers need to synchronize data from leader
- Pods have fixed individual DNS names
This diagram shows the involved components in my sample database.

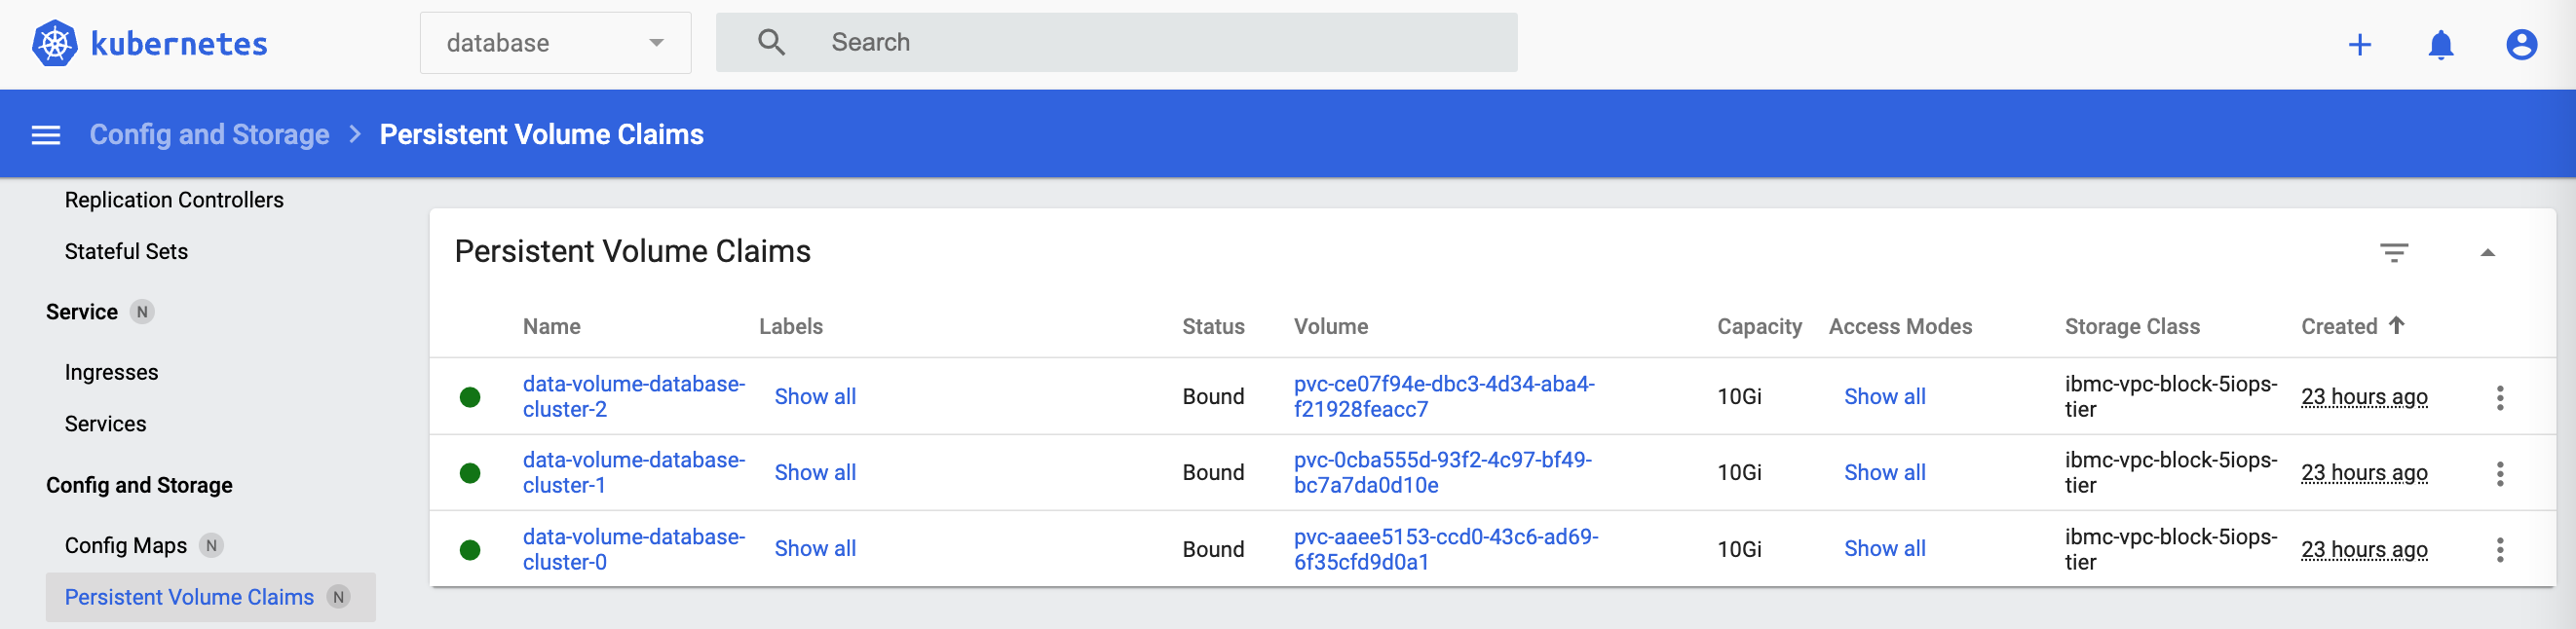
Here are screenshots of the deployed database application.

The database is very simple. It stores all data in one JSON file. The file contains a list of persons with first and last names.
1
2
3
4
5
6
7
8
9
10
11
12
13
14
15
16
17
18
19
20
21
22
[
    {
        "firstName": "Niklas",
        "lastName": "Heidloff",
        "id": "e0a08c5b-62d5-4b20-a024-e1c270d901c2"
    },
    {
        "firstName": "Adam",
        "lastName": "Deleeuw",
        "id": "93115462-543c-4149-9b75-2b1a84bd326c"
    },
    {
        "firstName": "Thomas",
        "lastName": "Suedbroecker",
        "id": "dd35e011-093b-4c63-9d54-040a5dc3d28f"
    },
    {
        "firstName": "Alain",
        "lastName": "Airom",
        "id": "918b0da0-afda-4cbf-a370-0347a6ede98e"
    }
]
Let’s take a look at the behaviour of the database. After the stateful set has been deployed, there will be three pods. database-cluster-0 is the leader, database-cluster-1 and database-cluster-2 are the followers. It takes some time for the pods to come up, since they are started after each other and since they need to bind and potentially create volumes.
1
2
3
4
5
$ kubectl exec -n database database-cluster-1 -- curl -s http://localhost:8089/persons
$ kubectl exec -n database database-cluster-1 -- curl -s http://localhost:8089/api/leader
$ kubectl logs -n database database-cluster-1
$ kubectl exec -n database database-cluster-1 -- curl -s -X 'POST' 'http://localhost:8089/persons' -H 'accept: application/json' -H 'Content-Type: application/json' -d '{"firstName": "Johanna","lastName": "Koester","id": "e956b5d0-fa0c-40e8-9da9-333c214dcaf7"}'
$ kubectl exec -n database database-cluster-1 -- curl -s http://localhost:8089/persons
The /persons endpoint for ‘1’ returns all four initial persons. The follower ‘1’ received the data from the leader when it started. The attempt to create a new person fails, since only the leader can write.
The same write operation works, if executed on the leader ‘0’. After this, the data will be synchronized to all followers again.
1
2
3
4
5
6
$ kubectl exec -n database database-cluster-0 -- curl -s http://localhost:8089/persons
$ kubectl exec -n database database-cluster-0 -- curl -s http://localhost:8089/api/leader
$ kubectl logs -n database database-cluster-0
$ kubectl exec -n database database-cluster-0 -- curl -s -X 'POST' 'http://localhost:8089/persons' -H 'accept: application/json' -H 'Content-Type: application/json' -d '{"firstName": "Johanna","lastName": "Koester","id": "e956b5d0-fa0c-40e8-9da9-333c214dcaf7"}'
$ kubectl exec -n database database-cluster-0 -- curl -s http://localhost:8089/persons
$ kubectl exec -n database database-cluster-1 -- curl -s http://localhost:8089/persons
When the leader ‘0’ goes down, the data remains on the volume. The stateless set will automatically start a new pod with the same name ‘0’ which marks the pod as leader. The new pod ‘0’ will bind the existing volume.
1
2
$ kubectl delete pod database-cluster-0 -n database
$ kubectl exec -n database database-cluster-0 -- curl -s http://localhost:8089/persons
When adding more pods, the new pods read the data from other pods when they are started.
1
2
$ kubectl scale statefulsets database-cluster --replicas=3 -n database
$ kubectl exec -n database database-cluster-2 -- curl -s http://localhost:8089/persons
I’ll blog in more detail how I’ve implemented this. For now check out the repo.